Page History
Sv translation | ||
---|---|---|
| ||
In order to configure Google connectors (Google Drive, Google Analytics), new Google API Project needs to be configured at https://console.developers.google.com. Step 1: Create project
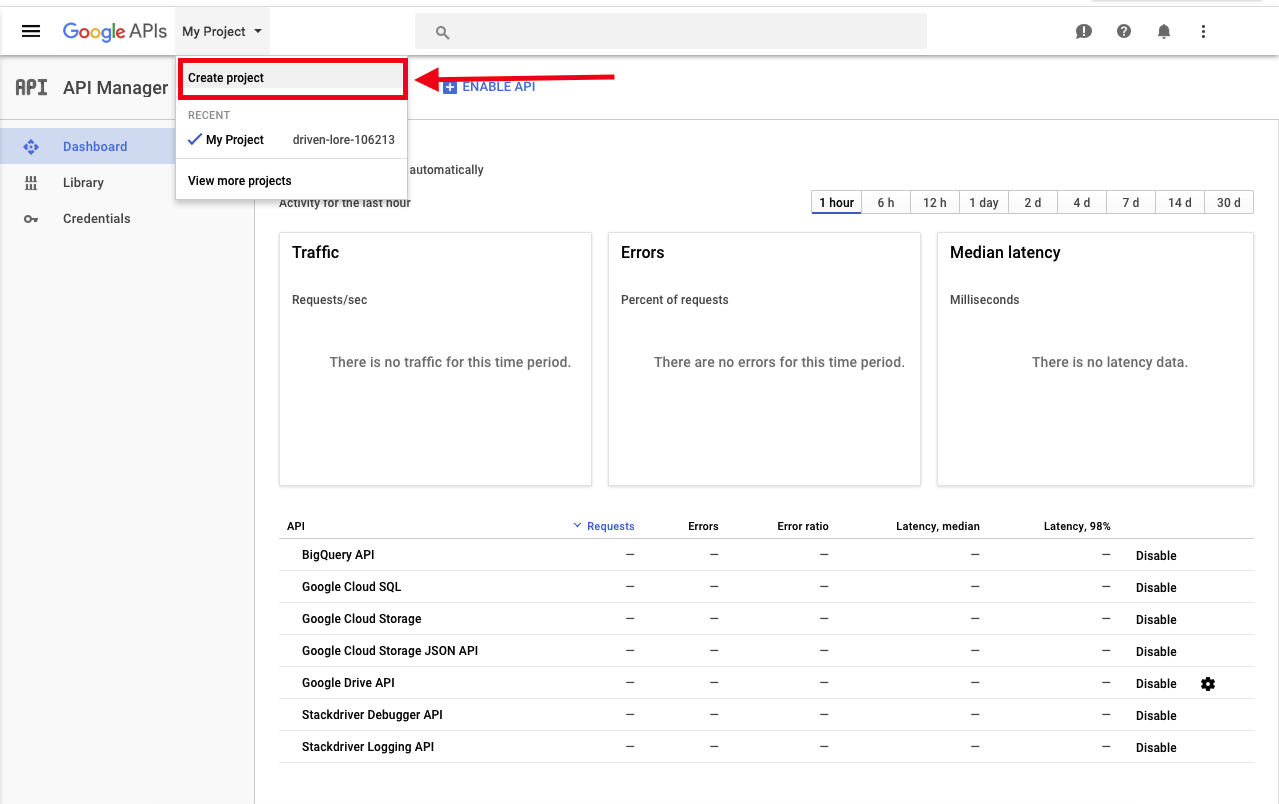
Step 2: NAme Project
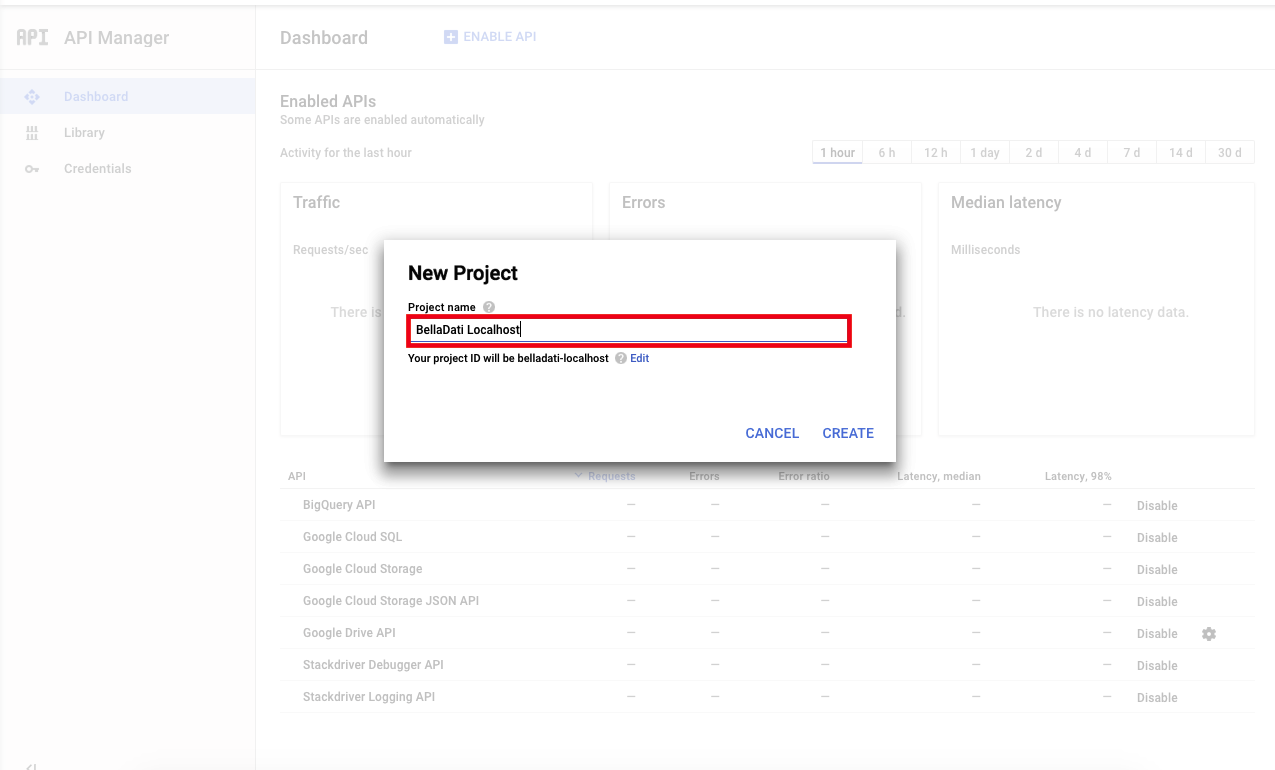
Step 3: Create CredentialsGo to section Credentials -> Create credentials -> Select option OAuth client ID 
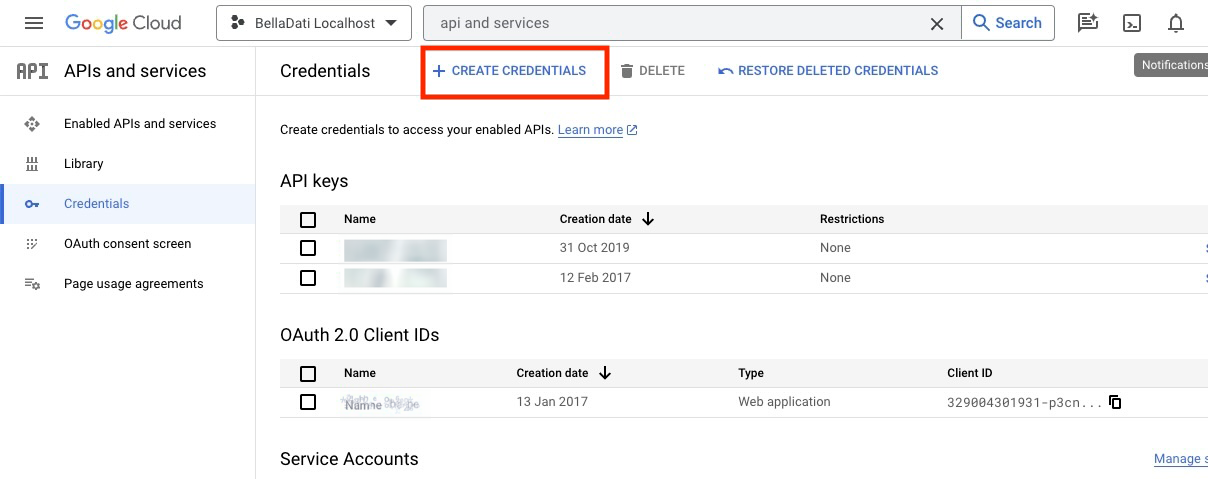
Step 4: Define redirect URIOn newly displayed screen define redirect URI (should be http://localhost:8080/auth/callback/google for local installations). Copy ClientID and ClientSecret to BellaDati Configuration. |
Sv translation | ||
---|---|---|
| ||
Um Google Connectors (Google Drive, Google Analytics) zu konfigurieren, muss ein neues Google API-Projekt unter konfiguriert werden, gehe zu https://console.developers.google.com. SSchritt 1: Projekt anlegen
Schritt 2: ProjektnameSchritt 3: Erstellen Sie die AnmeldeinformationenGehen Sie zum Abschnitt Berechtigungsnachweise -> Berechtigungsnachweise erstellen -> Wählen Sie die Option OAuth-Client-ID aus Schritt 4: Definieren Sie den Umleitungs-URLDefinieren Sie auf dem neu angezeigten Bildschirm den Umleitungs-URI (für lokale Installationen http://localhost:8080/auth/callback/google). Kopieren Sie die ClientID |
Sv translation | ||
---|---|---|
| ||
Googleコネクター(Googleドライブ、Googleアナリティクス)を構成するには、https://console.developers.google.comで新しいGoogle APIプロジェクトを構成する必要があります。 ステップ 1: プロジェクトの作成
ステップ 2: プロジェクトの名前ステップ 3: 認証情報の作成認証情報 -> 認証情報を作成 -> OAuthクライアントIDオプションを選択します。 ステップ 4: リダイレクトURIの定義新しく表示された画面で、リダイレクトURIを定義します(ローカルインストールの場合は必ずhttp://localhost:8080/auth/callback/google)。 ClientIDとClientSecretをBellaDatiの構成にコピーします。 |