Page History
| Sv translation | ||||||
|---|---|---|---|---|---|---|
| ||||||
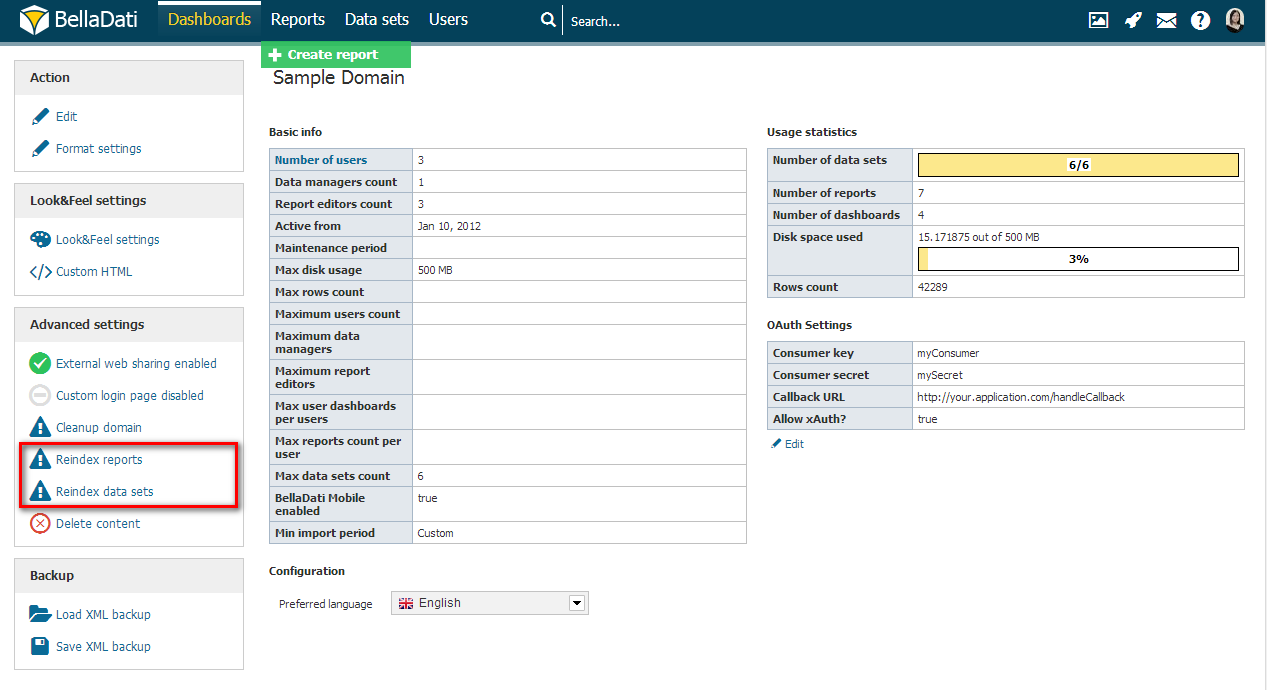
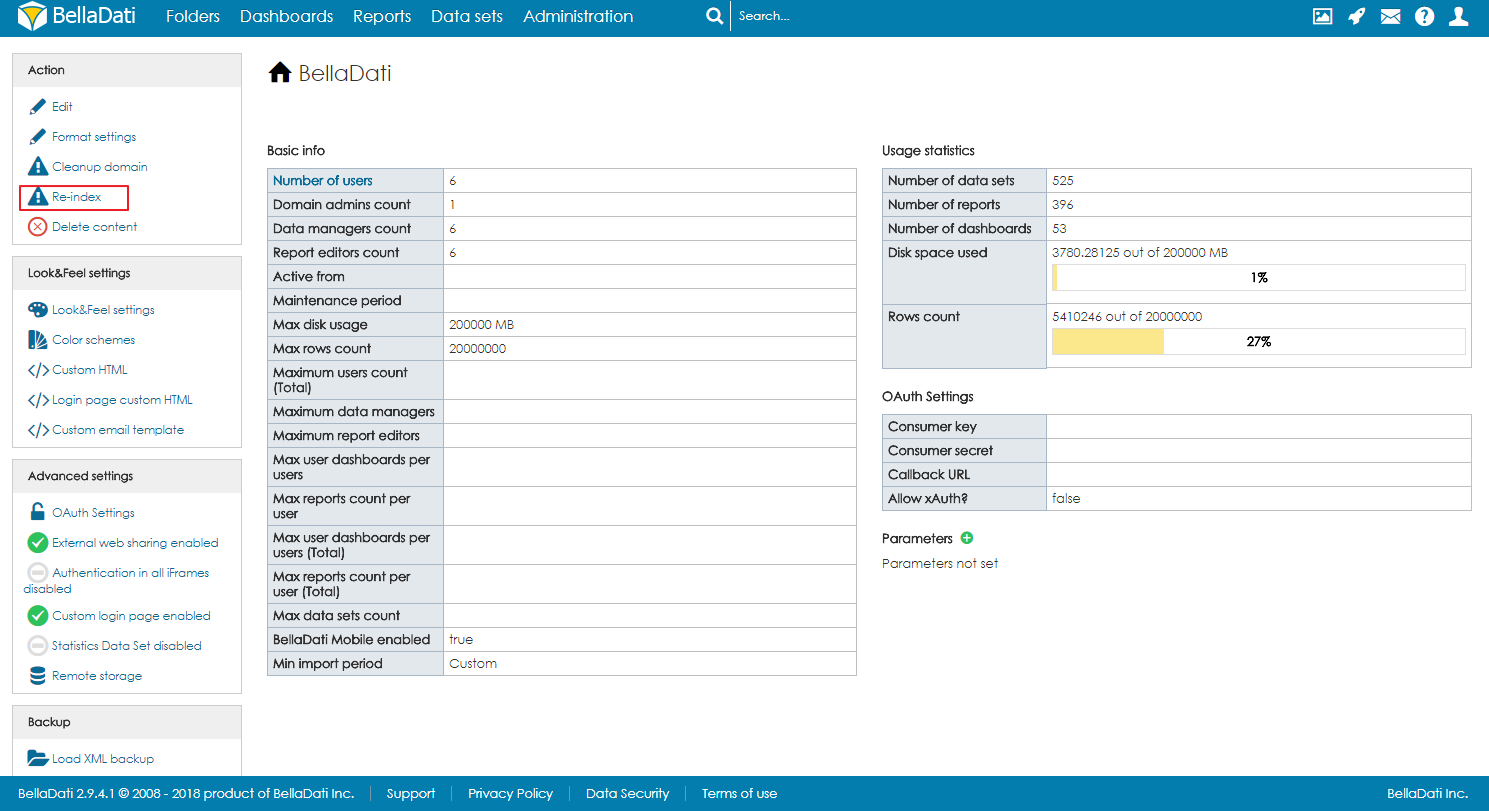
Application ServerTo migrate only the application server without changing the database, follow the appropriate installation instructions to set up your new application server. Configure it to connect to your existing database. After starting the server and logging in, move the mouse over your username and click the link to your domain. On the left side, reindex your reports and data sets.
DatabaseTo migrate BellaDati to a different database installation, backup the database contents using the PostgreSQL dump command:
Copy the backup file to your new system and restore it in the target database:
Different Application Server and Database ServerTo migrate both your database and application server:
Different Database ServerIf you continue using your existing application server, configure it to use the new database. InstallerIf you used Windows installer, Mac installer or Linux Instlaller, follow the instructions below:
Optionally, you can modify directly configuration file BELLADATI_INSTALLATION_DIRECTORY/glassfish4/glassfish/domains/domain1/config/domain.xml. StandaloneIf you used the BellaDati Standalone, update the GlassFishUse the GlassFish administration console as described in Installing BellaDati on GlassFishPayara and follow the same process as installing BellaDati using installer. JettyWhen running in a custom Jetty instance, you can find the configuration inside the WAR archive at the path TomcatConfigure the BellaDati context defined in your Tomcat installation.
|
| Sv translation | ||||||
|---|---|---|---|---|---|---|
| ||||||
アプリケーションサーバーデータベースを変更せずにアプリケーションサーバーのみを移行するには、適切なインストール手順に従って、新しいアプリケーションサーバーを設定します。既存のデータベースに接続するように設定します。サーバーを起動してログインした後、ユーザー名の上にマウスを移動し、ドメインへのリンクをクリックします。左側には、データベースを変更せずにアプリケーションサーバーのみを移行するには、適切なインストール手順に従って、新しいアプリケーションサーバーをセットアップします。既存のデータベースに接続するように構成します。サーバーを起動してログインしたら、ユーザー名の上にマウスを移動し、ドメインへのリンクをクリックします。左側で、レポートやとデータセットを再インデックスします。のインデックスを再作成します。
データベースBellaDatiを別のデータベースインストールに移行するには、PostgreSQLのdumpコマンドを使用してデータベースの内容をバックアップします。BellaDatiを別のデータベースインストールに移行するには、PostgreSQLのdumpコマンドを使用してデータベースの内容をバックアップします:
あなたの新しいシステムにバックアップファイルをコピーし、ターゲット・データベースでそれを復元します。バックアップファイルを新しいシステムにコピーし、ターゲットデータベースに復元します:
異なるアプリケーションサーバーとデータベースサーバーデータベースとアプリケーションサーバーの両方を移行するには:
別のデータベースサーバーあなたは既存のアプリケーション・サーバーを使用し続ける場合は、新しいデータベースを使用するように構成します。既存のアプリケーションサーバーを引き続き使用する場合は、新しいデータベースを使用するように構成します。 インストーラまたはスタンドアロンWindows installer、Mac installerまたはBellaDati Standaloneを使用した場合、BellaDatiのインストールディレクトリにapplication.propertiesファイルを更新して、新しいデータベース接続パラメータを設定します。 GlassFishGlassFishの上BellaDatiのインストールで説明したようにGlassFishの管理コンソールを使用します。
JettyインストーラWindowsインストーラ、Macインストーラ、 Linuxインストーラを使用した場合は、以下の手順に従ってください:
オプションで、構成ファイルを直接変更できます。 スタンドアロンBellaDati Standaloneを使用した場合は、BellaDatiインストールディレクトリの GlassFishInstalling BellaDati on Payaraで説明されているようにGlassFish管理コンソールを使用し、インストーラーを使用してBellaDatiをインストールするのと同じプロセスに従います。 JettyカスタムJettyインスタンスで実行する場合、構成はWARアーカイブ内のパス Jettyカスタムインスタンスで実行している場合は、 TomcatTomcatインストールで定義されたBellaDatiコンテキストを設定します。Tomcatインストールで定義されたBellaDatiコンテキストを構成します。
|
Overview
Content Tools