Versions Compared

Key

  • This line was added.
  • This line was removed.
  • Formatting was changed.
Comment: Removed translated content for 'cs'
Sv translation
languageen

BellaDati can be configured to support Google oAuth2 users log-in.


Info

This procedure is applicable in on-premise installations only.


Prerequisites

  1. Existing Google Developers account in https://console.developers.google.com/project and project created.
  2. Enabled access to Google+ API


  3. Existing client application credentials (web application). Context for callback url is /auth/callback/google.

  4. If your BellaDati instance is running behind the proxy, you have to setup the JVM parameters -Dhttp.proxyHost, -Dhttp.proxyPort, eventually -Dhttp.proxyUsername and -Dhttp.proxyPassword. BellaDati server must have the access to the following domains: www.googleapis.com and accounts.google.com.

Enabling Google log-in

In order to enable the Google log-in on BellaDati log-in page, enter the application as Domain administrator, open the Application settings page, and do the following:

  1. Provide Google Client ID and Client Secret parameters
  2. Enable Google log-in


Warning

Make sure, that the Application URL parameter matches the URL you have entered in Google Developers Console.

Warning

Internet Explorer users must disable the pop-up blocking feature.

Sv translation
languageja

BellaDatiは、Google OAuth2ユーザーログインをサポートするように構成できます。

Info

この手順は、オンプレミスインストールにのみに適用可能です。


前提条件

  1. https://console.developers.google.com/project にある既存のGoogle Developersアカウントと作成されたプロジェクト
  2. Google+ APIへのアクセスを有効にする


  3. 既存のクライアントアプリケーションの認証情報(Webアプリケーション)。コールバックURLのコンテキストは、/auth/callback/google
  4. BellaDatiインスタンスがプロキシの後ろで実行されている場合、JVMパラメーター -Dhttp.proxyHost、-Dhttp.proxyPort、最終的には -Dhttp.proxyUsername と -Dhttp.proxyPassword を設定する必要があります。 BellaDatiサーバーには、以下のドメインへのアクセス権が必要です: www.googleapis.comaccounts.google.com

GOOGLEののログインを有効にする

BellaDatiログインページで、Googleログインを有効にするために、ドメイン管理としてアプリケーションを入力し、アプリケーション設定ページを開き、次の操作を実行します:

  1. GoogleクライアントIDクライアントシークレットのパラメーターを指定します
  2. Googleログインを有効にします


Warning

アプリケーションURLパラメーターが、Google Developers Consoleで入力したURLと一致することを確認してください。

Warning

Internet Explorerユーザーは、ポップアップブロック機能を無効にする必要があります。

Sv translation
languagede

BellaDati kann so konfiguriert werden, dass es die Anmeldung von Google oAuth2-Nutzern unterstützt.


Info
Dieses Verfahren gilt nur für Installationen vor Ort.
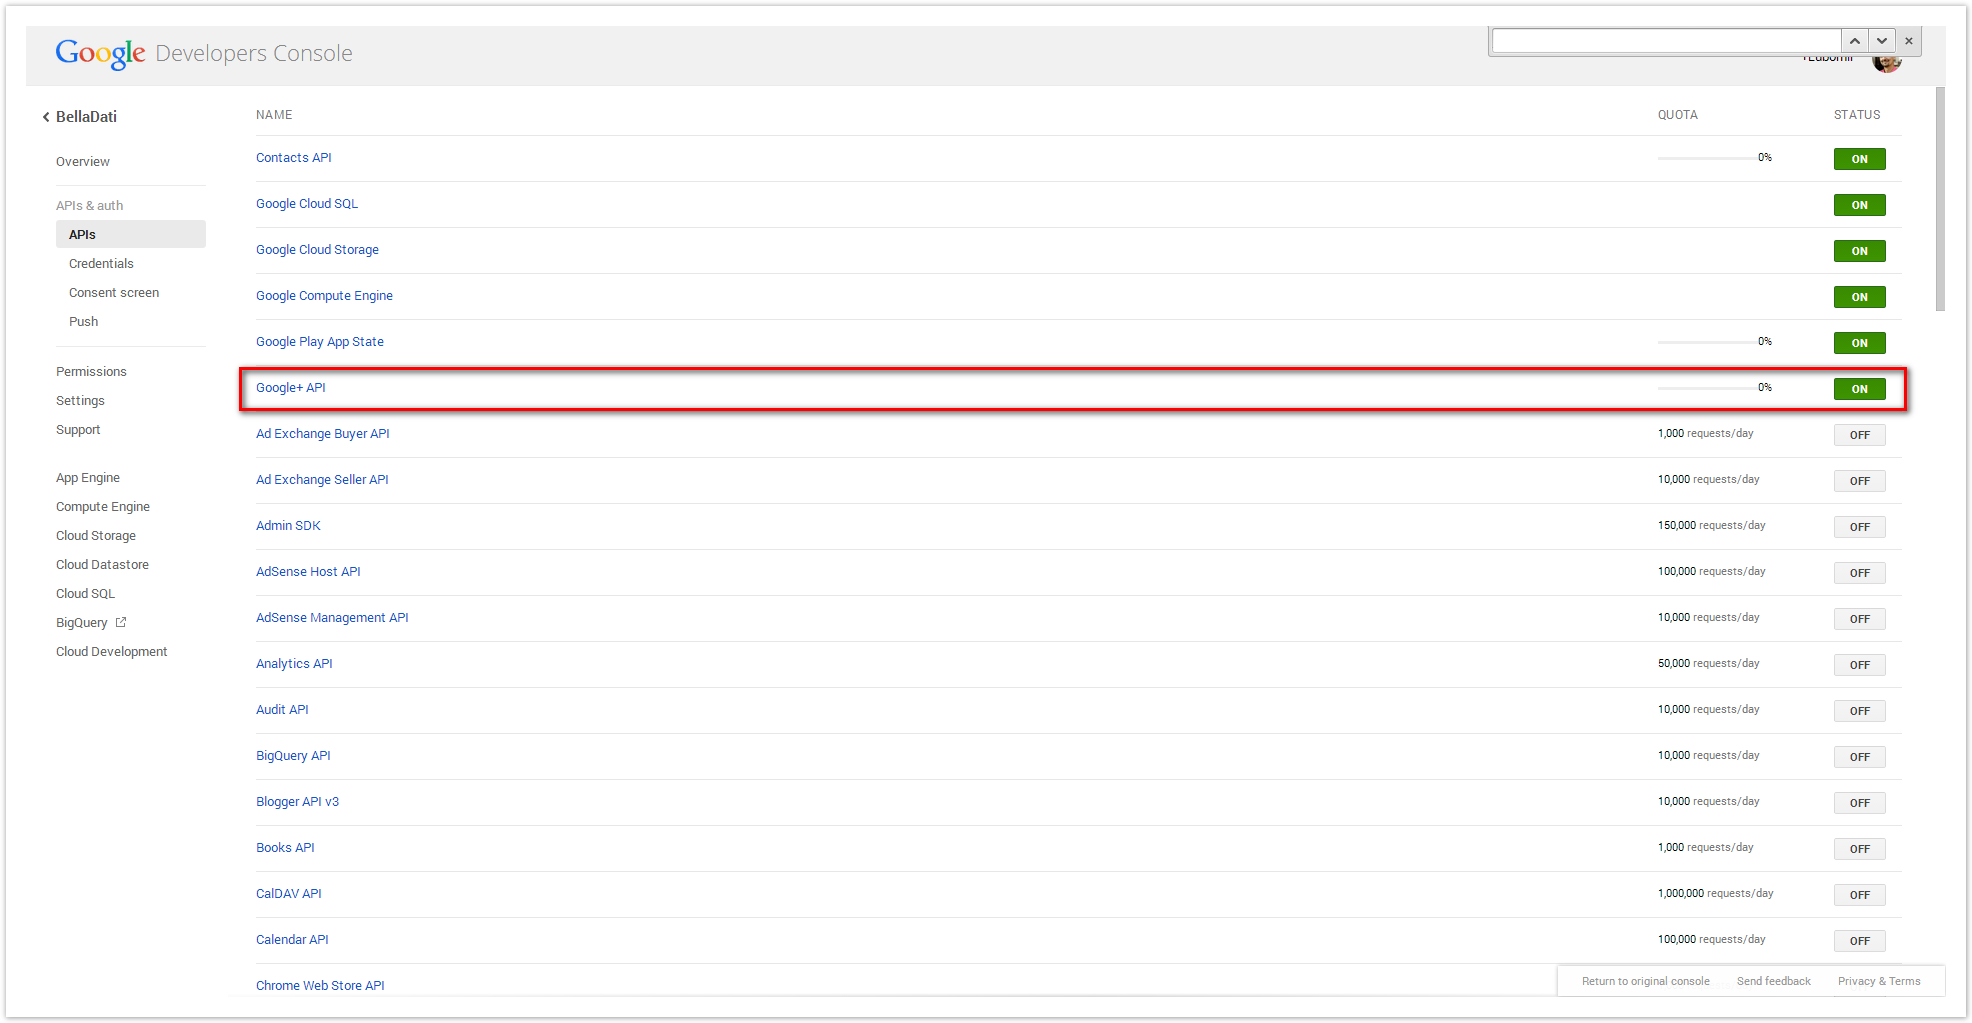
 

Prerequisites

  1. Bestehende Google Developers-Konto in https://console.developers.google.com/project und Projekt erstellt.
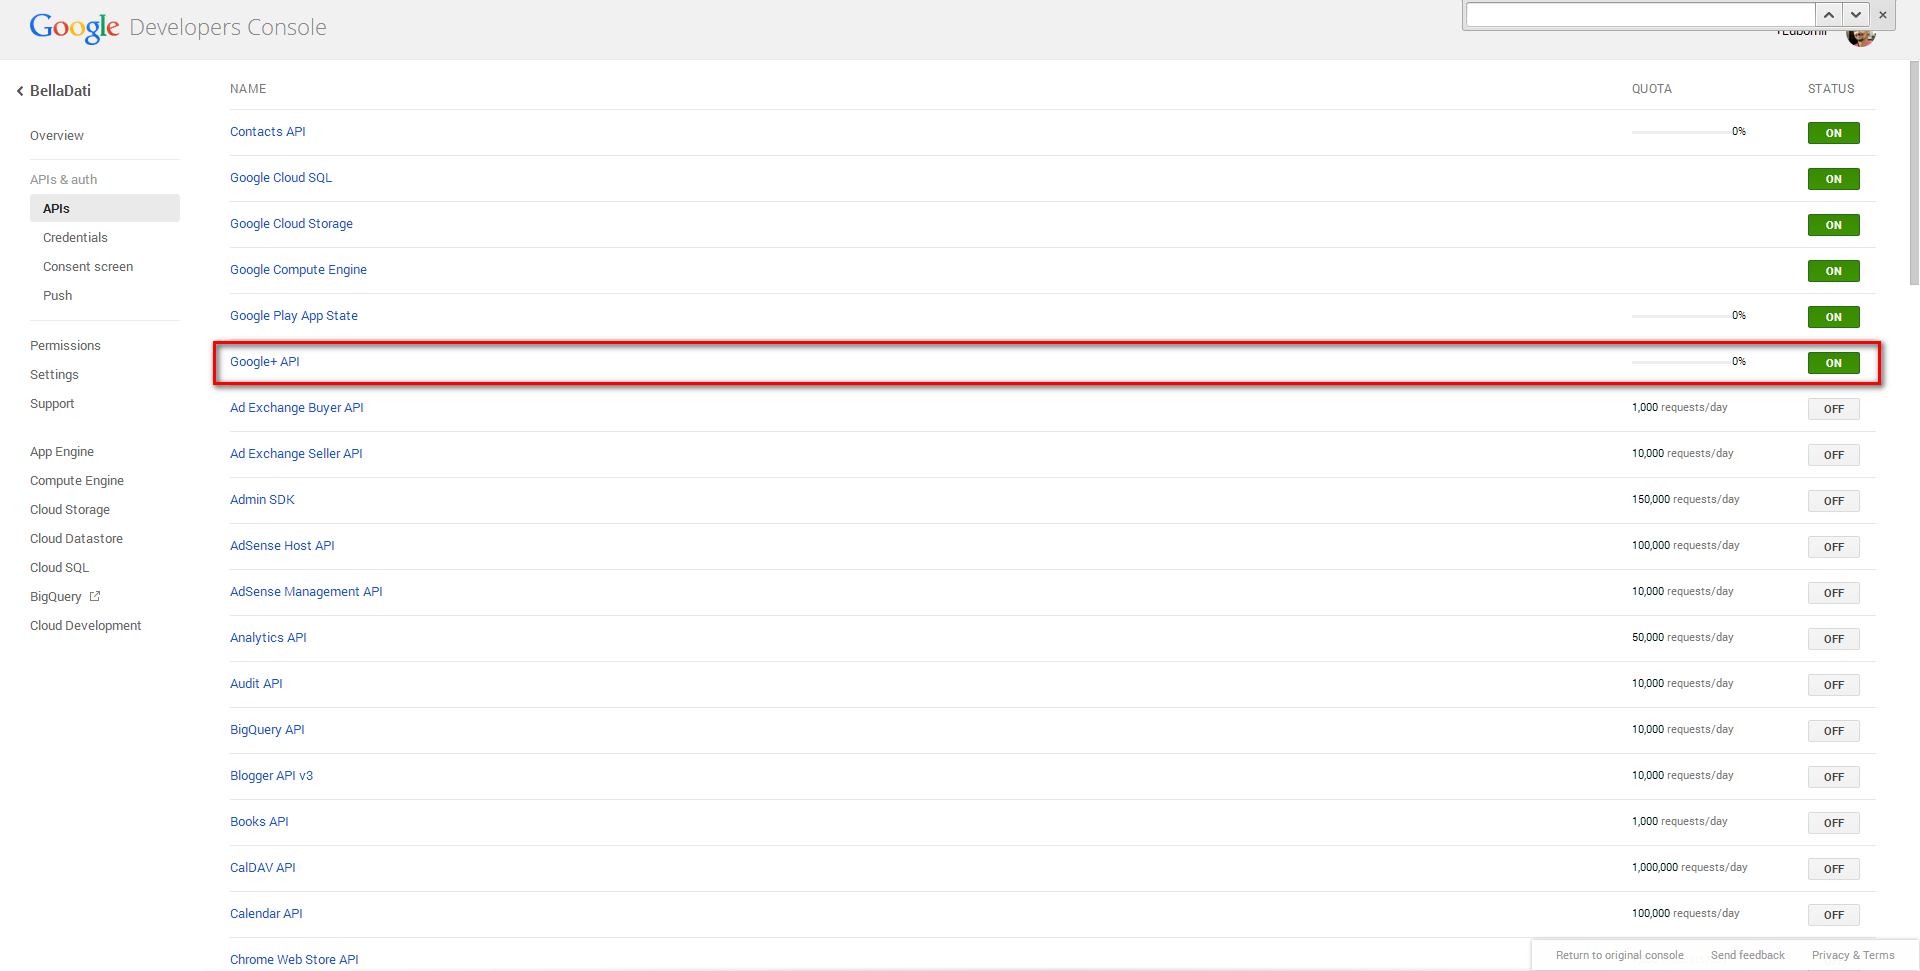
  2. Aktivierter Zugriff auf die Google+ API


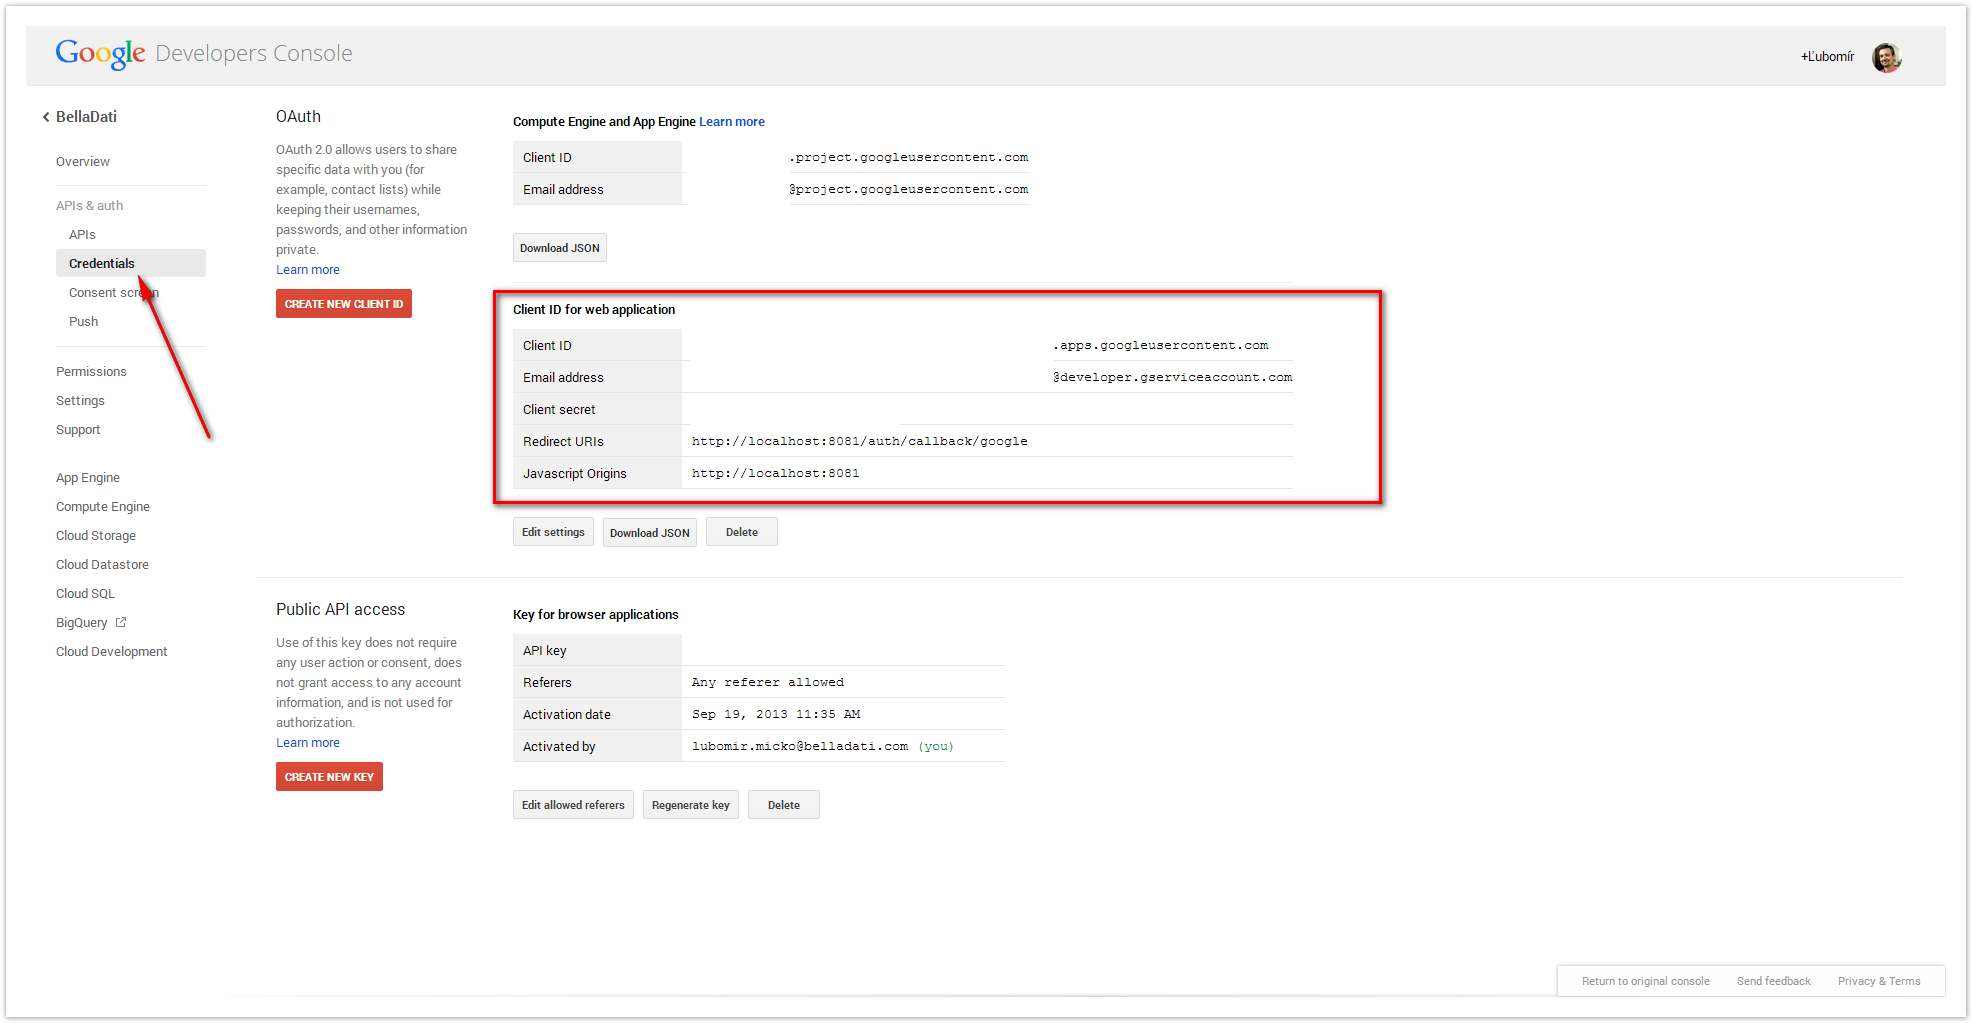
  3. Bestehende Anmeldeinformationen für die Client-Anwendung (Webanwendung). Der Kontext für die Callback-URL ist /auth/callback/google.

  4. Wenn Ihre BellaDati-Instanz hinter dem Proxy läuft, müssen Sie die JVM-Parameter -Dhttp.proxyHost, -Dhttp.proxyPort, eventuell -Dhttp.proxyUsername und -Dhttp.proxyPassword einstellen. Der BellaDati-Server muss Zugang zu folgenden Domains haben: www.googleapis.com und accounts.google.com.

Aktivieren der Google-Anmeldung

Um die Google-Anmeldung auf der BellaDati-Anmeldeseite zu aktivieren, geben Sie die Anwendung als Domänenadministrator ein, öffnen Sie die Seite Anwendungseinstellungen und gehen Sie wie folgt vor:

  1. Geben Sie die Parameter Google Client ID und Client Secret an.
  2. Google-Login aktivieren


Warning

Stellen Sie sicher, dass der Parameter Anwendungs-URL mit der URL übereinstimmt, die Sie in der Google Developers Console eingegeben haben.

Warning

Internet Explorer-Benutzer müssen die Popup-Blockierfunktion deaktivieren.