Page History
...
| Info |
|---|
Data-driven notifications are available from BellaDati 2.9.8. |
Creating notification
Notifications can be created from the data set details. Click the option Notification in the section Data to create new notification and list existing notifications from the selected data set.
...
- Button Back will display the previous tab
- Button Continue will move you to the next tab
- Tab name will display the details of the selected tab
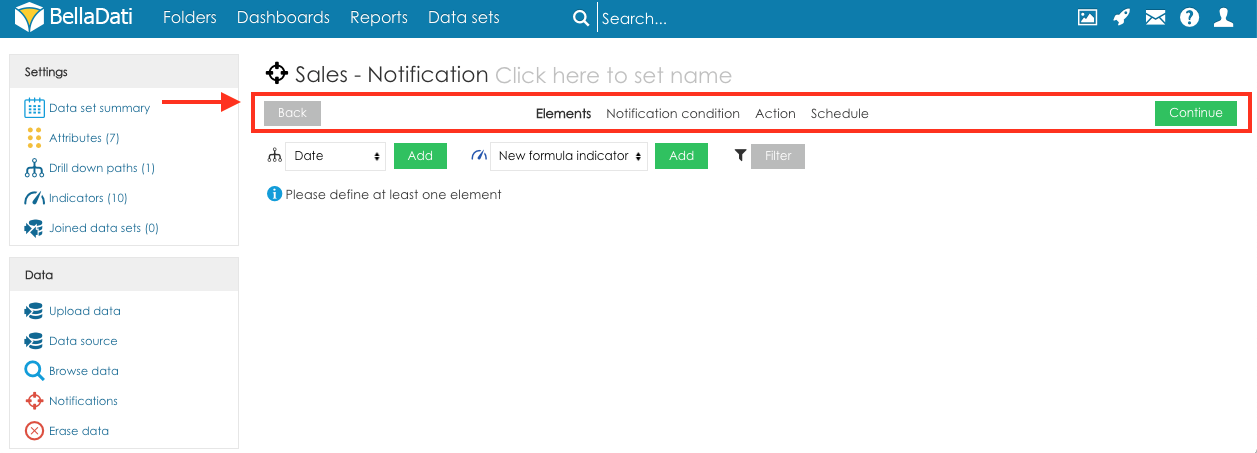
1. Elements
The elements are columns which will be used for the evaluation of the designated condition. The tab elements is used to select the columns will be used for the evaluation of the designated condition. You can add attributes, indicators, formula indicators or filters. Attributes define the aggregation of the condition. For example, if the user selects column Country, the data will be aggregated for each country (one row = one country). The condition will be checked for every country.
...
Click the button Continue to proceed to the next step of the Notification configuration:
2. Notifications condition
The condition defined on the tab Notification condition will be used for the notification evaluation. Elements available for the condition evaluation:
...
Click the button Continue to proceed to the next step of the Notification configuration:
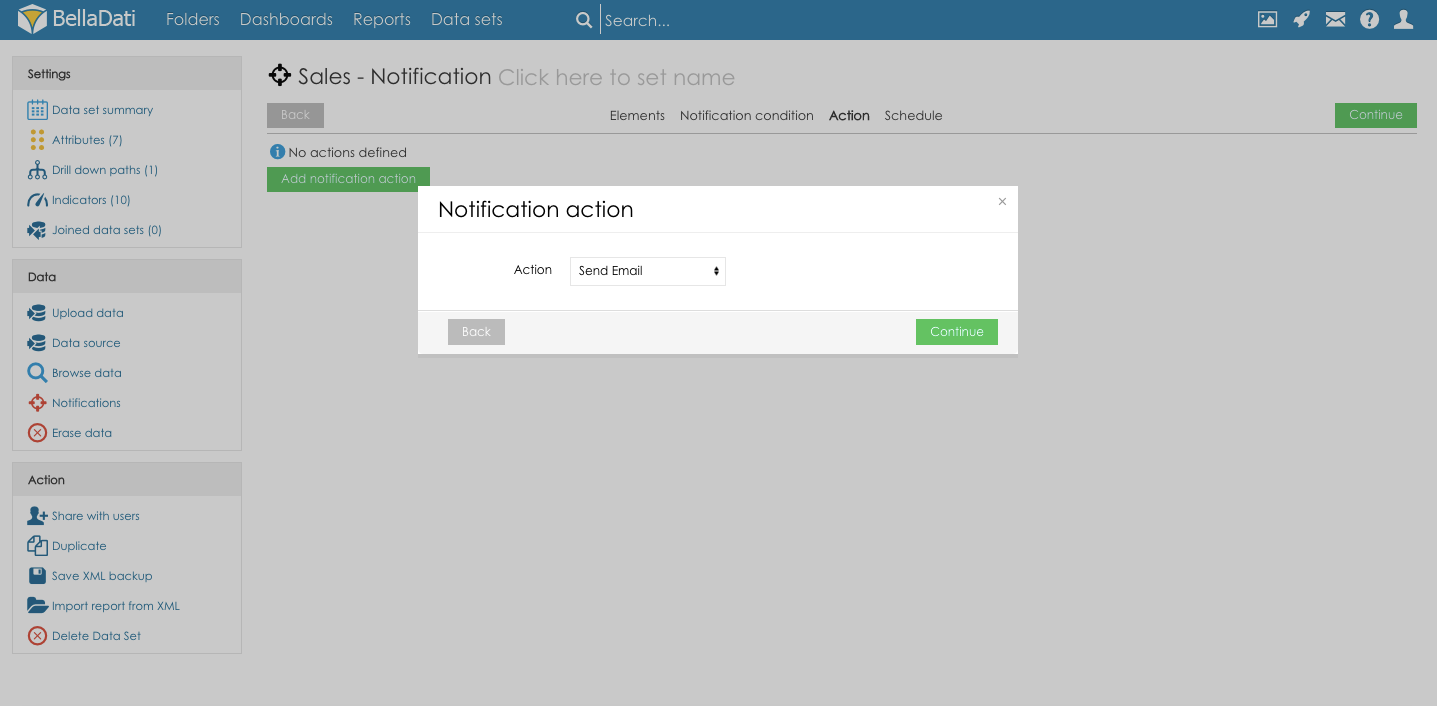
3. Action
Selected action will be used to send the notification in case the Notification condition is met.
- Click the button Add notification action to start creating a new notification
- Select notification action:
- Send email - email notification will be sent to the selected users
- Send FCM notification - push notification will be sent to the smartphones of the selected users (make sure that Firebase configuration is correctly set and Device IDs of the users' smartphones are available in the elements)
- Define message and recipients (the setup is the same for both, email and FCM notifications):
- Subject - Custom message sent in the notification
- Message for recipients - Custom message sent to the notification recipients
- Recipients - select BellaDati users who will receive the notification
- Recipients groups - select BellaDati user groups which will receive the notification
- Take recipients from element - if some element contains the recipients who should be notified when the condition is met, select the column which contains the recipient's contact
- Variables - the Subject and Message for recipients can contain dynamic values based on the actual row value. Following variables are available:
- ${compare_value} - row value based on the aggregation defined in the Elements
- ${operation} - the operation selected in the Notification condition
- ${condition_value} - condition value defined in the Notification condition
- ${L_ATTRIBUTE_CODE} - code of the attribute selected in the Elements
- ${indicator_name} - name of the indicator defined in the Elements
- Click the button Continue to proceed to the next step of the Notification configuration

4. Schedule
The notification schedule defines the date interval in which the notification will be executed. Following options are available:
...
Click the button Continue to schedule the notification.
Managing notifications
Notifications associated with the selected data set
Notifications associated with the data set can be accessed from the data set details. Click the option Notification in the section Data to create new notification and list existing notifications from the selected data set.
...
- Check now - will execute the notification manually
- Show log - Will display the overview of the notifications checks and the results
- Delete - will delete the notification
All notifications
All the notifications can be managed from the screen Data sets - click the action Notifications to open the list of all the Notifications.
...
Overview
Content Tools