Views can be also displayed as tabs - each tab contains selected views, users can navigate between tabs, filters are applied to all tabs.
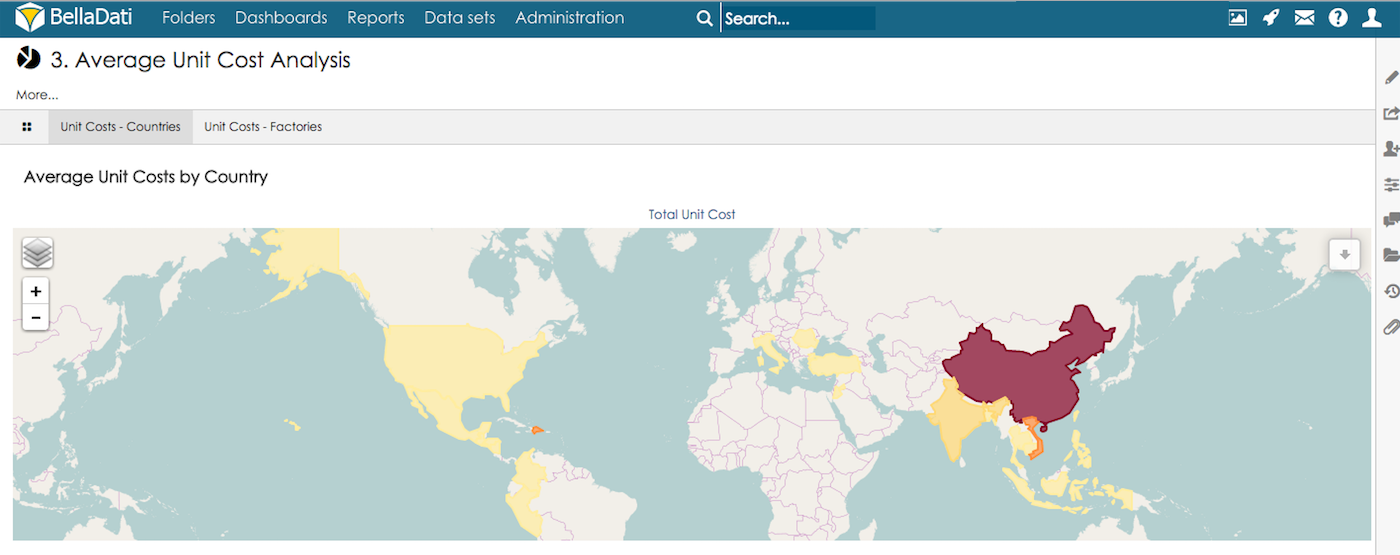
The default tab with all views is displayed only in Edit mode.
Configuring report tabs
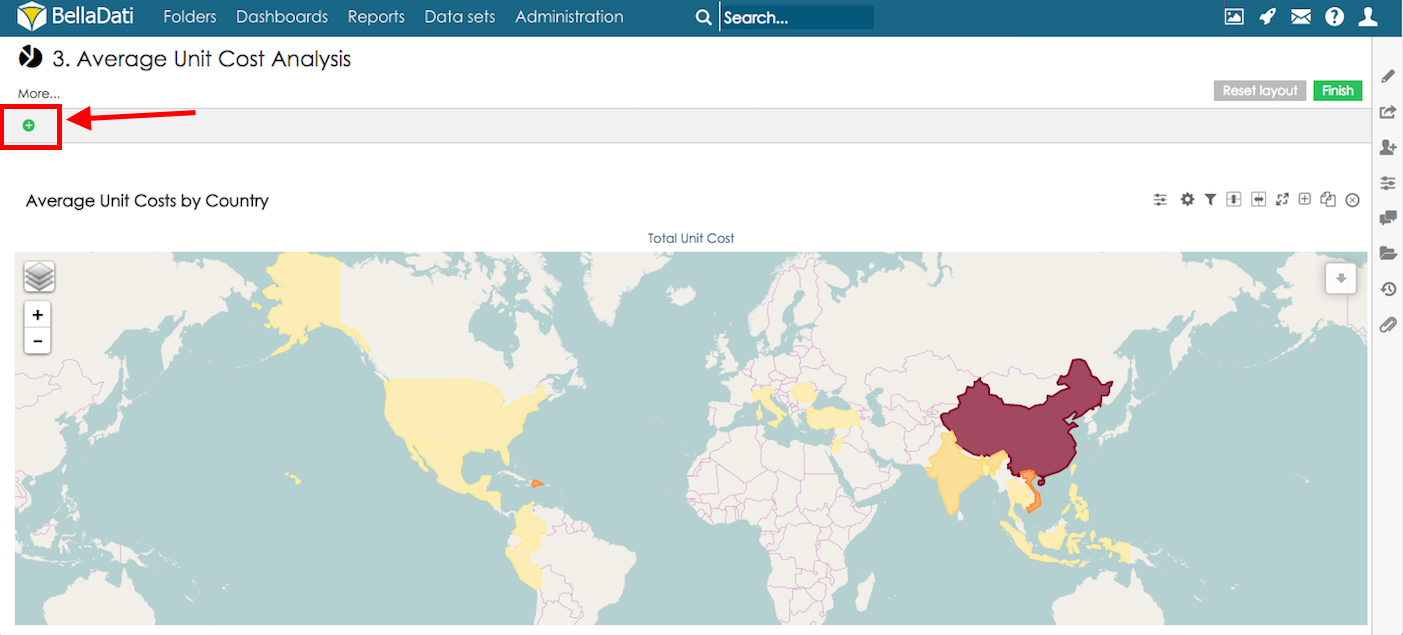
You need to be in Edit mode to configure report tabs.
- Enter Edit mode
- Section with tabs is displayed at the top of the screen:

- Click the green button with + to add a new tab
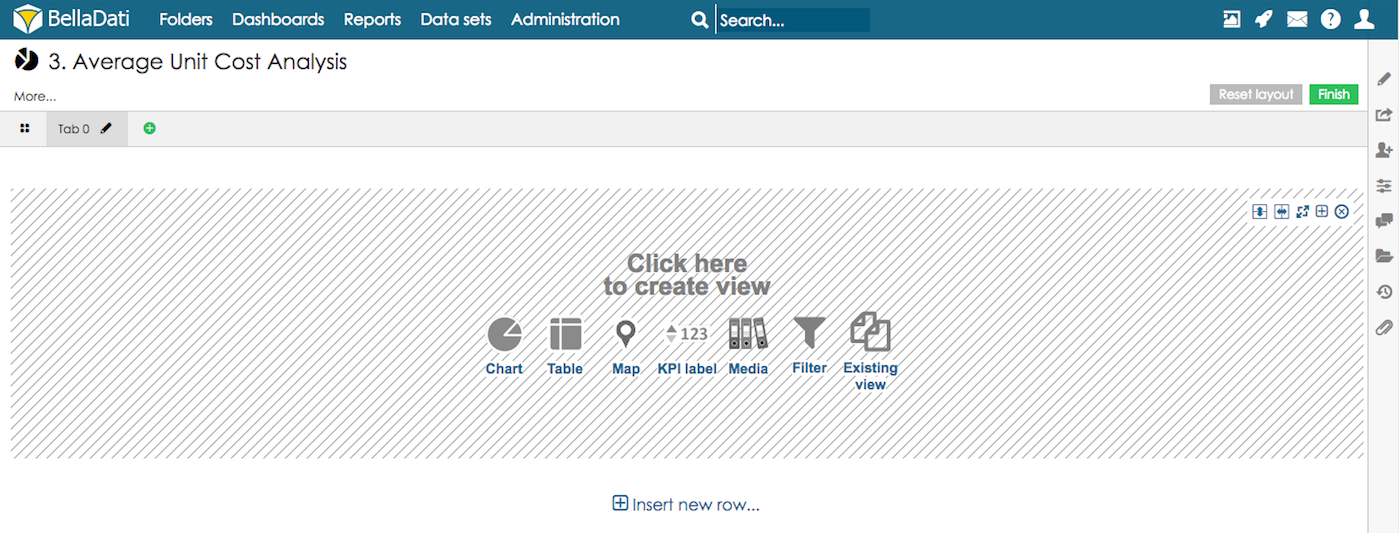
- The newly displayed tab is empty - you can either add an existing view, or create a new view
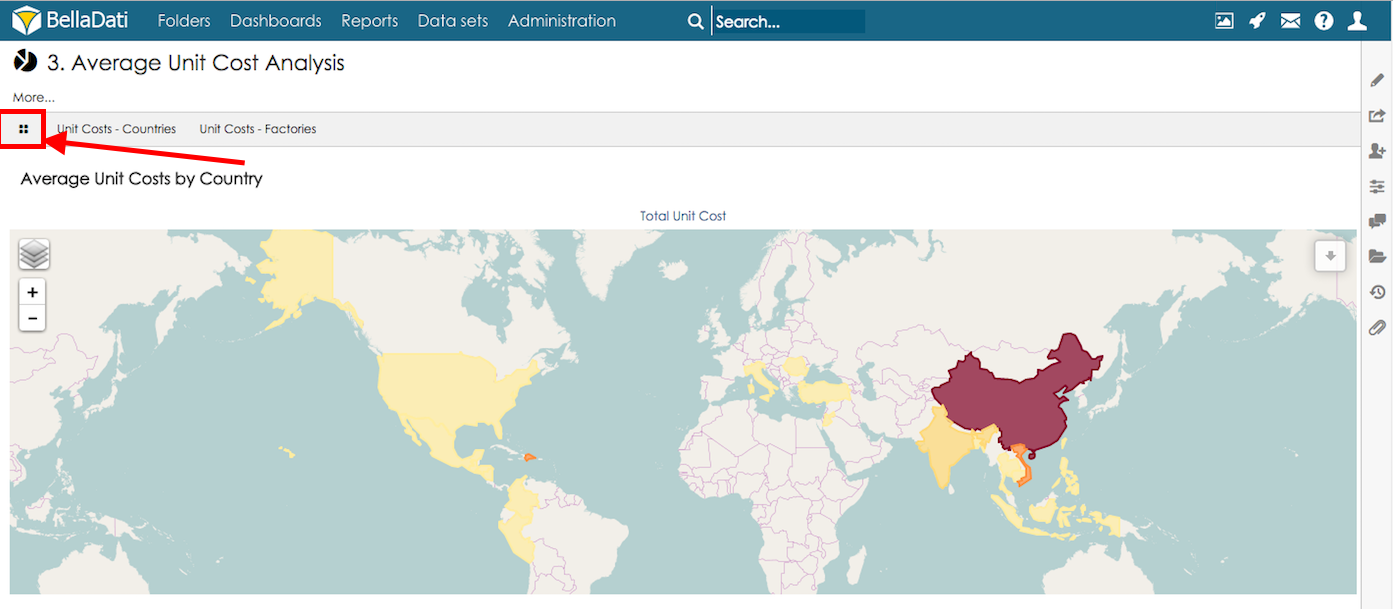
- All report views can be accessed by clicking the button all
- When more than one tab is present, sorting of tabs can be done by using arrow buttons

Managing Report tabs
You need to be in Edit mode in order to manage report tabs
- In order to rename or delete report tab, you need to switch to Edit mode and click on the tab name.
- In newly displayed dialogue window you can
- Change Name to edit displayed label
- Click Delete to remove selected tab

Tabs advanced settings - Custom report flows
BellaDati report tabs can be used to build custom user flows for building new apps and solutions in the BellaDati GUI, these flows cover:
- Validation of the user input and providing required feedback
- Defining of the complete flow for creating new app users
- Providing dynamic outputs based on the user input
Availability
This function is available starting from BellaDati 2.10.3.
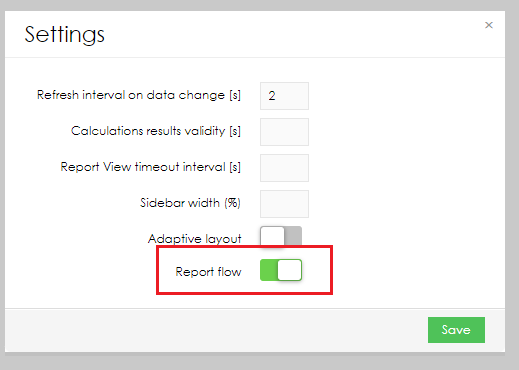
Enabling report flow
In order to use the custom report flow, open the report settings and enable the option Report flow:
Once enabled, the tabs settings will be enhanced with the following settings:
- Label Next - define label for button next (clicking this button will move the user to the next step - tab)
- Label Back - define label for button back(clicking this button will move the user to the previous step - tab)
- Transition View - select the view that will be used for navigation to the next/previous step
- Transaction action HTTP method - select HTTP method that will used when sending a request to the custom endpoint (POST or GET can be selected)
- Transaction action URL - define URL of BellaDati endpoint for sending custom request (for validation, creating new user)
- Transaction action HTTP Content - define HTTP content that will be sent together with HTTP post, report variables can be included, user $ with the code of your report variable (e.g. $L_CITY)
- Transition finished URL - define URL for redirection in the last step of the flow, this URL is applied only in the last tab

Defining custom form
Create a custom content view and define a custom html form:
 <form>
  <label for="var1">Registration plate:</label>
  <input type="text" id="var1" name="var1"<br><br>
</form>
Make sure that a variable with a code "var1" exists in the report. This variable will be used to load the value when navigating between reports.
Please follow the use case with the complete steps for configuring the custom flow.
Overview
Content Tools