Action button allow you to create buttons and attach a action to it
You need to be in edit mode in order to create new tables. Click on "Edit" in top report menu to activate edit mode.
To add a new Action button, hover over free place and click on Media than Action button view type. The Add Action button dialog box will appear.
- Enter name of the new Action button view.
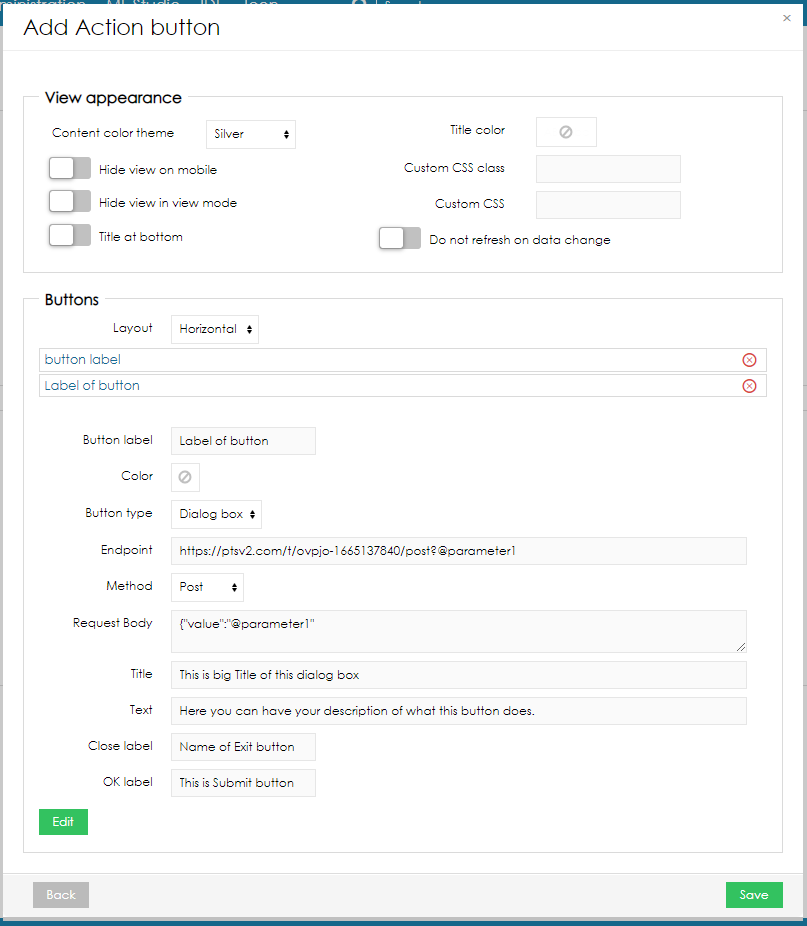
- Edit your action button

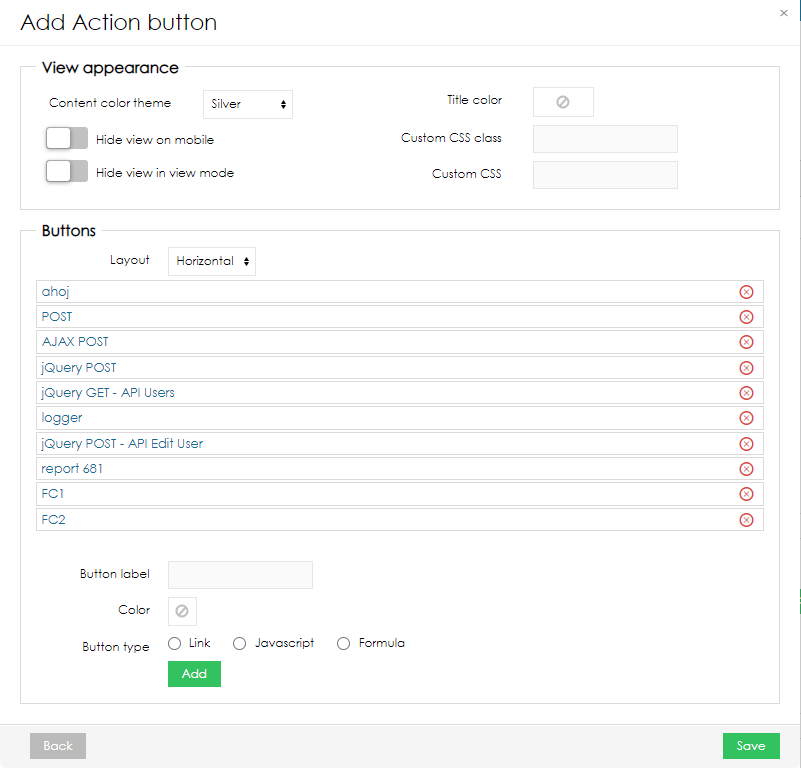
View appearance
Here you can set appearance of view.
- Content color theme
- Title color
- Custom CSS class
- Custom CSS
- Hide view on mobile
- Hide view in view mode
Layout
The layout option defines how the list of buttons will be arranged in the report. Layout is applied globally to all the buttons in one view.
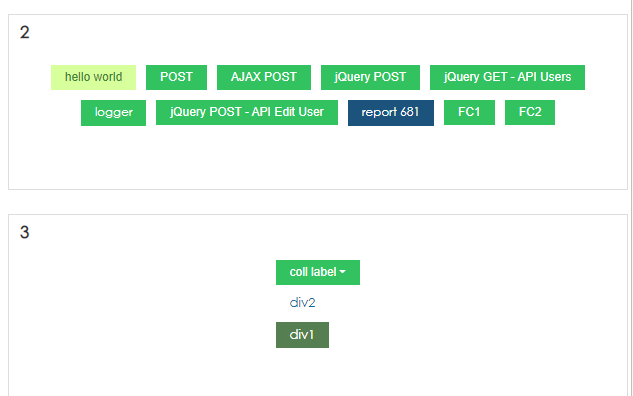
- Horizontal - will sort buttons horizontally
- Vertical - will sort buttons vertically
- Collapsed - will display Parent button, which can be expanded after clicking and display vertically all the child buttons
- Bullet - will display a fixed bullet format context menu, which can be expanded after clicking and display vertically all the child buttons
Button label - Text that will be the title of a button (not applied to the Bullet layout)
Color - for each button, you can select its color style
Button types
This option defines type of the action that is executed by clicking the button.
- URL - this type of button will redirect you to specific site, call specific endpoint or display the import flow for upload to the data set. The detailed configuration options can be found on the dedicated page.
Javascript - will execute javascript. Code does not need to be wrapped inside <script> tag. Formula can be also executed here with
{formula}your_formula_code{formula}- Formula - this part can execute formula code or groovy script.
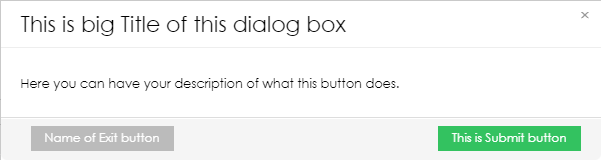
- Dialog box - This one combines link in new Dialog windows. You can add a description of your button. You can pass parameters as a query string or in Request Body. You can use formula in description (example: Do you want to delete {formula}L__1_FIRSTVALUE{formula}? )
- Run ML project/pipeline - Allows you to create button, that will launch project or whole pipeline.
Appearance via formula - is used to define whether the button will be enabled to the user. If formula returns true, button will be available to the user.
Post-action redirect - This can be used with dialogue window. You can set your dialogue window to update data when OK is pressed and then redirect user to specific report or view.
Simulate another button click as post-action
Using post action formula, you can simulate click on different button. So after you action is done, new button will be clicked, and it can be used to open for example new modal box. Here is an example of javascript code that click on different button
require(['bd/zone'], function (bdZone) {  bdZone.findById('popupZone').updateFromURL('/bi/report/detail.report.layout.rvd.actionbutton:openpopupindex/0?t:ac=265&vr=265-nTNBDTafVF');
});
Notice the last values 0?t:ac=265&vr=265-nTNBDTafVF
- 0 - index of button, if multiple buttons are in view
- 265 - id of report
- 265-nTNBDTafVF - id of view
Using this, you click on first button in report 265 from view 265-nTNBDTafVF.
Example
Here is an example how to turn light ON using action button and IOT without verification.
Create button, call it ON and add JavaScript
let data=JSON.stringify({"status":"on})
$.post( "http://localhost:8201/data, {data})
  .done(function( data ) {alert( "Data" + data + " were sent: ");});
This JavaScript will send payload {"status":"on} to IOT receiver which is on localhost:8201 and is set to accept HTTP request without authentication. Here you can find how to set General Receiver Configuration
Connect your sender to receiver. Here you can find how to set General Sender Configuration
Set automated action MQTT on your sender and send it to your device. Set second action to send data to BellaDati and store your status to BellaDati dataset.
Here we do not verify any response from device. If we would like to verify it, you can set up second receiver, set it to receive MQTT message from that device, pass it to second sender and store that to BellaDati.
In report, create KPI label and read last value of your column, you have chosen to store your status. When new data are obtained, report refreshes it self automatically Getting Last Available Value
Overview
Content Tools