The URL button type provides multiple options to use, this page provides examples of the available options:
Link
The link defines the URL that will be requested when clicking the button. The following options can be used:
- report:ID - will show the report based on the specified ID
- report:alias - will show the report based on the specified alias
- dashboard:ID - will show the dashboard based on the specified ID
- dashboard:alias - will show the dashboard based on the specified alias
- dataset:ID - will show the dataset based on the specified ID
- dataset:code - will show the data set based on the specified code
- import:datasetID:importTemplate - will show the data set import flow based on the specified data set ID and import template, please see the details of the import flow at the related section of this page
Link target
Specifies how the predefined link will be displayed, the following options are available:
- New tab - will open new browser tab with the predefined link
- Current tab - will display the predefined link in the current tab
- Open in a popup - will display a popup window with the predefined link
- Dialog popup - will display a custom dialogue popup window
Width x Height
Applied to the links displayed in the popup (Link target is Open in a popup or Dialog popup). Specified values define the popup window size in pixels.
Show buttons
When this option is enabled, the dialogue window will contain buttons Close and Save for work with the dialogue window.
The button Save is displayed only if the link contains view with the BellaDati form. Clicking the button Save will save this form.
Popup header
Defines dialog window header.
Display import flow
The import flow is used to allow users upload data to the data set directly from the reports without any knowledge of the BellaDati data set. The data can be either added or updated.
The Link for the specification of the import flow is defined in the following format: import:datasetID:templateID?text=Description of the import
| Parameter | Value | Description |
|---|---|---|
| dataSetID | 1 | ID of the data set to which the data will be imported |
| templateID | 11 | ID of the import template that will be used for the import |
| text | Some text | Description text that will be displayed at the beginning of the import flow |
Getting the import template
- Make sure you have the developer mode enabled. If not, enable it in the user profile (see http://support.belladati.com/doc/Managing+User+Profile - Chapter Appearance settings)
- Go to Data set summary and open the Import history.
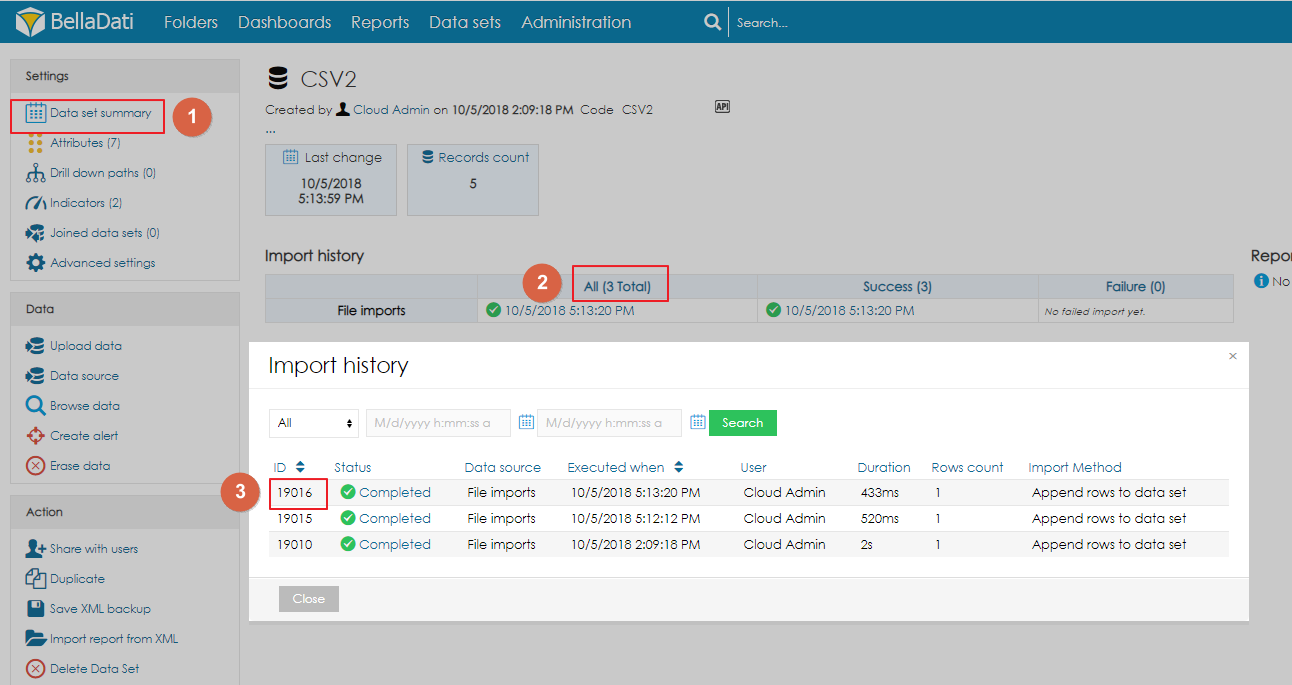
- Copy the ID of the import, which will serve as the Import template.
Getting the data set ID
The data set ID can be found in the URL:
- Open the target data set
- Copy the value behind /detail/. Example: for the URL /bi/dataset/detail/1596, the data set ID is 1596
Workflow:
Step 1: select the import file
- The value described in the parameter text is displayed below the header
- The link to the template file contains the same file that has been used in the import template
- Click the button Browse to select file that will be uploaded
- Click the button Continue to proceed to the next step

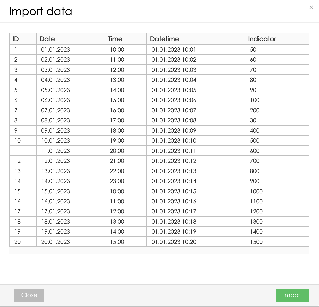
Step 2: preview imported values
This step shows preview of the imported values. In case some data are not valid, error is displayed for the related column. The data will be uploaded after clicking the button Import.
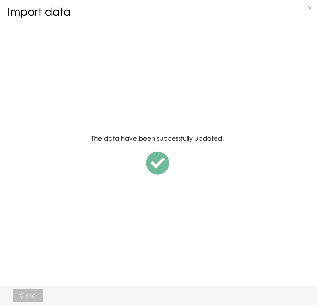
Step 3: Import completed
This screen is displayed once the import to the data set is completed.
Overview
Content Tools