The following file formats are supported for manual import in BellaDati: - CSV (plain text files)
- Microsoft Excel (XLS, XLSX) - Office 2003 - 2016 (previous versions not guaranteed)
- XML files
- ZIP files (containing one or more supported file formats above)
- JSON files
To import file: - Go to the Data Set page
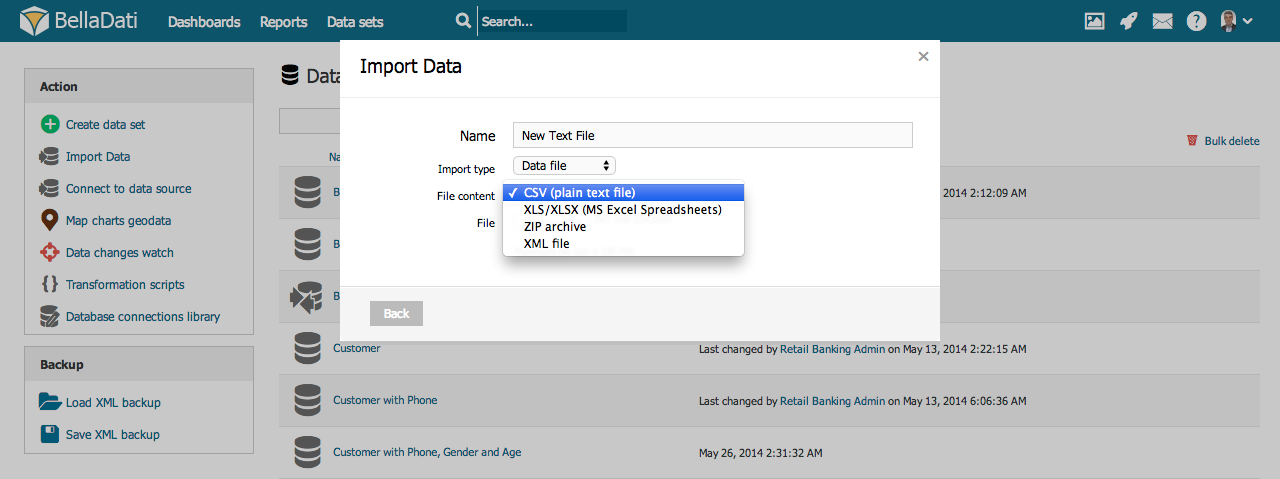
- Select Import data
- Choose Data file in Inport type
- Select appropriate Data file format
| Info |
|---|
After selecting the data file, you need to wait until the file is uploaded. |
| Note |
|---|
Please note, that default maximum file size to import is 20MB. BellaDati Unlimited or BellaDati On-Premise may have different file size limits. You can compress the file size when importing it in a ZIP archive (see below). |
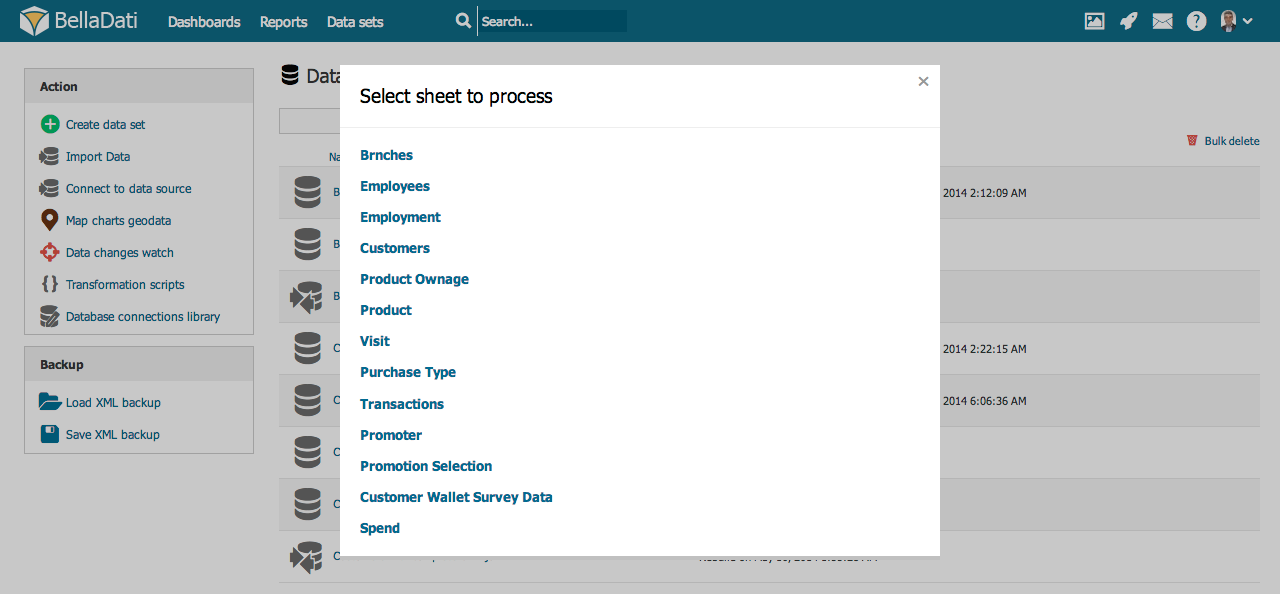
Importing from CSVWhen you are importing from CSV, please continue directly to Import settings page. Importing from Microsoft ExcelAfter uploading XLS/XLSX file you will be prompted to select the desired spreadsheet list. | Info |
|---|
List selection will not appear when your Excel spreadsheet contains only single list. |
Importing from XMLIn the XML importing guide, you will be prompted to select the row tag, which represents repeatable data sentence. The following example illustrates it on XML file containing employees: | Code Block |
|---|
<employees>
	<employee>
		<name>Jan</name>
		<surname>Novak</surname>
	</employee>
	<employee>
		<name>Petr</name>
		<surname>Novak</surname>
	</employee>
        ...
</employees>
|
In this case, the row tag is <employee>. 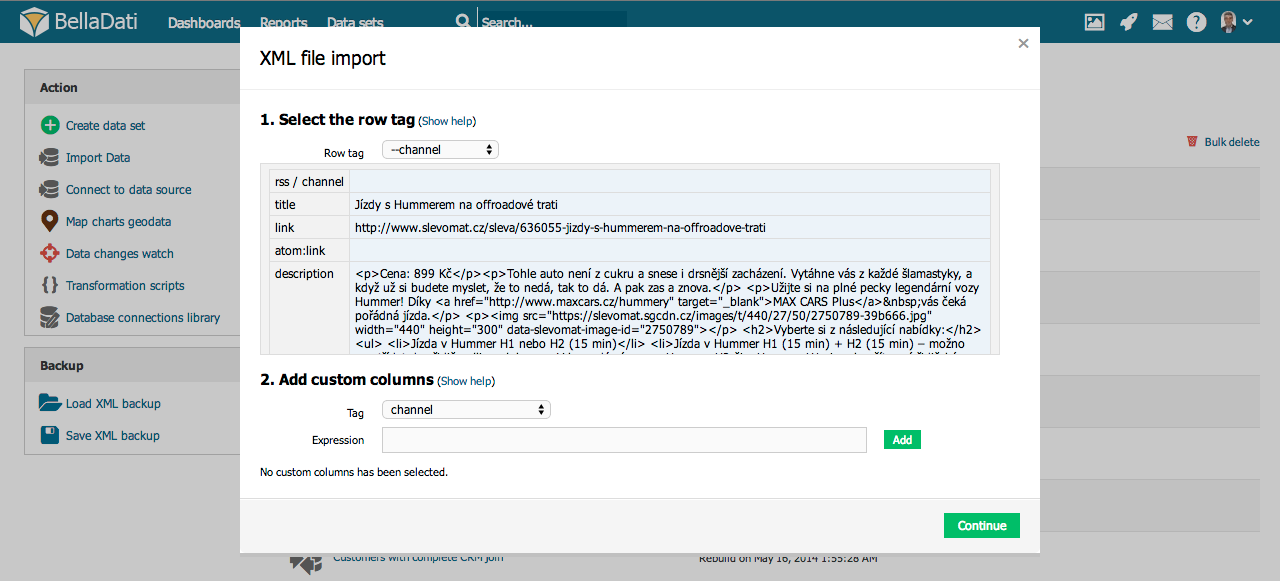
- Row tag: Select repeating tag in XML structure. Check extracted content in the preview on the left.
- Optionally, you can add custom columns repeatedly: Select items and/or attributes when XML structure is not straightforward.
| Tip |
|---|
You can use the xPath syntax for the custom columns definition. For more info proceed to tutorial with example, how custom columns can be set. |
Importing from ZIPImporting data compressed as ZIP archive represents an effective way how to reduce imported file size and also upload times significantly. It can contain the following file formats: - Plain text (CSV)
- Microsoft Excel (XLS, XLSX)
- XML
Please follow corresponding chapters above to continue importing Microsoft Excel or XML file formats. | Info |
|---|
New data set will not be created until the import process will have been successfully completed. |
Importing From JSON| Note |
|---|
Importing from JSON is available since BellaDati 2.9 |
BellaDati also allows users to import data from JSON file. By using special transformation functions, it is possible to parse JSON arrays and objects. In some cases, it might be necessary to change Array element to correctly parse the data into rows. This can be done in the import settings. 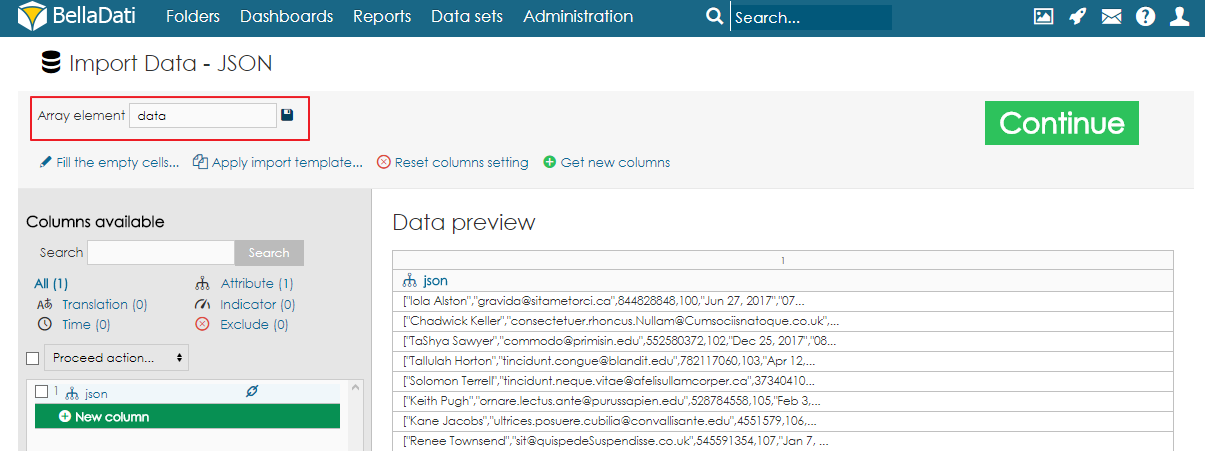
After choosing the Array element correctly, it is possible to use the function parseJSON() to load the JSON value into a variable and then access the values by using functions getString(), getInteger(), getDouble(), etc. to load the values. To access a nested object, users have to use function getJSONObject(). To access an array, function getJSONArray() is available. | Info |
|---|
If the Array element is nested into another object, use "," character to separate the Array path. |
ExamplesLet's have a JSON file with following structure: | Code Block |
|---|
| {
"sales": [{
"category": "Food",
"summary": {
"totalPrice": 136,
"totalItems": 8,
"cashierName": "John Doe",
"items": [{
"name": "Bread",
"amount": 5,
"price": 55
},
{
"name": "Butter",
"amount": 3,
"price": 81
}
]
}
},
{
"category": "Drinks",
"summary": {
"totalPrice": 40,
"totalItems": 5,
"cashierName": "Jane Doe",
"items": [{
"name": "Water",
"amount": 2,
"price": 10
},
{
"name": "Juice",
"amount": 3,
"price": 30
}
]
}
}
]
} |
To be able to get the values, users need to specify sales as Array element. To get the category, add a new column as an attribute and use following code: | Code Block |
|---|
| JSONElement e = parseJSON(value(1))
return e.getString('category') |
To get the total items, add a new column as an indicator and use following code: | Code Block |
|---|
| JSONElement e = parseJSON(value(1))
JSONElement f= e.getJSONObject('summary') as JSONObject;
return f.getInteger('totalItems') |
To calculate the total price from all the item prices, use this formula: | Code Block |
|---|
| JSONElement e = parseJSON(value(1))
JSONElement f= e.getJSONObject('summary') as JSONObject;
total = 0;
f.getJSONArray('items').each()
{
JSONObject o = it as JSONObject;
g = o.getInteger('price') as Integer
total = total + g
}
return total |
Let's have this JSON: | Code Block |
|---|
| {"sensorId":"sensor01","values":["sensor01","2018/9/28 18:17","26.55","42"],"mqttTopic":"belladati","mqttMessageId":-1} |
To access value from the JSONArray, use this formula: | Code Block |
|---|
| JSONElement e = parseJSON(value(1))
JSONArray a = e.getJSONArray('values') as JSONArray
a.getString(2) |
Let's have this JSON: | Code Block |
|---|
| {
"data":
{
"total":123,
"data":
[{
"name": "Water",
"amount": 2,
"price": 10
},
{
"name": "Juice",
"amount": 3,
"price": 30
}
]
}
} |
In this case, we need to set "data,data" as the Array element. In order to get the value from the element name, we can use the following transformation script: | Code Block |
|---|
| JSONElement e = parseJSON(value(1))
return e.getString('name') |
Next Steps |