Page History
| Sv translation | ||||
|---|---|---|---|---|
| ||||
When data reaches selected condition, data-driven notification automatically sends an email or push notification to the people you specify. You can set data-driven notifications in the data sets.
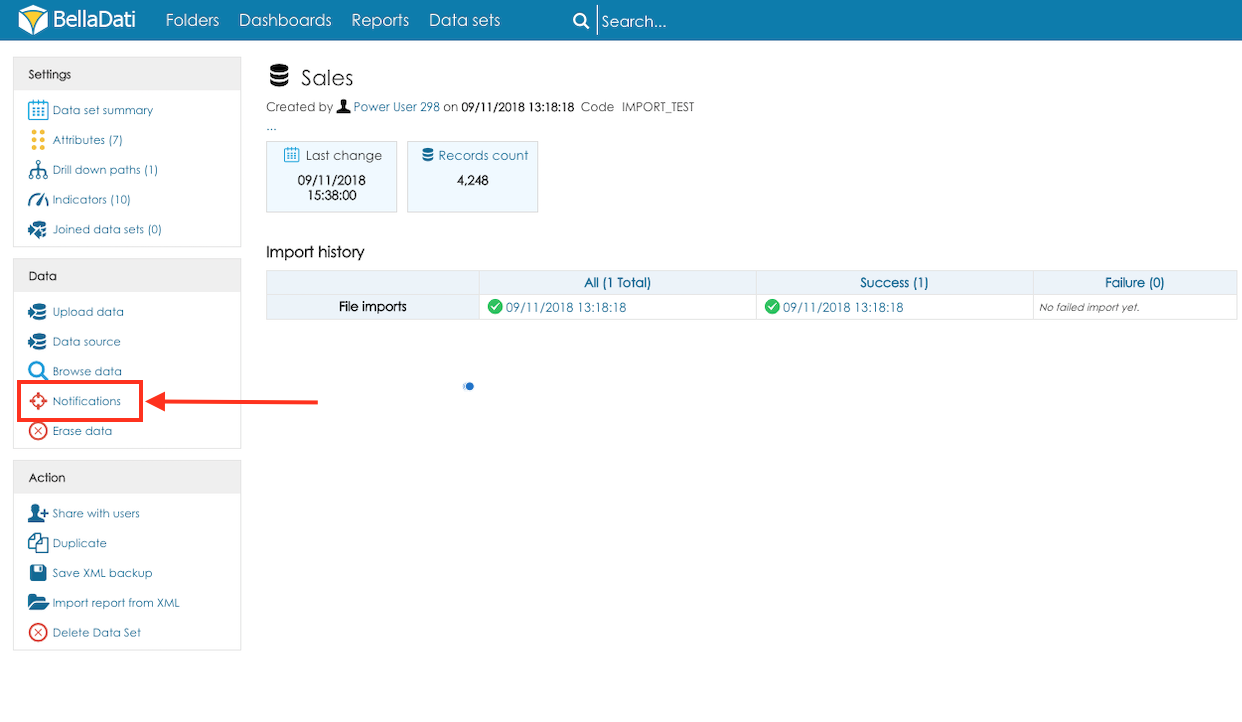
Creating notificationNotifications can be created from the data set details. Click the option Notification in the section Data to create new notification and list existing notifications from the selected data set.
Click the button New notification to open the Notification wizard.
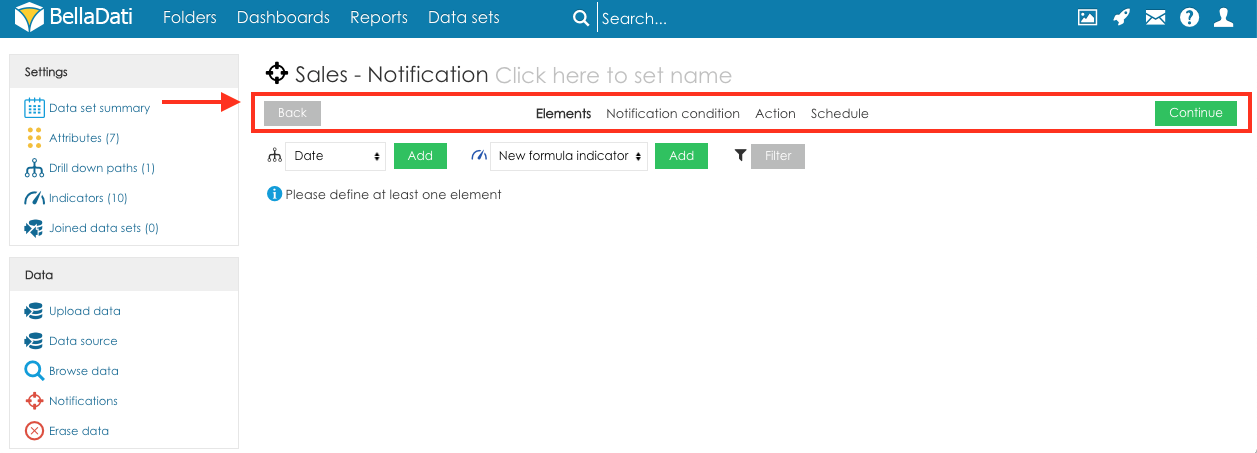
The notification wizard will guide you through the steps required for creating a new notification. Each step is displayed as a separate tab. Use the navigation at the top of the screen to navigate in the notification wizard:
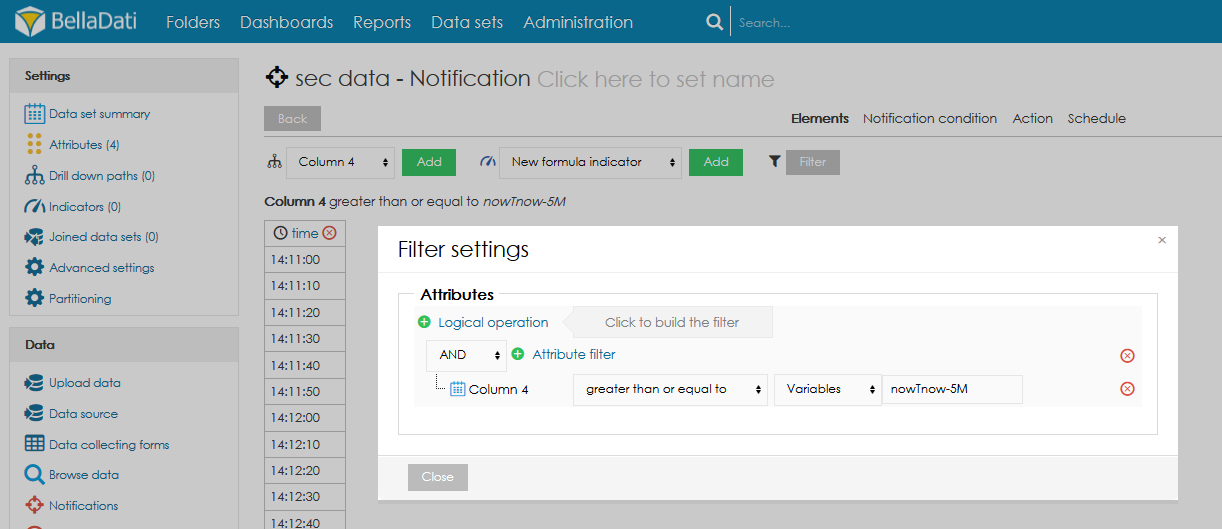
1. ElementsThe elements are columns which will be used for the evaluation of the designated condition. The tab elements is used to select the columns will be used for the evaluation of the designated condition. You can add attributes, indicators, formula indicators or filters. Attributes define the aggregation of the condition. For example, if the user selects column Country, the data will be aggregated for each country (one row = one country). The condition will be checked for every country. The filter can also work with the actual date. To use this function, the data set has to contain a DateTime attribute. Then, users can configure a filter that will return only values from the selected interval, e.g. from last five minutes:"nowTnow-5M".
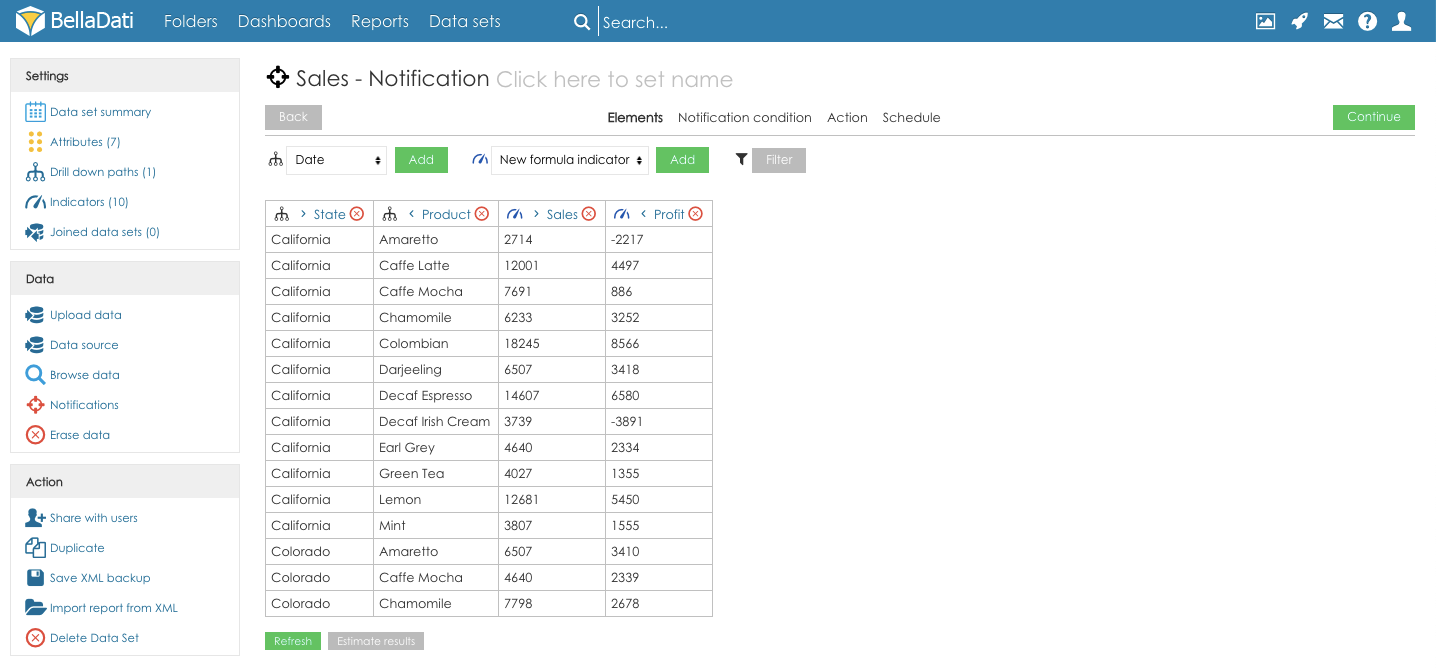
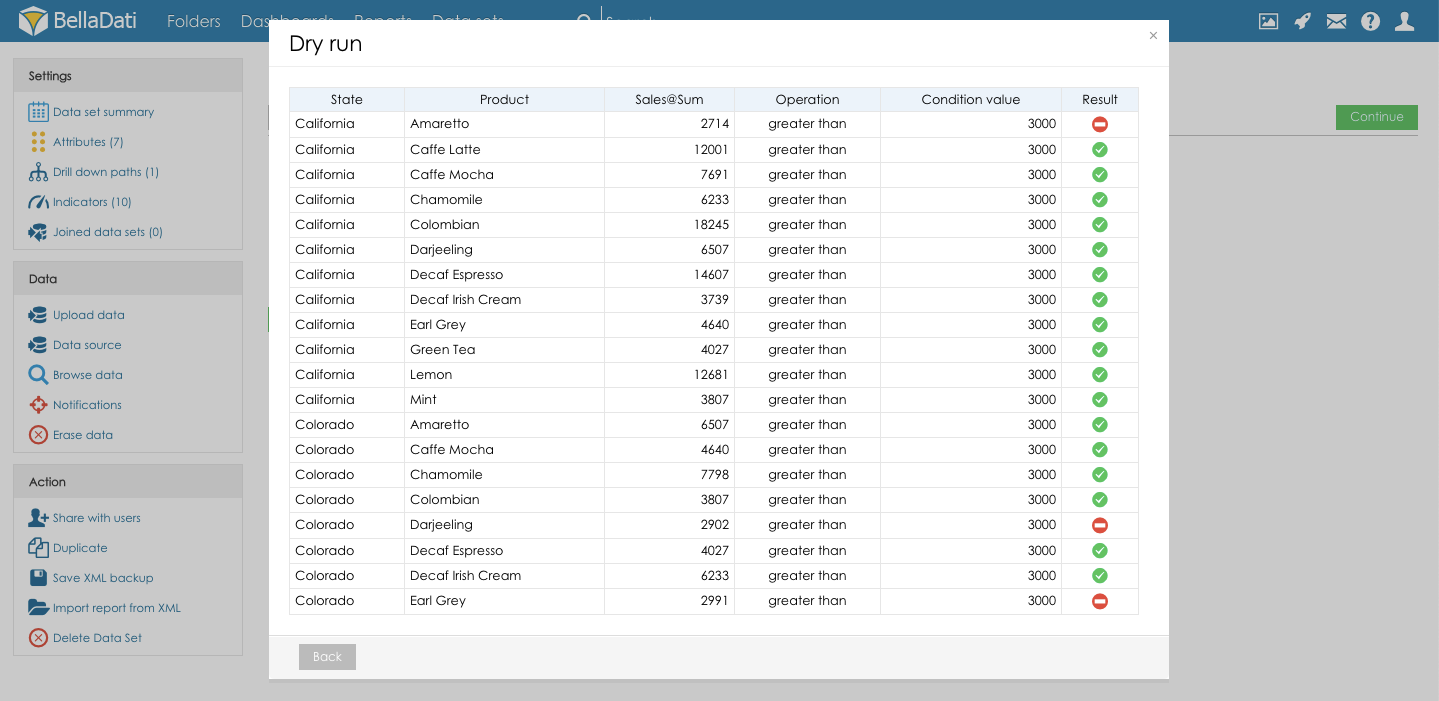
Users can also create formula indicators (the process is the same as when creating formula indicators in the report). The preview of the table which will be used for the evaluation of the condition is displayed below the panel for adding the elements. Please note that the preview is built on the data sample only, which means that it can be empty, although some data will be validated. It is possible to change the order of the attributes and dates by using the arrows displayed next to the names of the columns in the header of the preview.
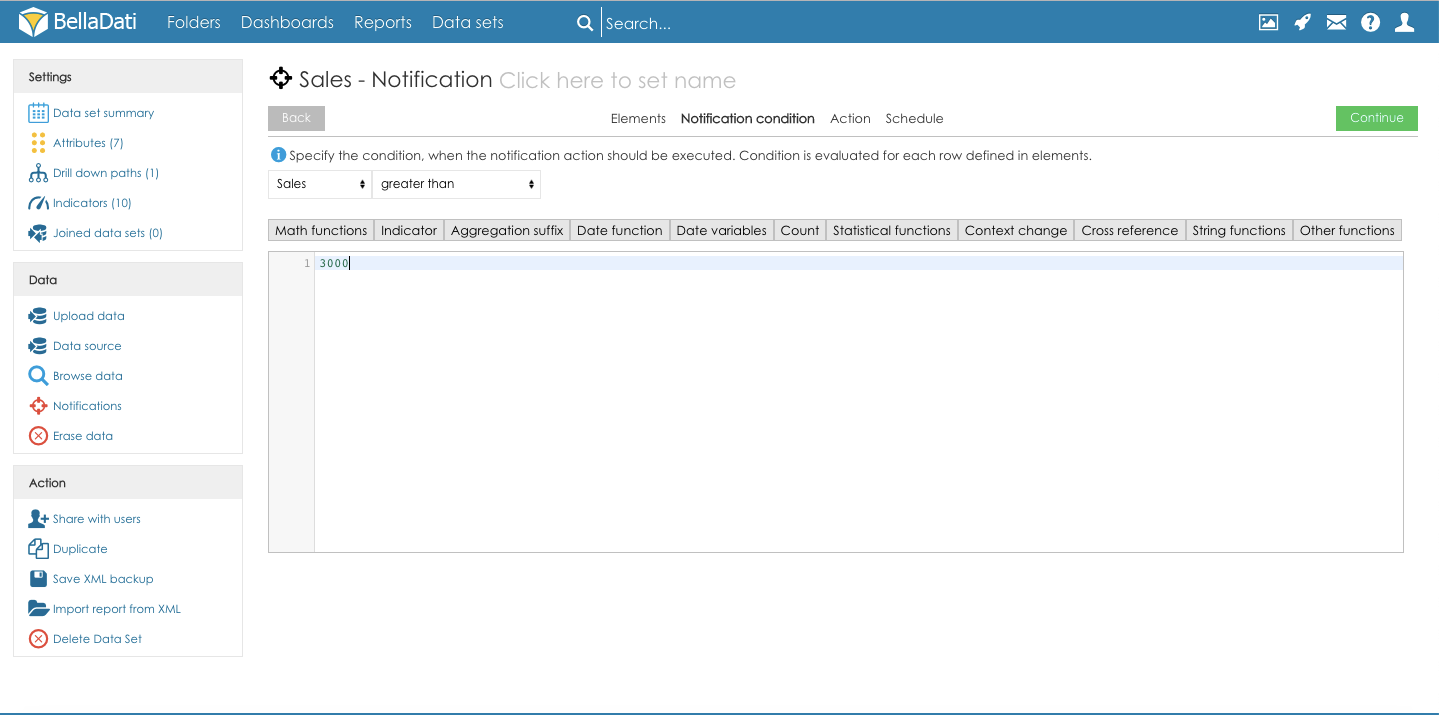
Click the button Continue to proceed to the next step of the Notification configuration: 2. Notifications conditionThe condition defined on the tab Notification condition will be used for the notification evaluation. Elements available for the condition evaluation:
The value can be compared against a static value or formula. The condition is evaluated for each row defined on the tab Elements
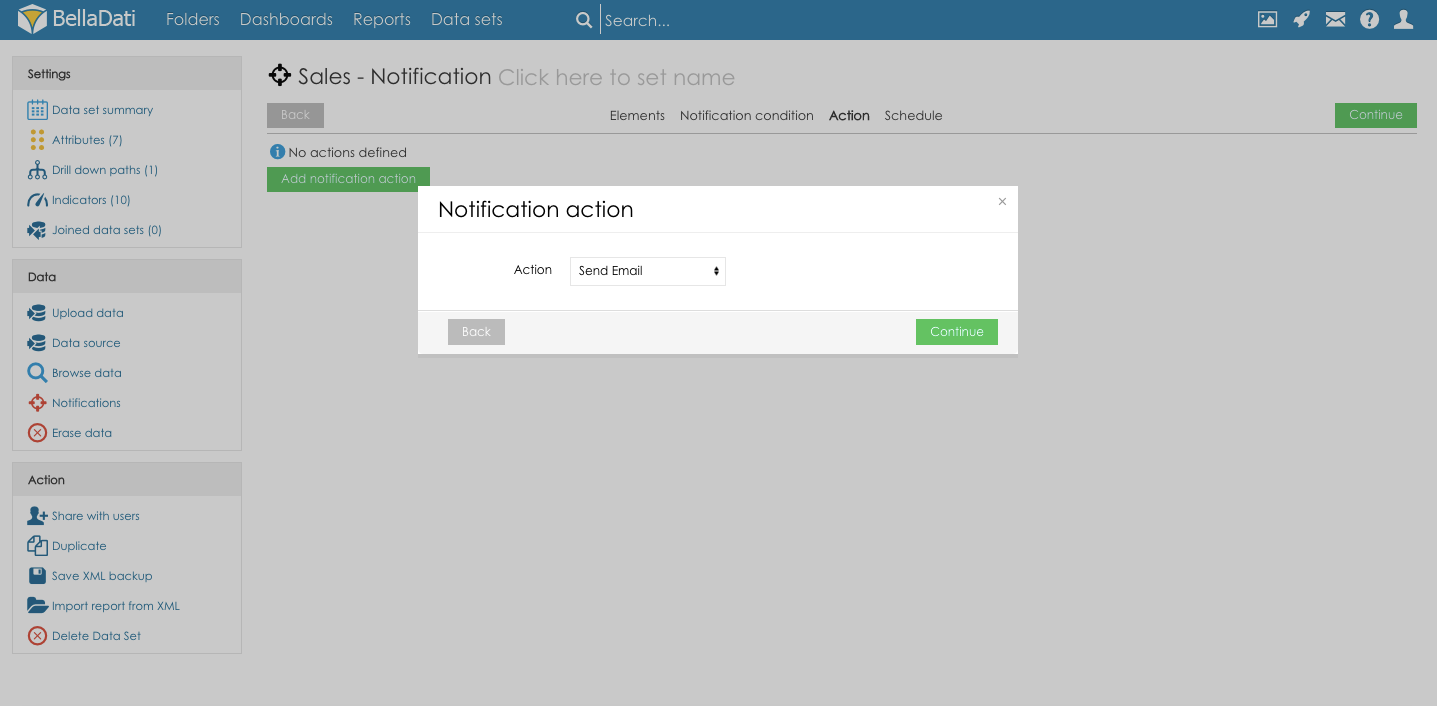
Click the button Continue to proceed to the next step of the Notification configuration: 3. ActionSelected action will be used to send the notification in case the Notification condition is met.
4. ScheduleThe notification schedule defines the date interval in which the notification will be executed. Following options are available:
Click the button Continue to schedule the notification. Managing notificationsNotifications associated with the selected data setNotifications associated with the data set can be accessed from the data set details. Click the option Notification in the section Data to create new notification and list existing notifications from the selected data set.
The notifications overview provides the details of the notification and the following actions:
All notificationsAll the notifications can be managed from the screen Data sets - click the action Notifications to open the list of all the Notifications.
Screen Notifications provides details about:
|


...
Overview
Content Tools