Page History
| Sv translation | ||||||||
|---|---|---|---|---|---|---|---|---|
| ||||||||
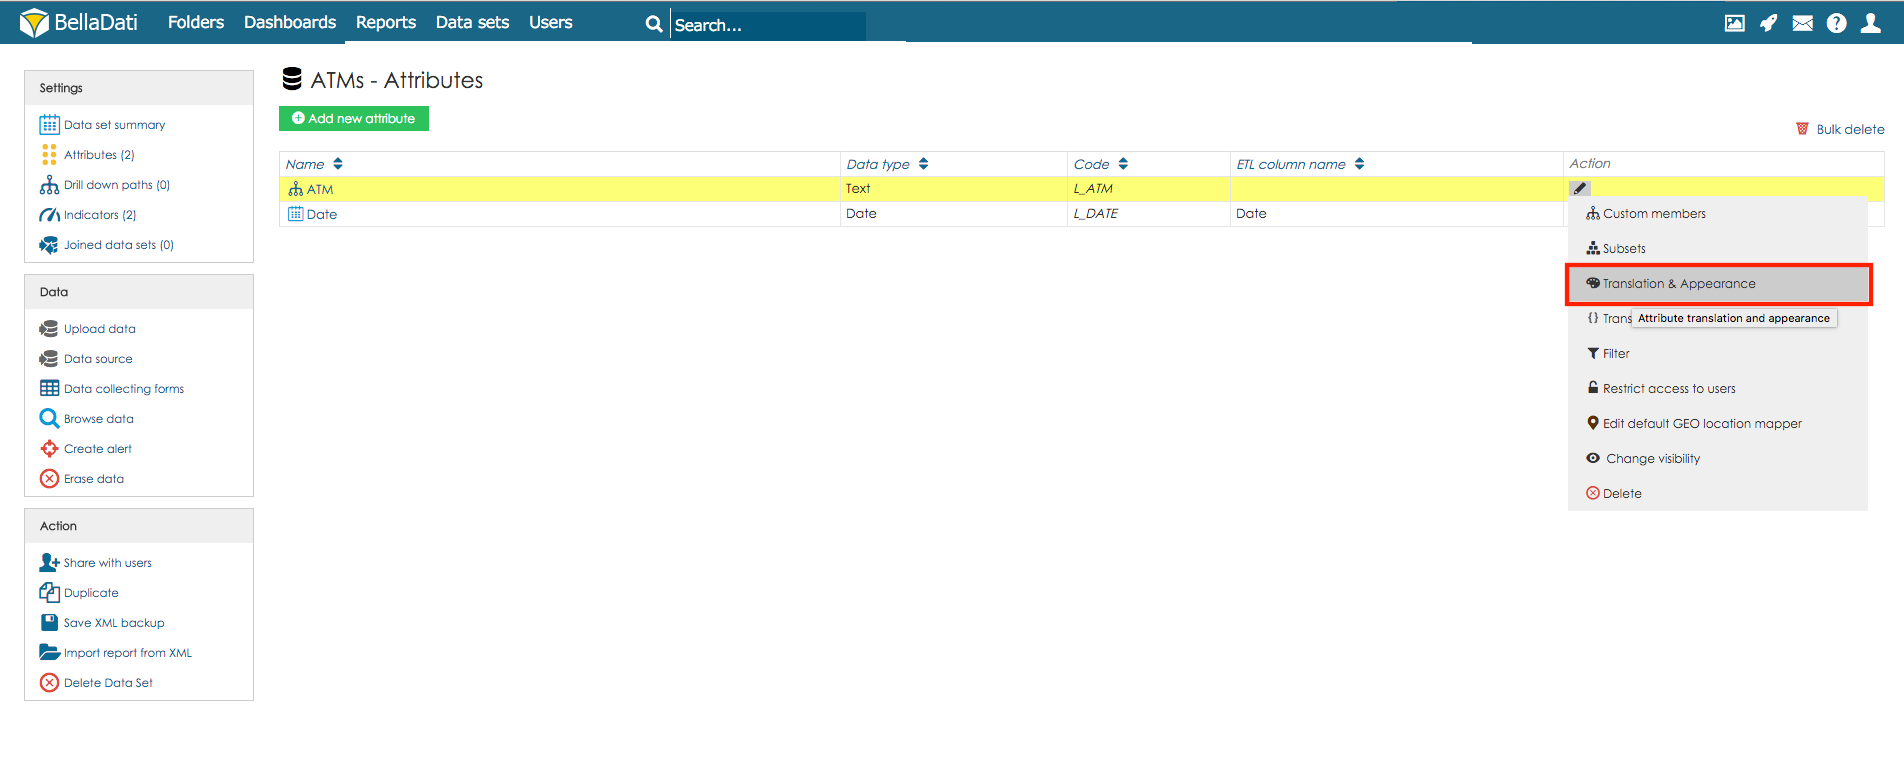
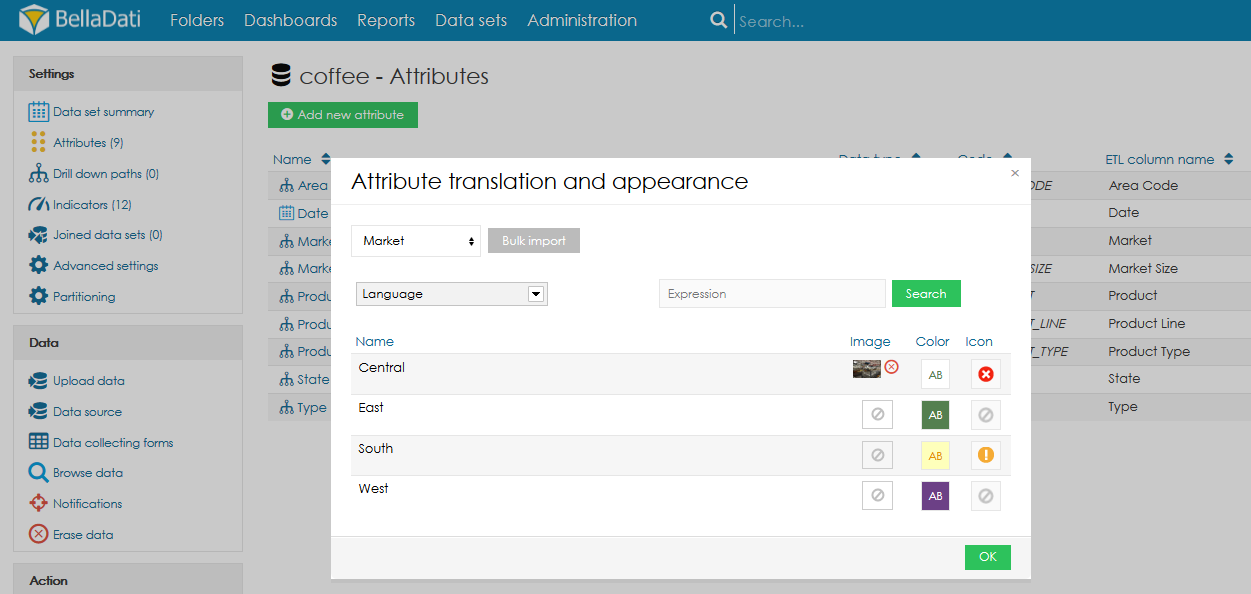
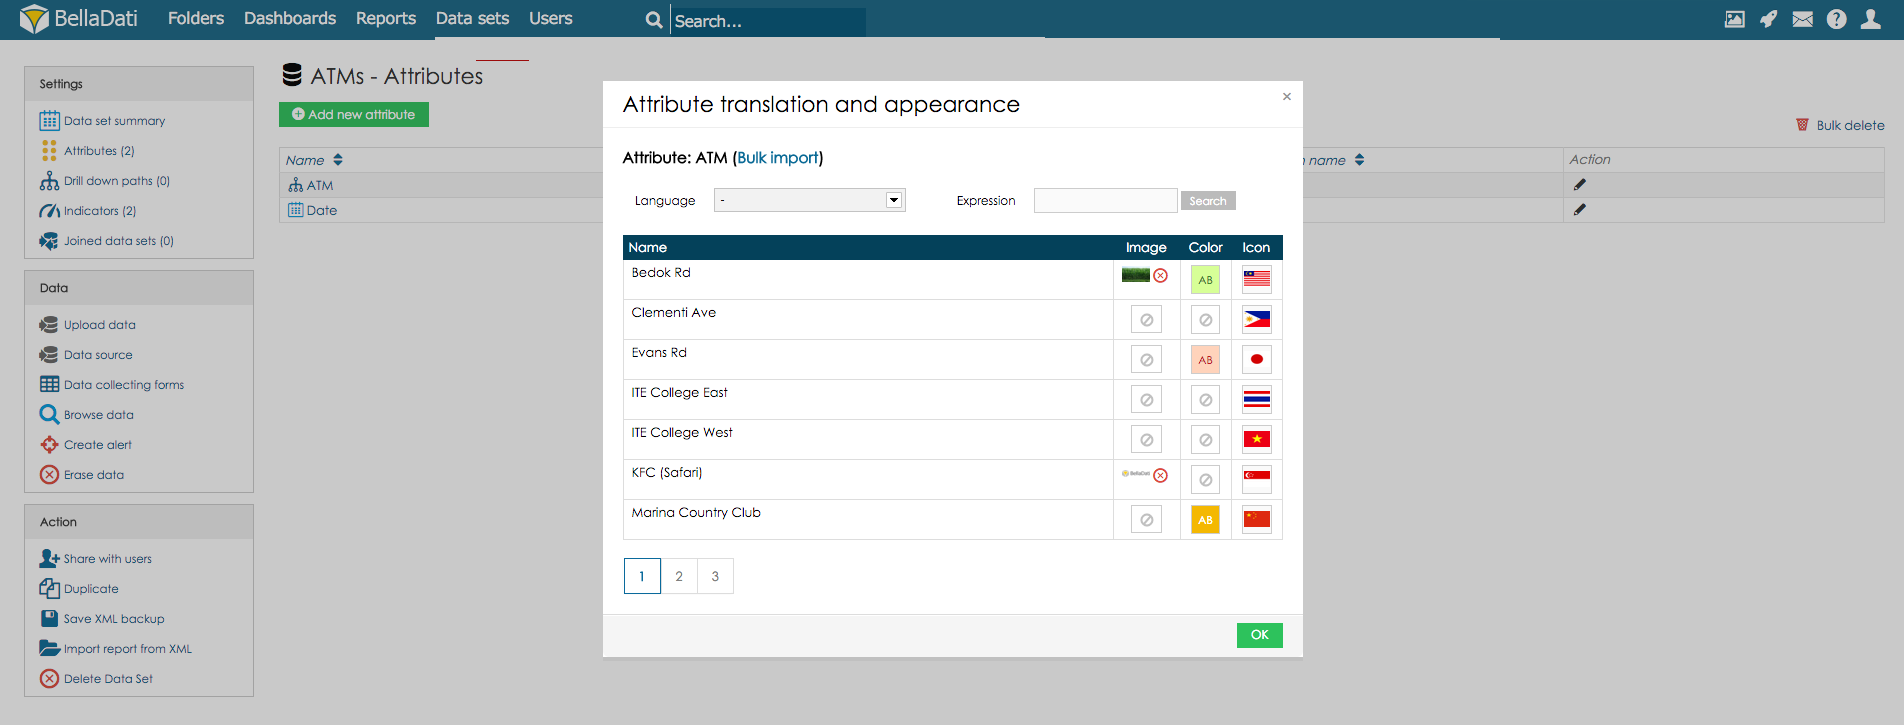
This function allows you to adjust the following appearance options for individual attribute members:
The first 3 can be assigned to particular member simultaneously.
You can also easily switch to another attribute by using the drop-down menu at the top.
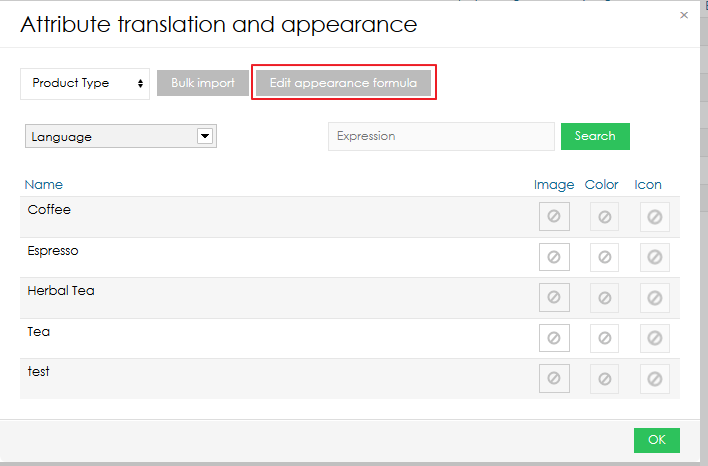
formula-based appearance
Formula-based appearance can be used to dynamically change the label which is displayed for the member. This can be used to modify the label based on the current context in the view etc. To create or change the formula, users have to click on Edit appearance formula.
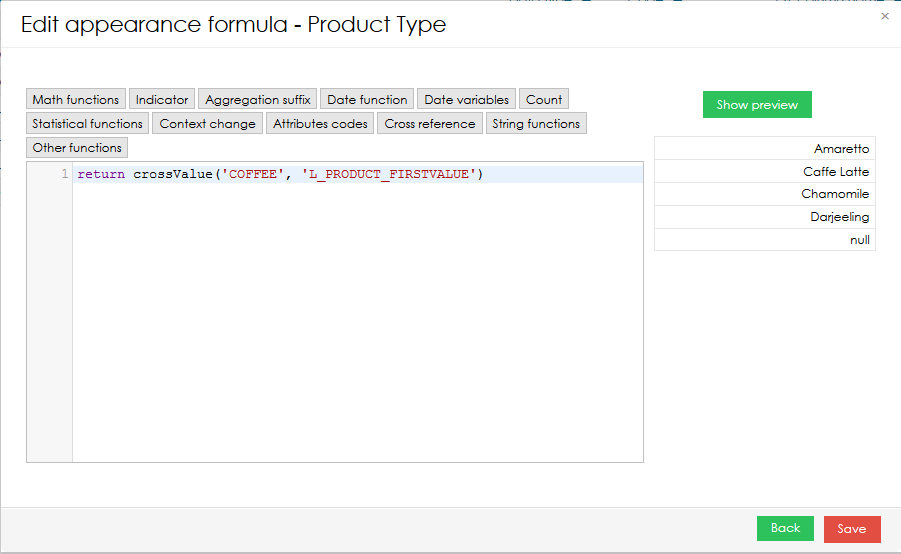
To code the formula, a standard BellaDati domain-specific language is used (the same as in report). Functions such as crossValue(), memberValue() or memberIdentifier(). Please note that in the preview, the actual context, which will be used in the report, is not taken into account.
Next Steps |
| Sv translation | ||||
|---|---|---|---|---|
| ||||
Táto funkcia Vám umožní prispôsobiť nasledujúce nastavenia vzhľadu pre jednotlivé hodnoty atribútu:
Obe nastavenia je možné upraviť pre danú hodnotu zároveň.
Kam ďalej |

| Sv translation | ||||||
|---|---|---|---|---|---|---|
| ||||||
この機能により、個々の属性メンバーに関して次の外観オプションを調整できます:
最初の3つは、特定のメンバーに同時に割り当てることができます。
上部のドロップダウンメニューを使用して、別の属性に簡単に切り替えることもできます。
式ベースの外観
式ベースの外観を使用して、メンバーに表示されるラベルを動的に変更できます。これは、ビューなどの現在のコンテキストに基づいてラベルを変更するために使用できます。
式をコーディングするために、標準のBellaDatiドメイン固有言語が使用されます(レポートと同じ)。 crossValue()、memberValue()、memberIdentifier()などの関数。プレビューでは、レポートで使用される実際のコンテキストは考慮されないことに注意してください。
次に |
| Sv translation | ||||
|---|---|---|---|---|
| ||||
Mit dieser Funktion können Sie die folgenden Darstellungsoptionen für einzelne Attributelemente anpassen:
Alle 3 können gleichzeitig einem bestimmten Element zugewiesen werden.
Nächste Schritte |
Overview
Content Tools