| Sv translation |
|---|
|
| Info |
|---|
This page will show you step by step how to install BellaDati on 64-bit Mac OS X. |
|
...
Before You BeginPlease read the following important notes before you begin installing BellaDati: |
...
- successfully downloaded the BellaDati Mac OSX installer from
|
...
...
- Check that your machine meets
|
...
- (at least) the minimal system requirements.
- Check that default ports reserved for BellaDati (4848, 8080, 8181, 5432) are available and not used by any other application.
- Decide between Advanced or Regular installation (read notes for Advanced installation at the end of this guid)
|
| ilupng |
|---|
This window will check your machine against the minimal system requirements. Upgrade to a higher-performance machine in case your configuration does not meet the criteria, to avoid experiencing a decreased performance of BellaDati. 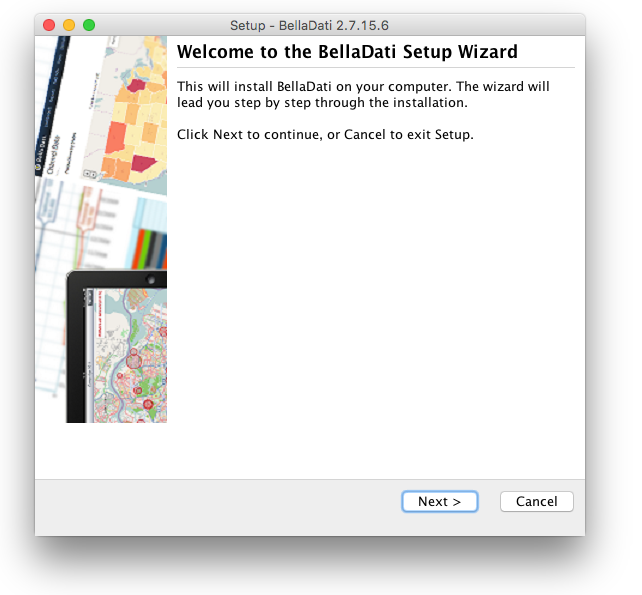 Image Added Image Added
welcomeClick Next to proceed with the installation. 2. License TermsRead and Accept the license agreement. |
| ilupng |
|---|
| licence 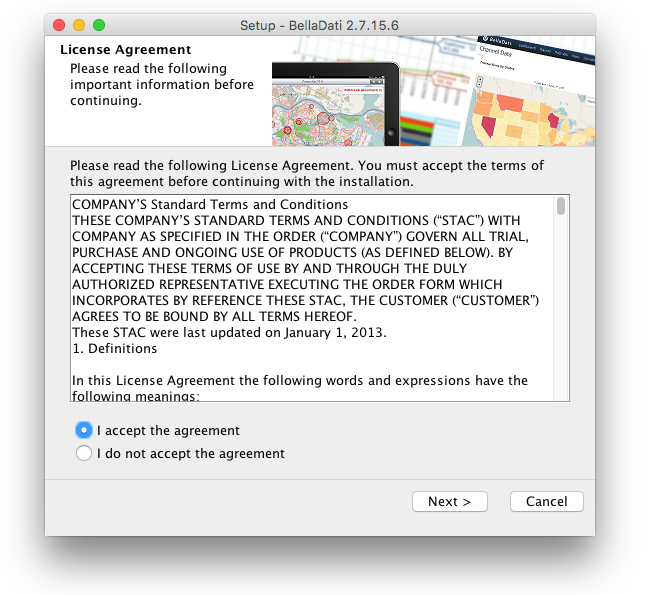 Image Added Image Added
Click Next to proceed with the installation. 3. Select Destination DirectoryBy default, BellaDati is installed into a predefined installation directory. Click browse to navigate to different folder if you want to modify these settings. BellaDati will check your free disk capacity to ensure enough space is available. |
ilupng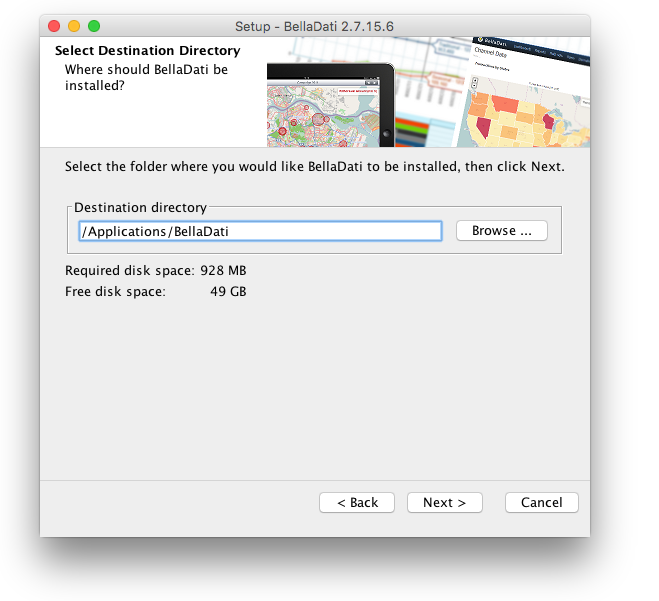 Image Added Image Added
|
directory |
Click Next to proceed with the installation. 4. Select Installation Type |
...
Check Advanced Installation |
...
if you want to specify custom settings. Leave it blank to perform installation with default settings. |
Click Next to proceed with the installation.
| Note |
|---|
Proceed with the following steps only if you checked Advanced Installation. Otherwise jump to step 8. |
5. Database Setup
In advanced settings BellaDati allows you to connect to existing database or create one for you automatically. Choose the desired action and continue to: |
...
- Installing with a built-in database.
- 5.2
|
...
- Connecting to an existing database. Select only if you already have a PostgreSQL database installed.
|
| ilupng |
|---|
| database 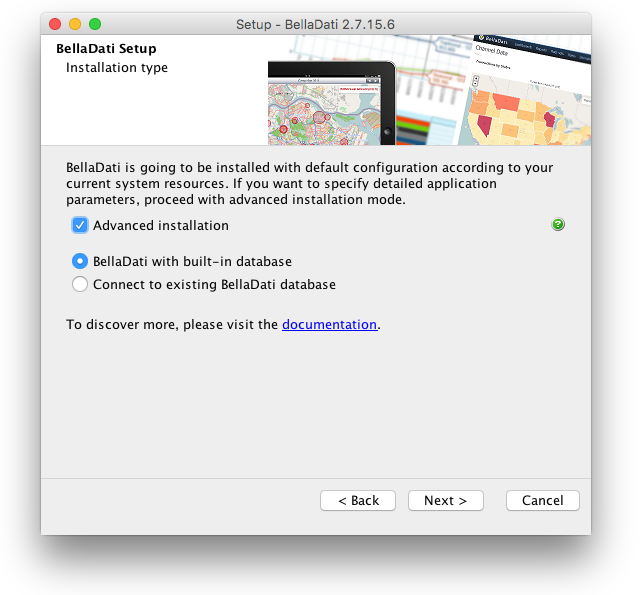 Image Added Image Added
Click Next to proceed with the installation. | Note |
|---|
Proceed with the following steps only if you checked Advanced Installation. Otherwise jump to step 7. |
5.1. Installing with a Built-in Database.Approve or edit the following default settings: - Database port. Make sure this port is not used by other applications or services.
- Database name
- Database username
- Database password
| Tip |
|---|
Leave the default values if you are unsure about the configuration. |
 Image Added Image Added
Click Next to proceed with the installation. Approve or edit the following advanced default settings: - Maximum number of connections
- Shared buffers
- Temp buffers
- Work memory
- Maintenance work memory
- Maximum stack depth
- WAL buffers
- Effective cache size
- Type of statements logged
| Tip |
|---|
Please see our documentation for more details. Leave the default values if you are unsure about the configuration. |
|
| ilupng |
|---|
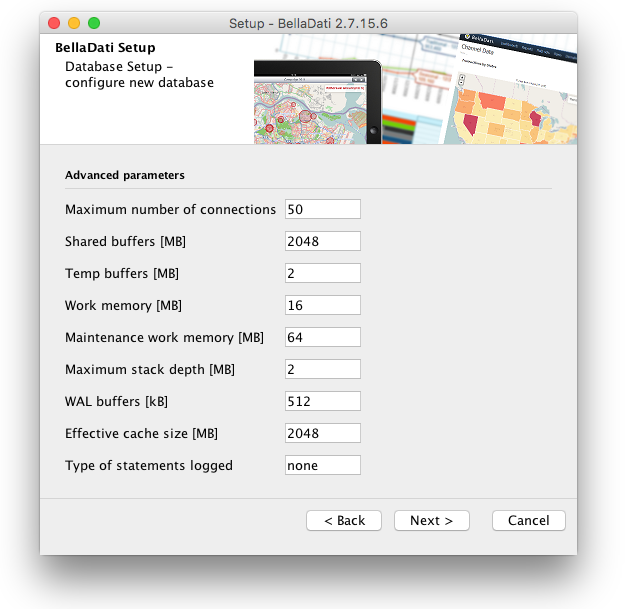 Image Added Image Added
Click Next to proceed with the installation. Approve or edit the following autovacuum default settings: - Maximum number of workers
- Naptime
- Vacuum treshold
- Analyze treshold
- Vacuum scale factor
- Analyze scale factor
- Freeze maximum age
- Multixact freeze maximum age
- Vacuum cost delay
- Vacuum cost limit
| Tip |
|---|
Please see our documentation for more details. Leave the default values if you are unsure about the configuration. |
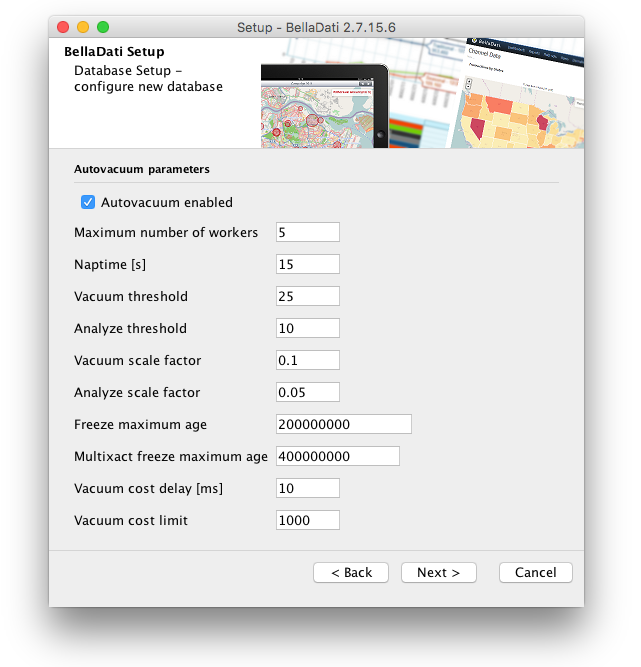 Image Added Image Added
database-newClick Next to proceed with the installation. 5.2. Connecting to an Existing DatabaseSpecify the following connection parameters: - Hostname or IP
- Port
- Database name
- Username
- Password
you your database administrator if you are unsure about these settings. |
|
ilupng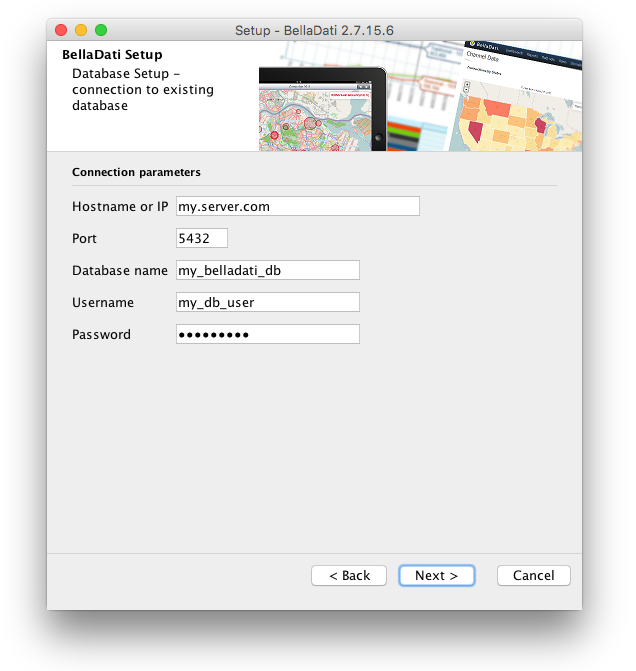 Image Added Image Added
|
database-connect |
Click Next to proceed with the installation. 6. |
...
Approve or edit the following default settings:
- Hostname or IP
- Port
- Username
- Password
- SSL
Click Next to proceed with the installation.
...
Application Server ParametersApprove or edit the following default settings: |
...
- Port. Make sure this port is not being used by other applications or services.
- Xmx
- Maximum Pool Size
- Validate at most once in
- HTTP Thread Pool Max Size
- Thread Pool 1 Max Size
| Tip |
|---|
Please see our documentation for more details. Leave the default values if you are unsure about the configuration. |
| Tip |
|---|
Check Start service automatically to have BellaDati up and running right after the installation. |
|
| ilupng |
|---|
| web-server 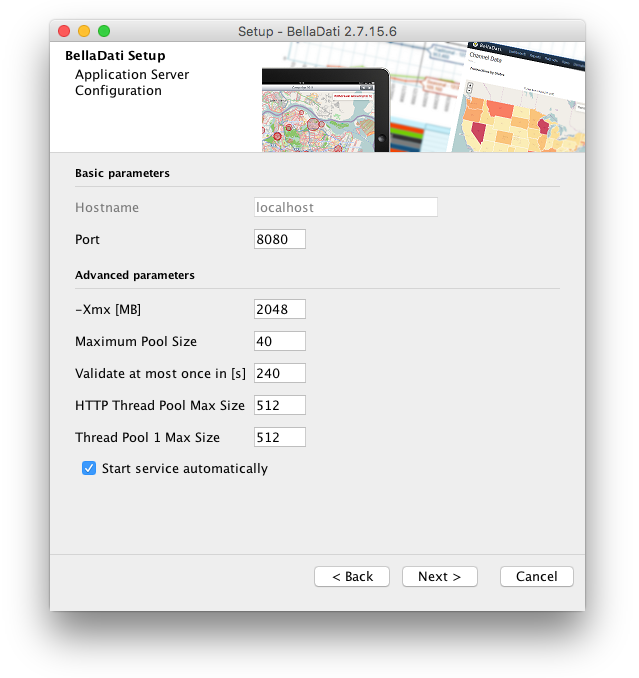 Image Added Image Added
Click Next and wait while BellaDati is installed on your computer. |
...
7. Finishing InstallationThe installation is complete. Close the window or click the link to open BellaDati in your web browser. |
...
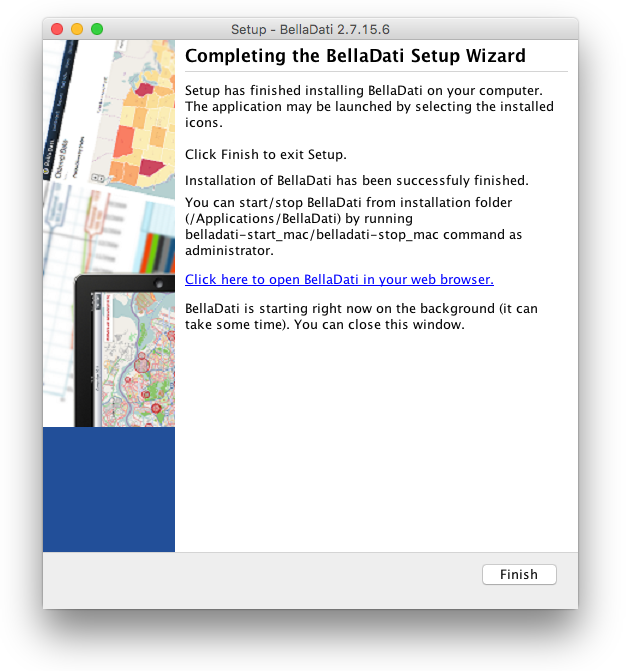 Image Added Image Added
It could take some time to start BellaDati for a first time. Then continue with the BellaDati Setup Wizard. |
...
Advanced installation notes- If you have disabled automatically starting the server in the web server configuration, or starting the server failed, you can run it manually
|
...
- from terminal:
- To start BellaDati run following command from installation directory (default path: /Applications/BellaDati):
|
...
mac 
- To stop BellaDati run following command from installation directory (default path: /Applications/BellaDati):
- To open BellaDati after the installation is complete, point your browser
|
...
- to http://localhost:8080. This is the default URL, which may differ depending on the data you entered in step 6 of the installation.
Troubleshooting- If you have any problems during installation, please try to complete installation (retry or ignore errors) and then send us following log file:
Next Steps |
...
| Sv translation |
|---|
|
| Info |
|---|
このページでは、64 bit のMac OS X上でBellaDatiをインストールする方法をステップバイステップで紹介します。 |
始める前にBellaDatiを設定する前に、次の重要な注意事項をお読みください。 - BellaDatiのウェブサイトからBellaDatiMac OSXのインストーラをダウンロードする必要があります。
- お使いのマシンが、最小限のシステム要件(少なくとも)を満たしていることを確認してください。
- BellaDati (4848, 8080, 8181, 5432)向けのデフォルトポートが利用可能であり、他のアプリケーションで使用されていないことを確認してください。。
- AdvancedまたはRegularの設定との間で決定します。(この案内の最後に拡張設定のための注意事項を読むこと)
1. ようこそと情報このウィンドウには、最小限のシステム要件によってマシンをチェックします。お使いの設定がBellaDatiのパフォーマンス低下させて回避するために、基準を満たさない場合により高性能なマシンにアップグレードしてください。 Image Added 次へをクリックしてインストールを続行します。 2. ライセンス条項読み、ライセンス契約に同意にします。 Image Added 次へをクリックしてインストールを続行します。 3. ターゲットディレクトリの選択デフォルトでは、BellaDatiは事前定義されたインストールディレクトリに設定されます。あなたはこれらの設定を変更したい場合に別のフォルダに移動するためにブラウザをクリックします。 BellaDatiは十分なスペースが使用可能であることを確認するために、フリーディスク容量をチェックしてください。 Image Added 次へをクリックしてインストールを続行します。 4. 設定タイプの選択カスタム設定を指定したい場合は拡張設定を選んでください。デフォルトの設定に対してインストールを実行するため空白にしておきます。 拡張設定でBellaDatiは、既存のデータベースに接続するまたは自動的にデータベースを作成できます。目的アクションを選択して続きます。 - 5.1 組み込みのデータベースを使用したインストール
- 5.2 既存のデータベースに接続します。すでに設定されたPostgreSQLデータベースがある場合のみに選択してください。
Image Added 次へをクリックしてインストールを続行します。 | Note |
|---|
拡張設定を選択した後、次のステップに進みます。それ以外の場合は、ステップ7に移します。 |
5.1. 組み込んだデータベースでインストール次のとおりにデフォルトの設定を承認または編集します: - データベースポート。このポートが他のアプリケーションまたはサービスによって使用されていないことを確認してください。
- データベース名
- データベースのユーザー名
- データベースのパスワード
| Tip |
|---|
構成について不明な点がある場合は、デフォルト値のままにしておきます。 |
Image Added 次へをクリックしてインストールを続行します。 次のとおりにデフォルトの設定を承認または編集します: - 接続の最大数
- 共有バッファ
- 一時バッファ
- ワークメモリ
- メンテナンス作業メモリ
- 最大スタックの深さ
- WALバッファ
- 効果的なキャッシュサイズ
- ログされたステートメントのタイプ
| Tip |
|---|
詳細についてはマニュアルを参照してください。設定について不明な点がある場合は、デフォルト値のままにしておいてください。 |
Image Added 次へをクリックしてインストールを続行します。 以下のように自動バキュームのデフォルト設定を承認または編集します: - ワーカーの最大数
- 昼寝の時間
- 真空閾値
- 分析閾値
- 真空スケールファクタ
- スケールファクタを分析
- フリーズ最大の年齢
- 最大年齢を凍結Multixact
- 真空ムコスト遅延
- 真空コスト上限
| Tip |
|---|
詳細についてはマニュアルを参照してください。設定について不明な点がある場合は、デフォルト値のままにしておいてください。 |
Image Added 次へをクリックしてインストールを続行します 5.2. 既存のデータベースへの接続接続パラメータを指定するのは以下通りです。 - ホスト名またはIP
- ポート
- データベース名
- ユーザ名
- パスワード
| Tip |
|---|
設定について不明な点がある場合は、データベース管理者に確認してください。 |
Image Added 次へをクリックしてインストールを続行します。 6. アプリケーションサーバーのパラメータ次のとおりにデフォルトの設定を承認または編集します: - ポート。このポートが他のアプリケーションまたはサービスによって使用されていないことを確認してください。
- Xmx
- 最大プールサイズ
- 一回に最大検証
- HTTP Thread Poolの最大サイズ
- Thread Pool 1最大サイズ
| Tip |
|---|
詳細についてはマニュアルを参照してください。設定について不明な点がある場合は、デフォルト値のままにしておいてください。 |
| Tip |
|---|
設定した後BellaDatiが表示するまたは自動的に稼動できるようにサービスを自動的に起動するにチェックを入れます。 |
Image Added 次をクリックし、BellaDatiがコンピュータに設定されていることは少し時間かかります。 7. 設定完了設定が完了になります。ウィンドウを閉じるか、リンクをクリックしてWebブラウザでBellaDatiを開きます。 Image Added 最初BellaDatiを開始するためにいくつかの時間がかかることがあります。その後BellaDatiセットアップウィザードを続行します。 拡張設定の注意 - Webサーバーの設定で自動的に起動にサーバを無効にしているまたはサーバの始動が失敗した場合は、端末から手動で実行できること。
- インストールディレクトリからBellaDatiを起動するために以下のコマンドを実行すること。(デフォルトのパス:/Applications/BellaDati)
- sudo./belladati-start_mac
- インストールディレクトリからBellaDatiを停止するため以下のコマンドを実行すること。(デフォルトのパス:/Applications/BellaDati)
- インストールが完了した後BellaDatiを開くために、ブラウザでhttp:// localhost:8080にアクセスすること。これはのURLです。設定プロセスの6ステップで入力したデータに応じて異なる場合があります。
トラブルシューティング- 設定中に何か問題があれば、設定を完了しようとした後、ログファイルを送信してください。(再試行するまたはエラーを無視)
- <installation-directory>/.install4j/installation.log
次のステップ |