Page History
| Sv translation | |||||||||||||||||||||||||||||||||||||||
|---|---|---|---|---|---|---|---|---|---|---|---|---|---|---|---|---|---|---|---|---|---|---|---|---|---|---|---|---|---|---|---|---|---|---|---|---|---|---|---|
| |||||||||||||||||||||||||||||||||||||||
Before You BeginPlease read the following important notes before you begin installing BellaDati IoT Data Collector:
To run installer on Linux:
To run installer on Windows:
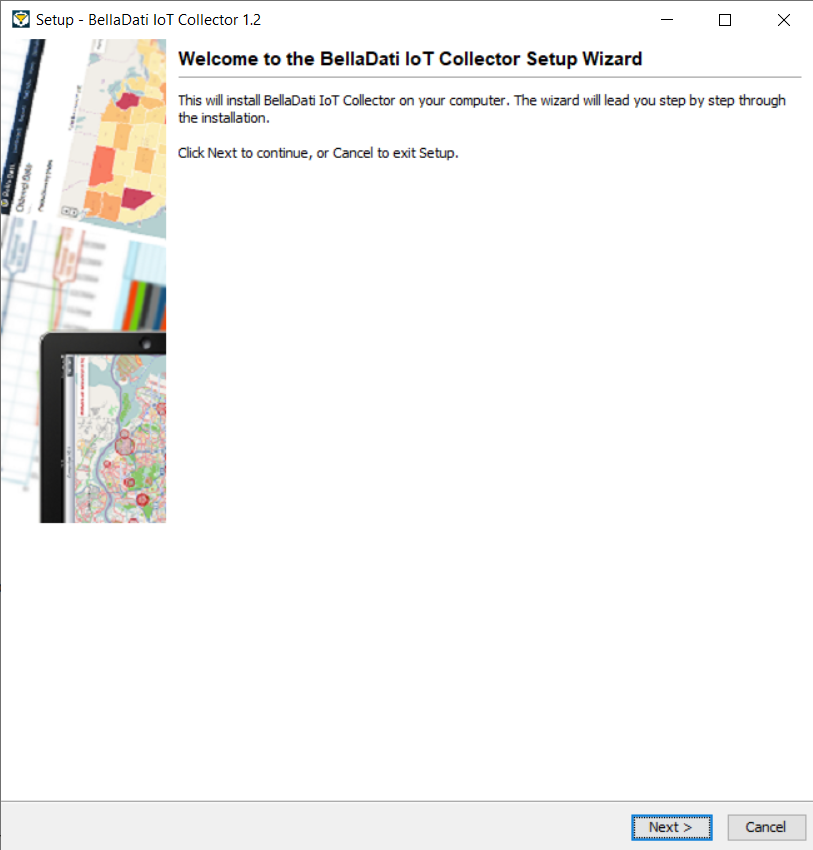
1. Welcome and InformationThis window will check your machine against the minimal system requirements. Upgrade to a higher-performance machine in case your configuration does not meet the criteria, to avoid experiencing a decreased performance of IoT Collector.
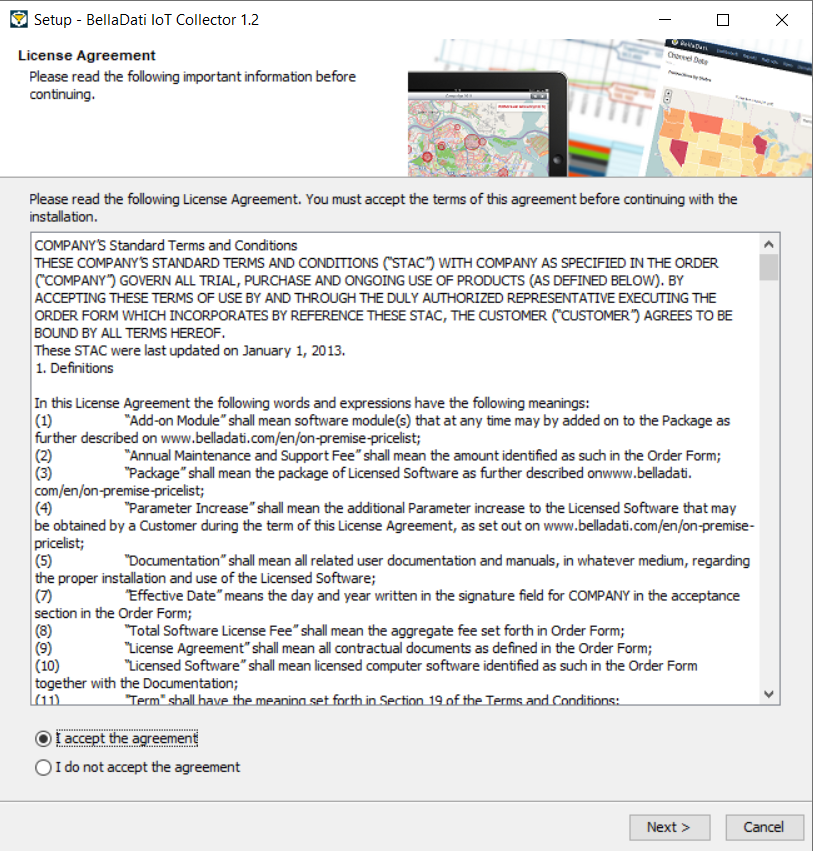
Click Next to proceed with the installation. 2. License TermsRead and Accept the license agreement.
Click Next to proceed with the installation. 3. Select Destination DirectoryBy default, IoT Collector is installed into a predefined installation directory. Click browse to navigate to different folder if you want to modify these settings. Installer will check your free disk capacity to ensure enough space is available.
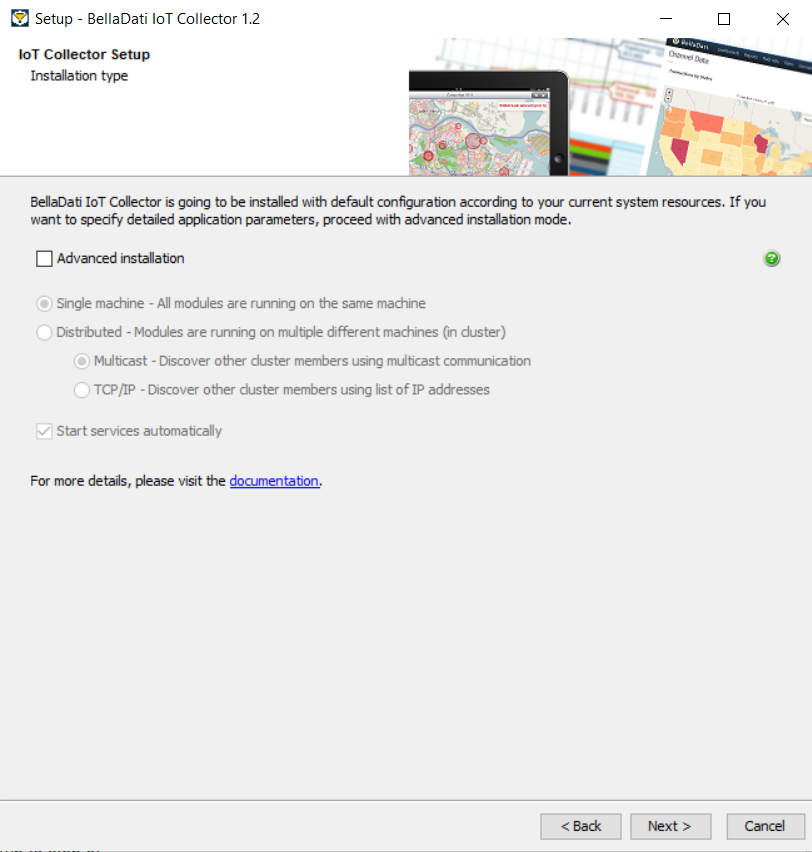
Click Next to proceed with the installation. 4. Select Installation TypeCheck Advanced Installation if you want to choose deployment mode and specify all application parameters. Leave it not selected to perform basic installation with default settings. Check Start services automatically if you want to autostart installed modules after installation and also after each machine startup. Leave it blank to start modules on your own.
Click Next to proceed with the installation. 5. Configuration for Distributed Mode
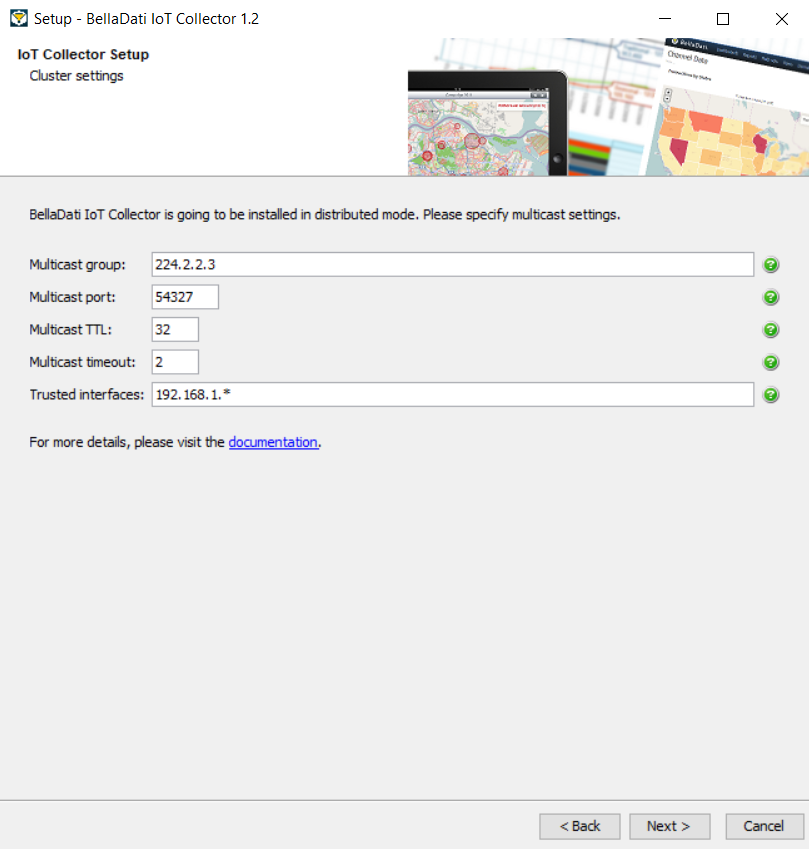
5.1. Distributed Mode - MulticastApprove or edit the following default cluster settings:
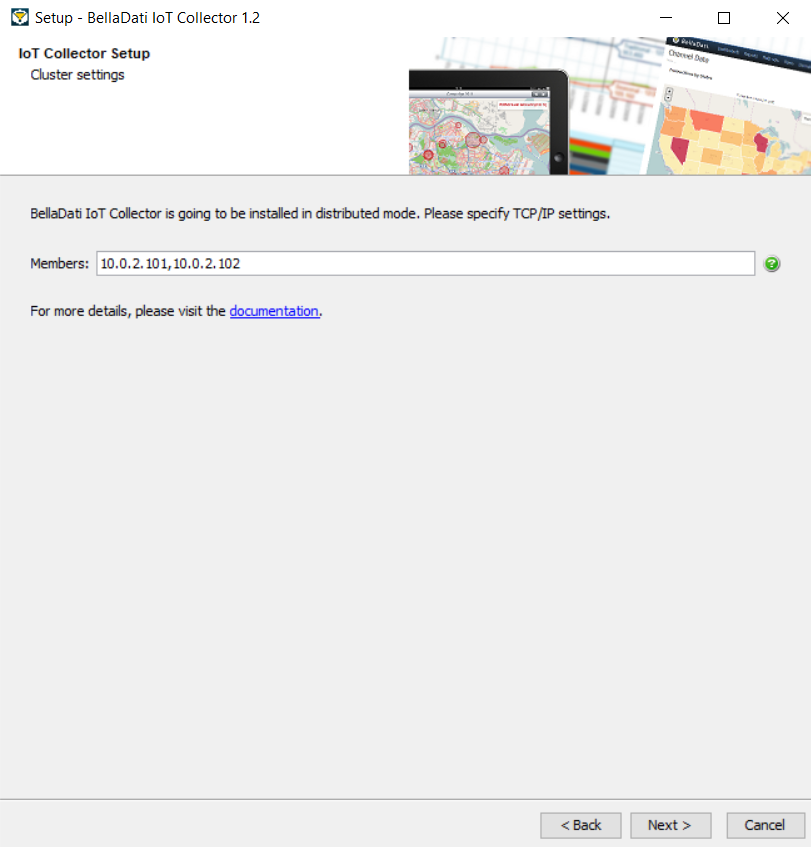
Click Next to proceed with the installation and go to step 6. 5.2. Distributed Mode - TCP/IPApprove or edit the following default cluster settings:
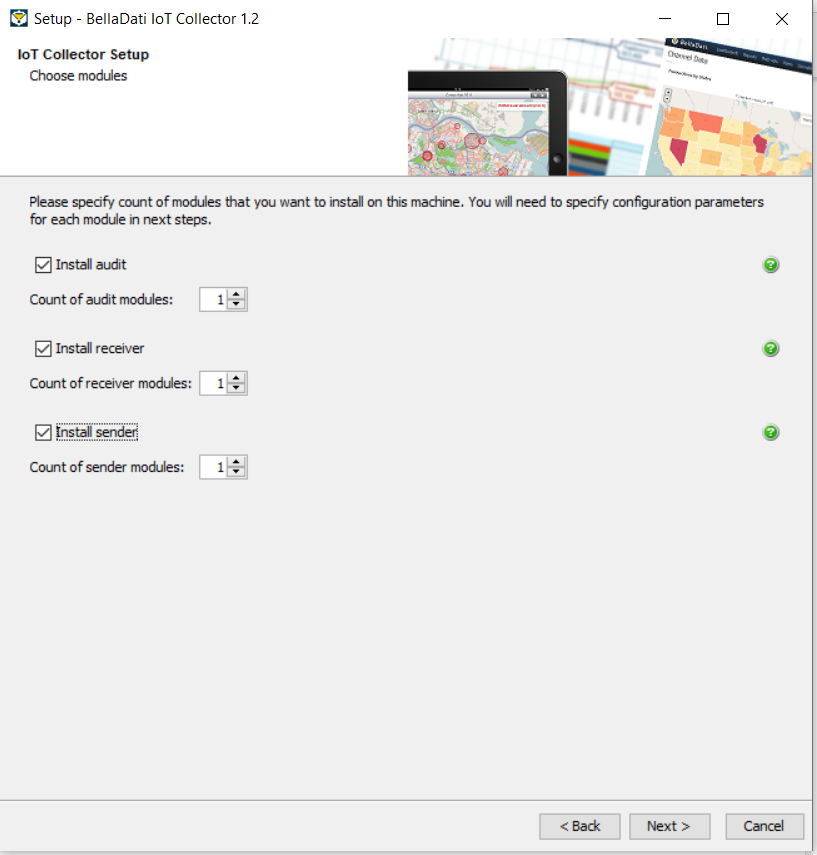
Click Next to proceed with the installation and go to step 6. 6. Choose ModulesPlease specify count of modules that you want to install on this machine:
You will need to specify configuration parameters for each module in next steps.
Click Next to proceed with the installation. 7. Audit Configuration
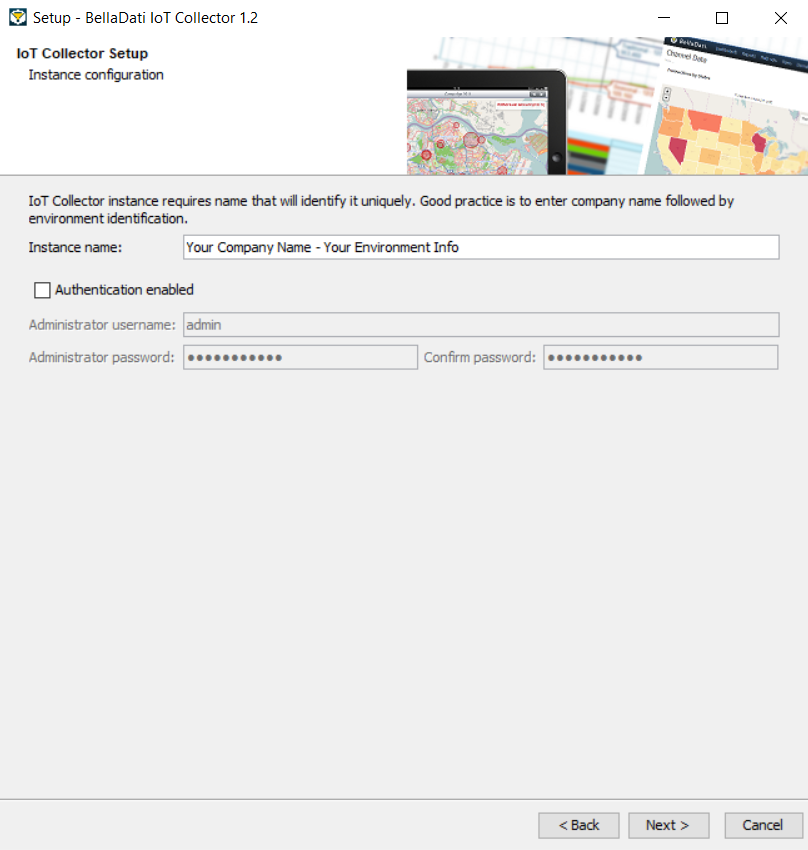
7.1. Instance ConfigurationApprove or edit the following default settings:
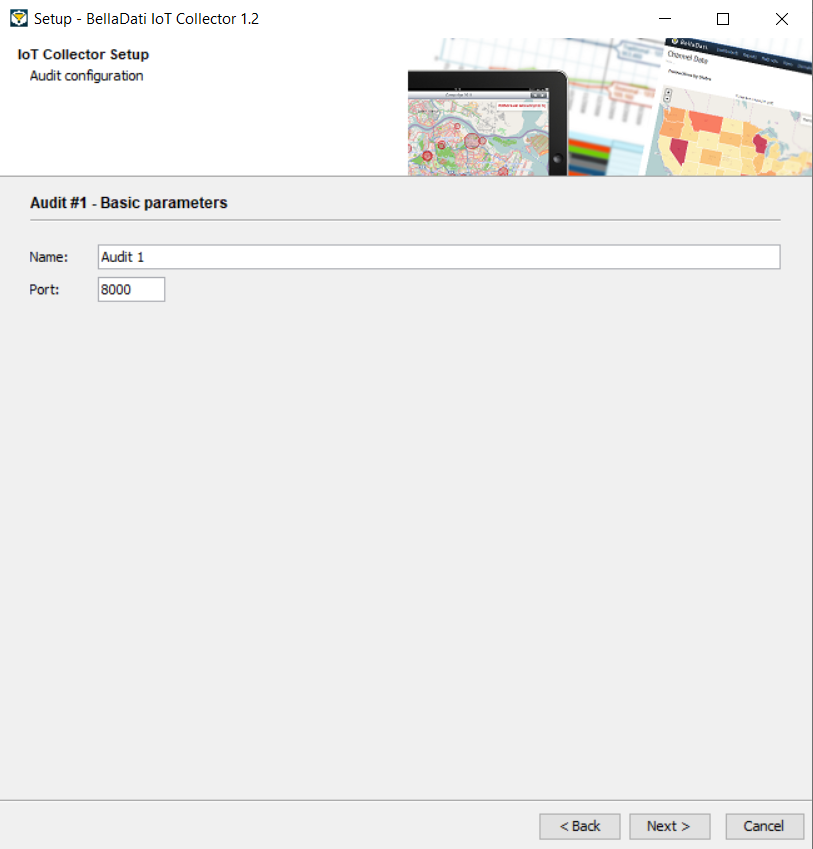
Click Next to proceed with the installation. 7.2. Audit - Basic ParametersApprove or edit the following default settings:
Click Next to proceed with the installation. 7.3. Audit - Security ParametersApprove or edit the following default security settings:
Click Next to proceed with the installation. 8. Receiver Configuration
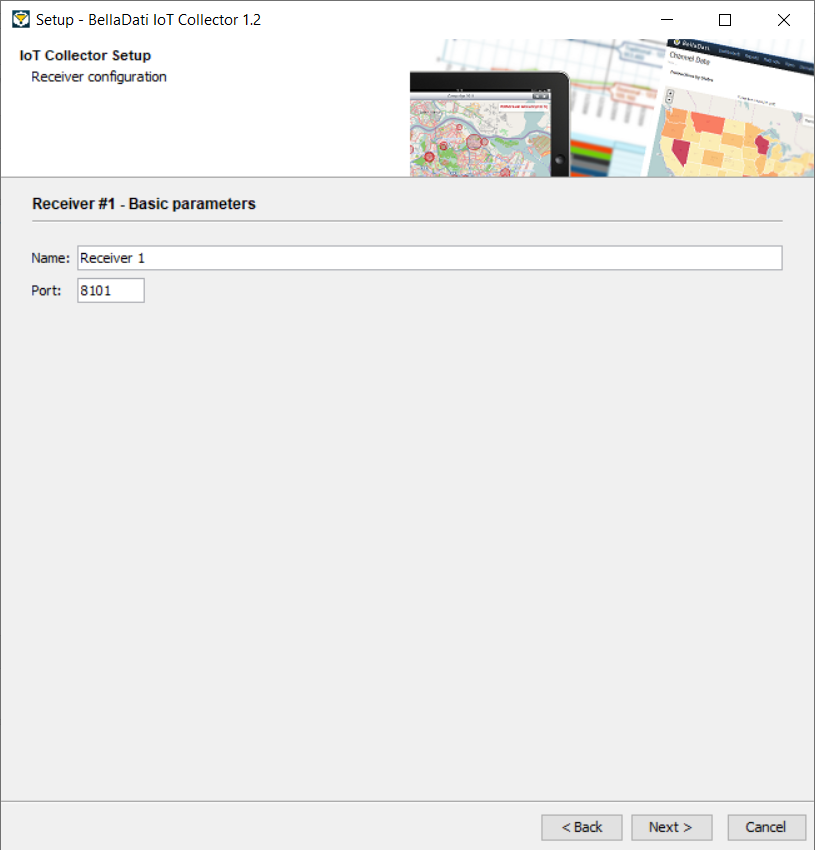
By default, receiver is configured as HTTP_POST_CONSUME. You can change it after the installation using the IoT Console or manually. 8.1. Receiver - Basic ParametersApprove or edit the following default settings:
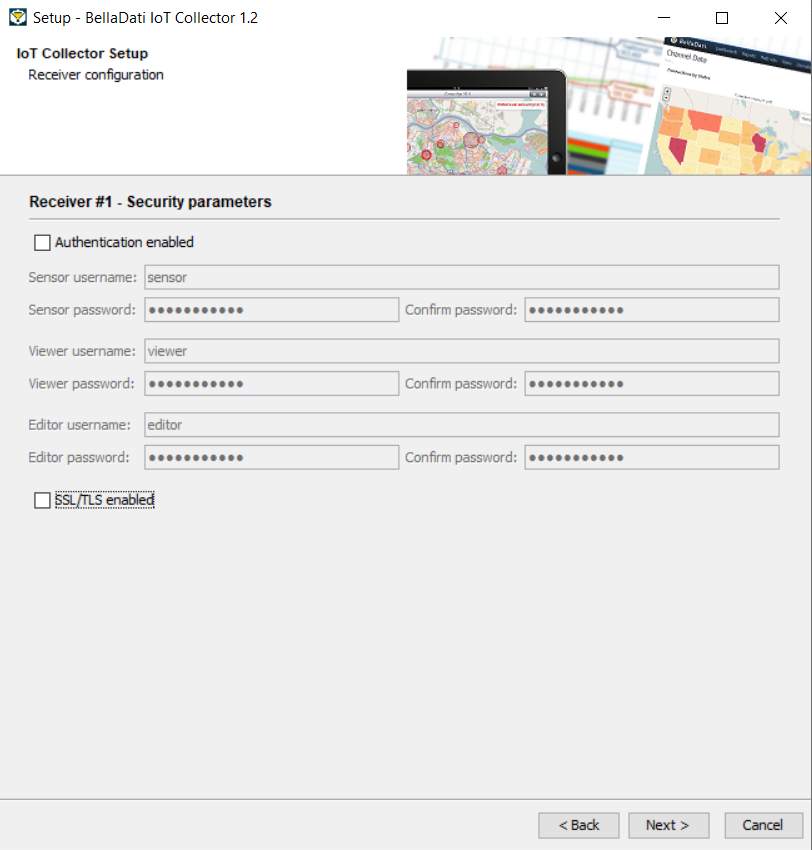
Click Next to proceed with the installation. 8.2. Receiver - Security ParametersApprove or edit the following default security settings:
Click Next to proceed with the installation. 9. Sender Configuration
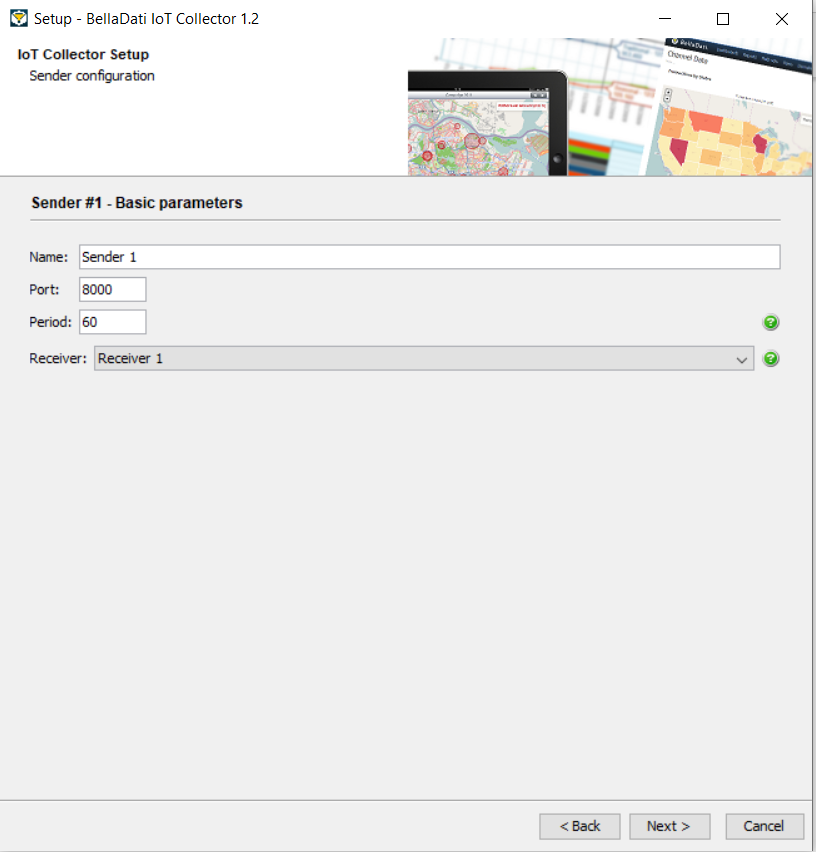
9.1. Sender - Basic ParametersApprove or edit the following default settings:
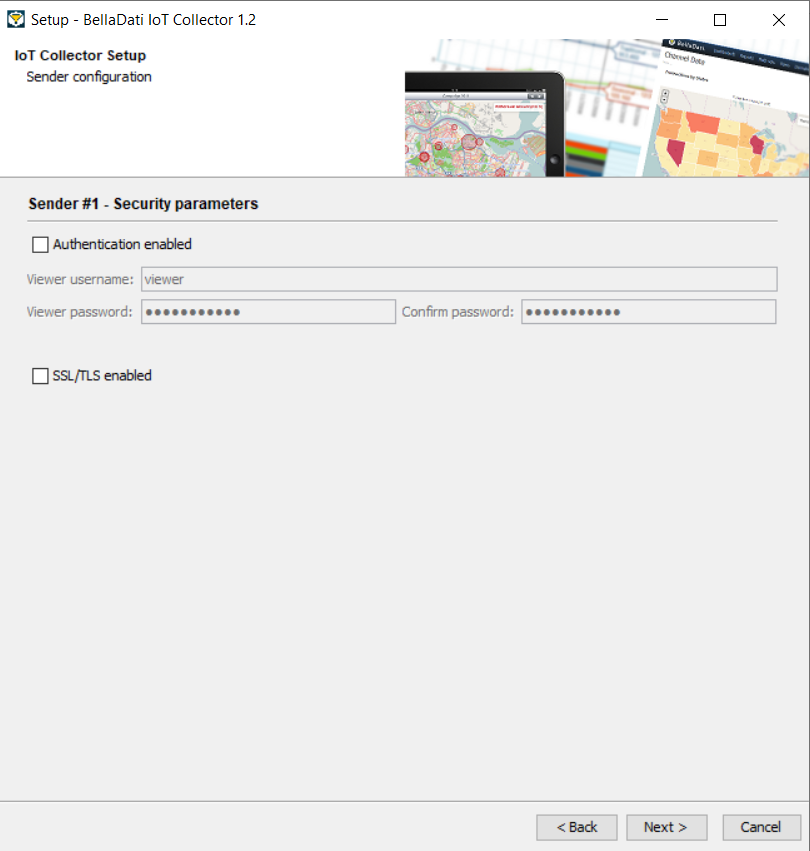
Click Next to proceed with the installation. 9.2. Sender - Security ParametersApprove or edit the following default security settings:
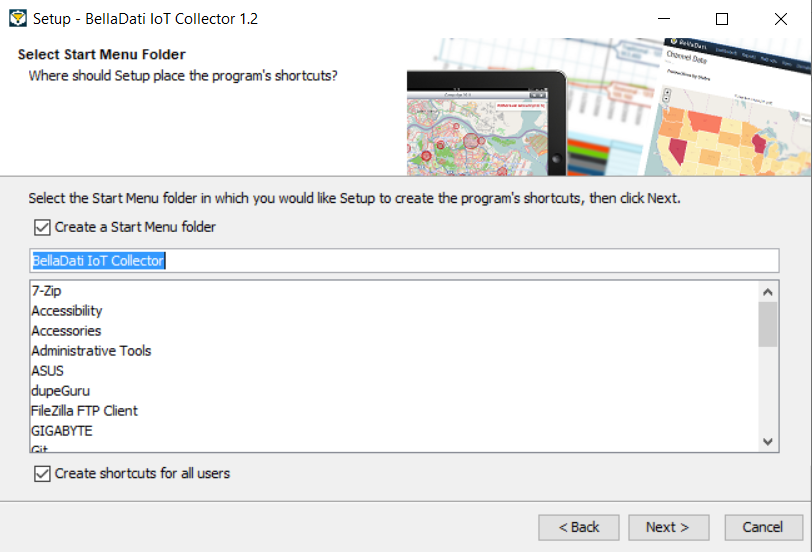
Click Next to proceed with the installation. 10. Start Menu FolderApprove or edit the name of the start menu folder.
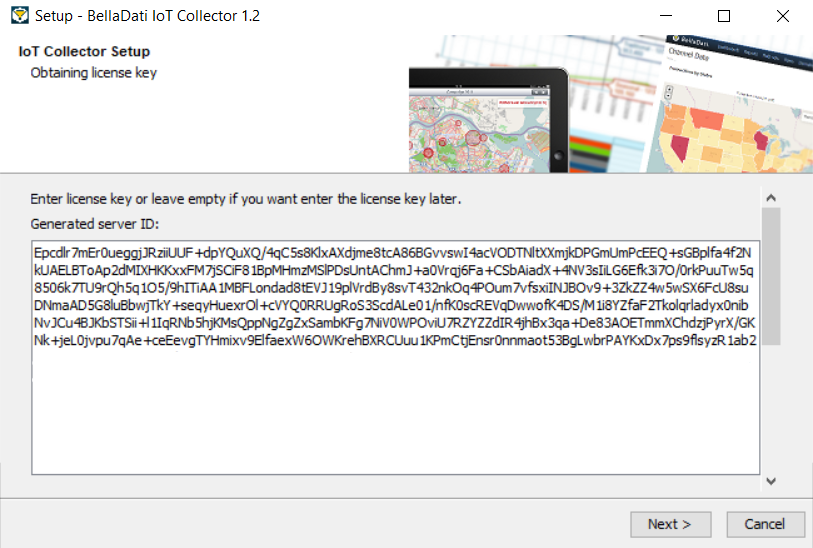
Click Next to proceed with the installation. 11. License Key
Send obtained server ID to BellaDati support team and request license key. Enter obtained license key to the following form. Alternatively, leave it empty and enter the license key later via the IoT Console.
Click Next and wait while IoT Collector is installed on your computer. 12. Startup in Distributed Mode
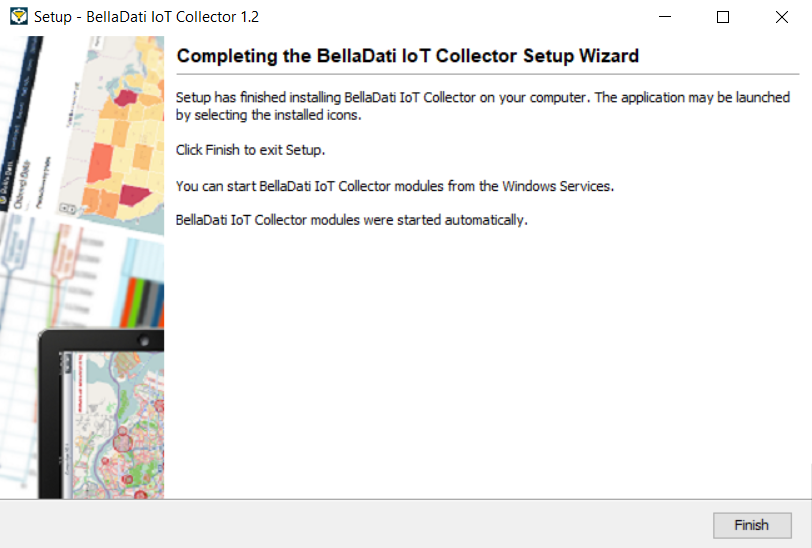
In order to start Collector modules correctly, cluster has to be formed at first. You need to start all audit modules running on other machines at first. Receiver and sender modules will be started after the confirmation that all audit modules are up and running. Click Next to proceed with the startup. It could take some time to start all modules. 13. Finishing InstallationThe installation is complete.
Close the window. 14. Troubleshooting
On this page
|


| Sv translation | |||||||||||||||||||||||||||||||||||||||
|---|---|---|---|---|---|---|---|---|---|---|---|---|---|---|---|---|---|---|---|---|---|---|---|---|---|---|---|---|---|---|---|---|---|---|---|---|---|---|---|
| |||||||||||||||||||||||||||||||||||||||
Before You BeginPlease read the following important notes before you begin installing BellaDati IoT Data Collector:
To run installer on Linux:
To run installer on Windows:
1. Welcome and InformationThis window will check your machine against the minimal system requirements. Upgrade to a higher-performance machine in case your configuration does not meet the criteria, to avoid experiencing a decreased performance of IoT Collector.
Click Next to proceed with the installation. 2. License TermsRead and Accept the license agreement.
Click Next to proceed with the installation. 3. Select Destination DirectoryBy default, IoT Collector is installed into a predefined installation directory. Click browse to navigate to different folder if you want to modify these settings. Installer will check your free disk capacity to ensure enough space is available.
Click Next to proceed with the installation. 4. Select Installation TypeCheck Advanced Installation if you want to choose deployment mode and specify all application parameters. Leave it not selected to perform basic installation with default settings. Check Start services automatically if you want to autostart installed modules after installation and also after each machine startup. Leave it blank to start modules on your own.
Click Next to proceed with the installation. 5. Configuration for Distributed Mode
5.1. Distributed Mode - MulticastApprove or edit the following default cluster settings:
Click Next to proceed with the installation and go to step 6. 5.2. Distributed Mode - TCP/IPApprove or edit the following default cluster settings:
Click Next to proceed with the installation and go to step 6. 6. Choose ModulesPlease specify count of modules that you want to install on this machine:
You will need to specify configuration parameters for each module in next steps.
Click Next to proceed with the installation. 7. Audit Configuration
7.1. Instance ConfigurationApprove or edit the following default settings:
Click Next to proceed with the installation. 7.2. Audit - Basic ParametersApprove or edit the following default settings:
Click Next to proceed with the installation. 7.3. Audit - Security ParametersApprove or edit the following default security settings:
Click Next to proceed with the installation. 8. Receiver Configuration
By default, receiver is configured as HTTP_POST_CONSUME. You can change it after the installation using the IoT Console or manually. 8.1. Receiver - Basic ParametersApprove or edit the following default settings:
Click Next to proceed with the installation. 8.2. Receiver - Security ParametersApprove or edit the following default security settings:
Click Next to proceed with the installation. 9. Sender Configuration
9.1. Sender - Basic ParametersApprove or edit the following default settings:
Click Next to proceed with the installation. 9.2. Sender - Security ParametersApprove or edit the following default security settings:
Click Next to proceed with the installation. 10. Start Menu FolderApprove or edit the name of the start menu folder.
Click Next to proceed with the installation. 11. License Key
Send obtained server ID to BellaDati support team and request license key. Enter obtained license key to the following form. Alternatively, leave it empty and enter the license key later via the IoT Console.
Click Next and wait while IoT Collector is installed on your computer. 12. Startup in Distributed Mode
In order to start Collector modules correctly, cluster has to be formed at first. You need to start all audit modules running on other machines at first. Receiver and sender modules will be started after the confirmation that all audit modules are up and running. Click Next to proceed with the startup. It could take some time to start all modules. 13. Finishing InstallationThe installation is complete.
Close the window. 14. Troubleshooting
On this page
|
Overview
Content Tools