This function allows you to adjust following appearance options for individual attribute members:
- image
- color
- icon
All 3 can be assigned to particular member simultaneously.
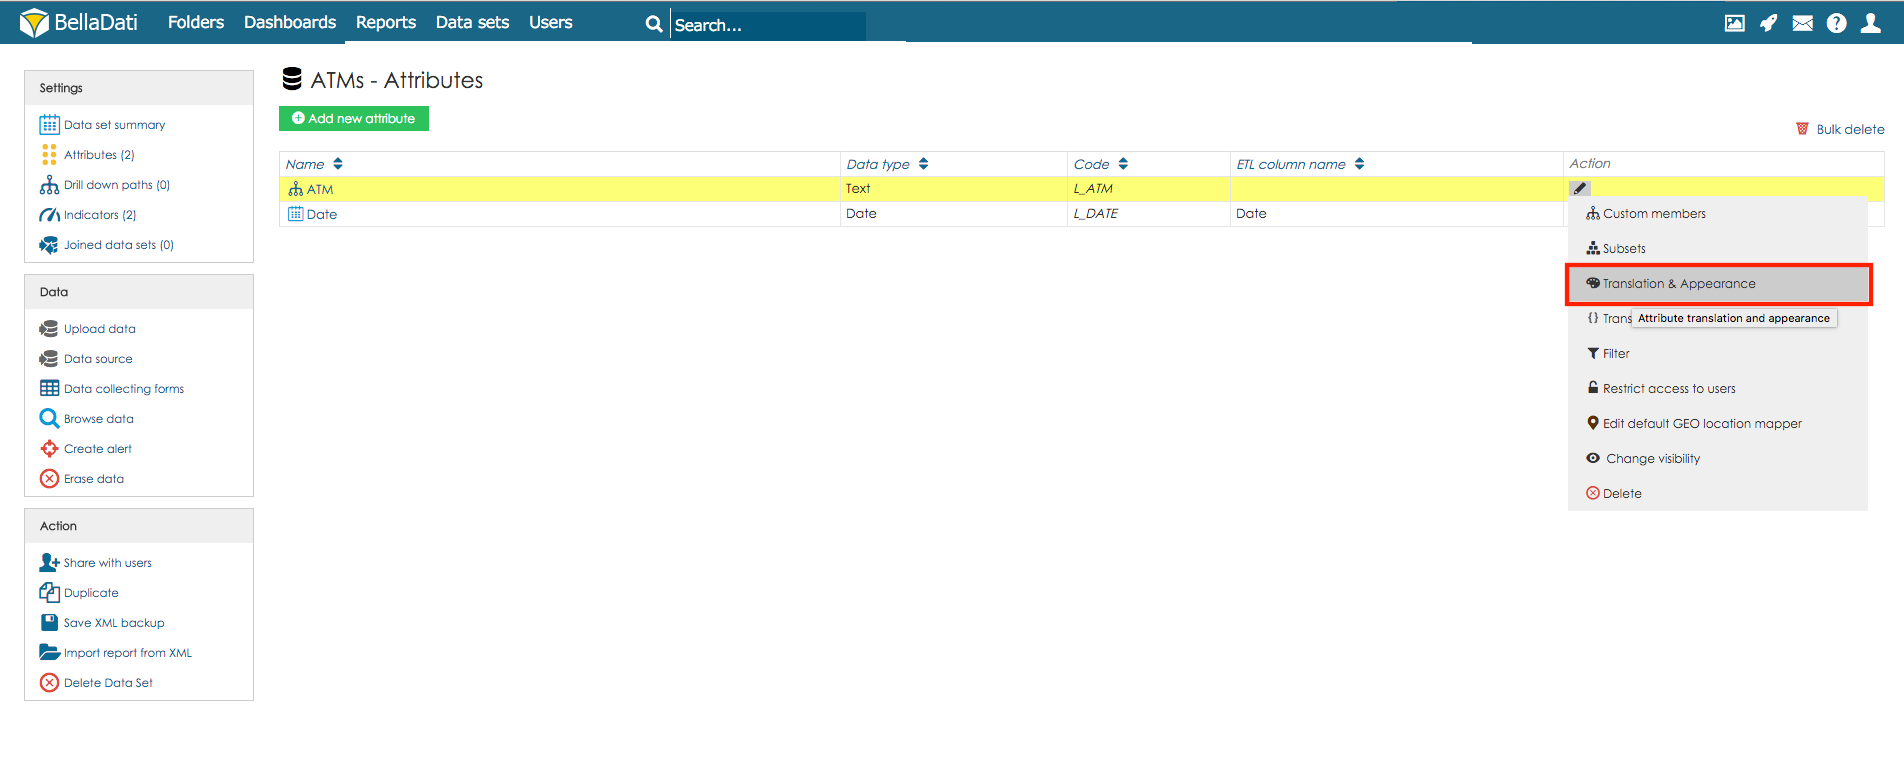
- Go to desired data set via data set menu.
- Select "Attributes" in the left submenu.
- Click on the translations and appearance icon at the end of the row of selected indicator. A popup will appear. Actual color and icon assignation is displayed in the table below.
- Image: Click icon in "Image" column in the row of corresponding member. Dialogue window with image uploader will appear. Select one of images from the gallery or import new image.
- Color: Click icon in "Color" column in the row of corresponding member. A color selection tool will appear. Click on desired color. Note: Clicking on "Default" field will reset member color to default (none).
- Icon: Click icon in "Icon" column in the row of corresponding member. An icon selection tool will appear. Select desired category in drop-down box and then click required icon. Note: Clicking on left top symbol will reset member color to default (no icon)
- Click "OK" to close popup.
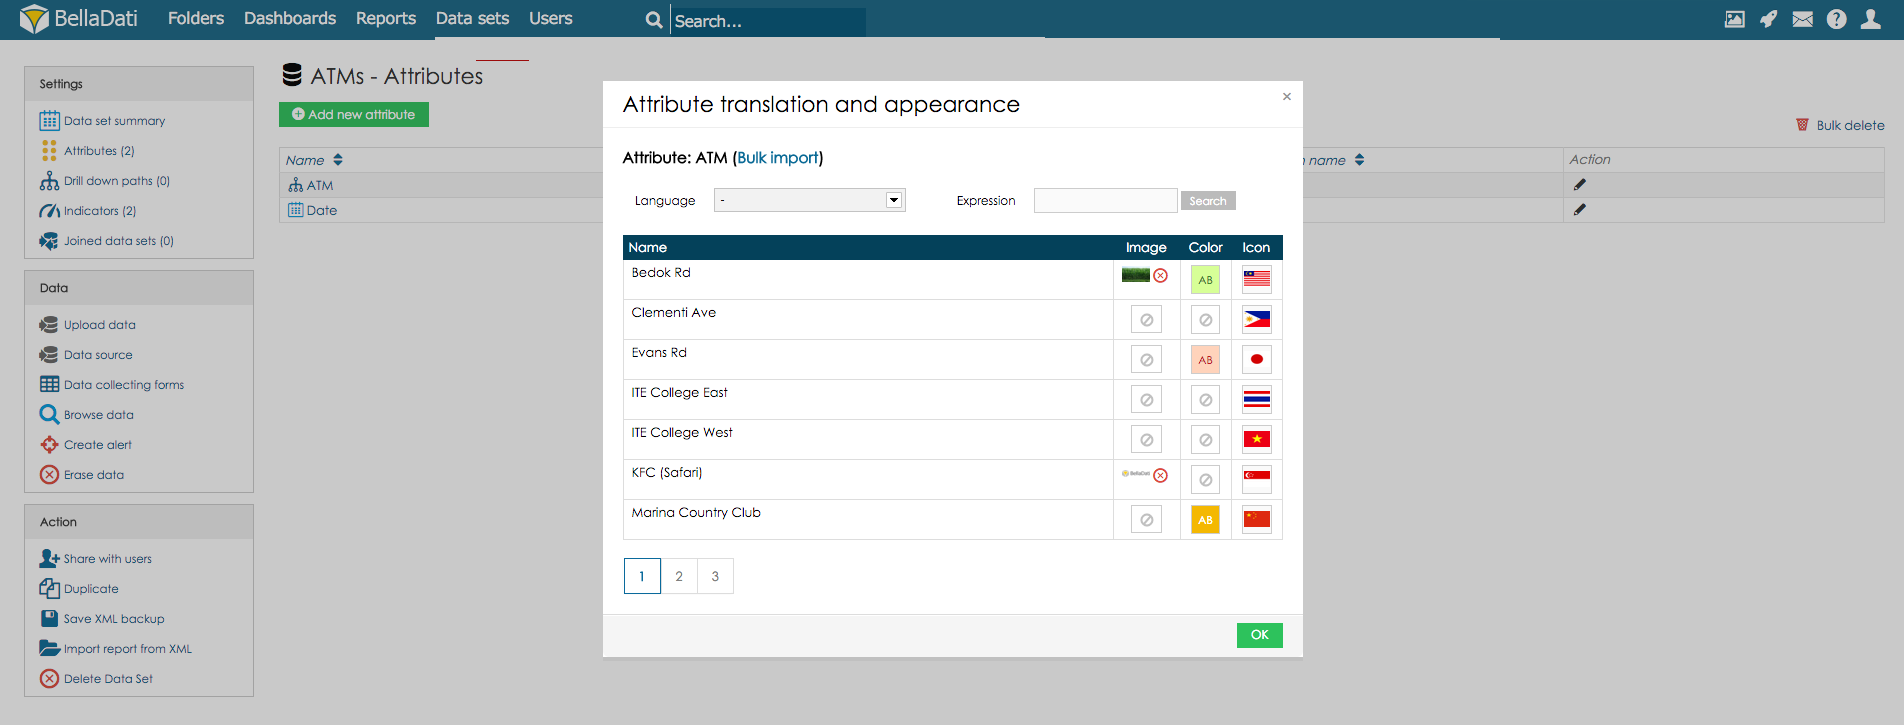
When there are lot of members, you can filter them by using "Expression" field. Just type in the part of the names of requested members and then click "Update" button. Empty field means no member filter is active.
All changes in member appearance will influence immediatelly all existing Reports and Dashboards displaying these members.
Next Steps
Overview
Content Tools