Report filters are used to modify the content of the whole report. Multiple filters can be displayed in the sidebar or directly in the report as a special type of view. Each filter can have different functionality and appearance.
Creating Filters
Only report author or report editor can create report filters and set their default values. Every other user that has access to the report, can only change report filter values.
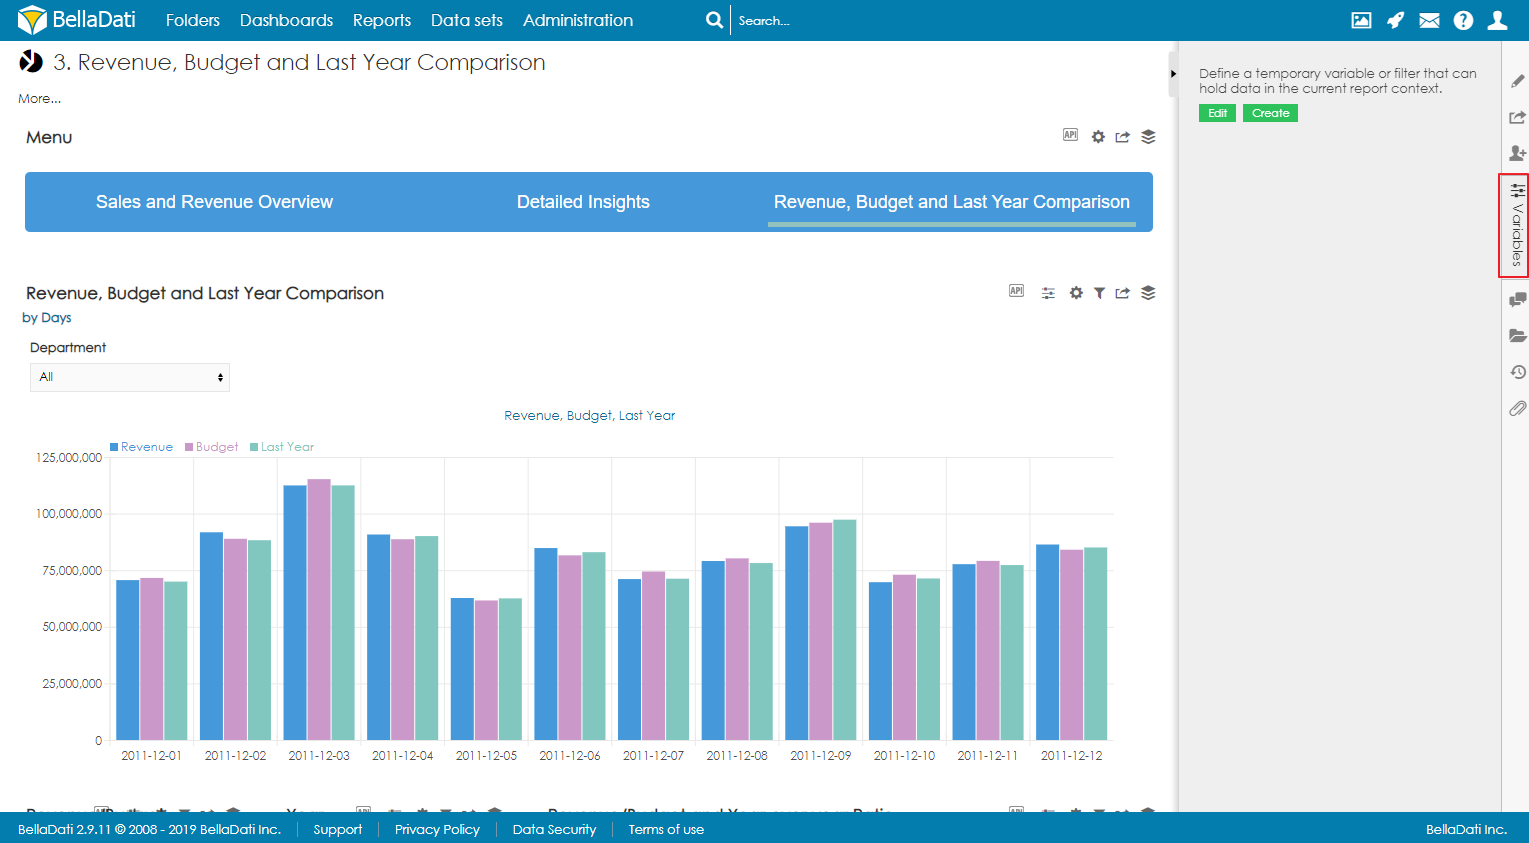
To create a new filter, open the Variables sidebar.
You can use 2 approaches when creating filters:
- Quick filters - Filters are created with default layout of multi-select boxes. Read more.

- Creating filtering components - Layout of every filter is configured separately. See below.

Creating filter component
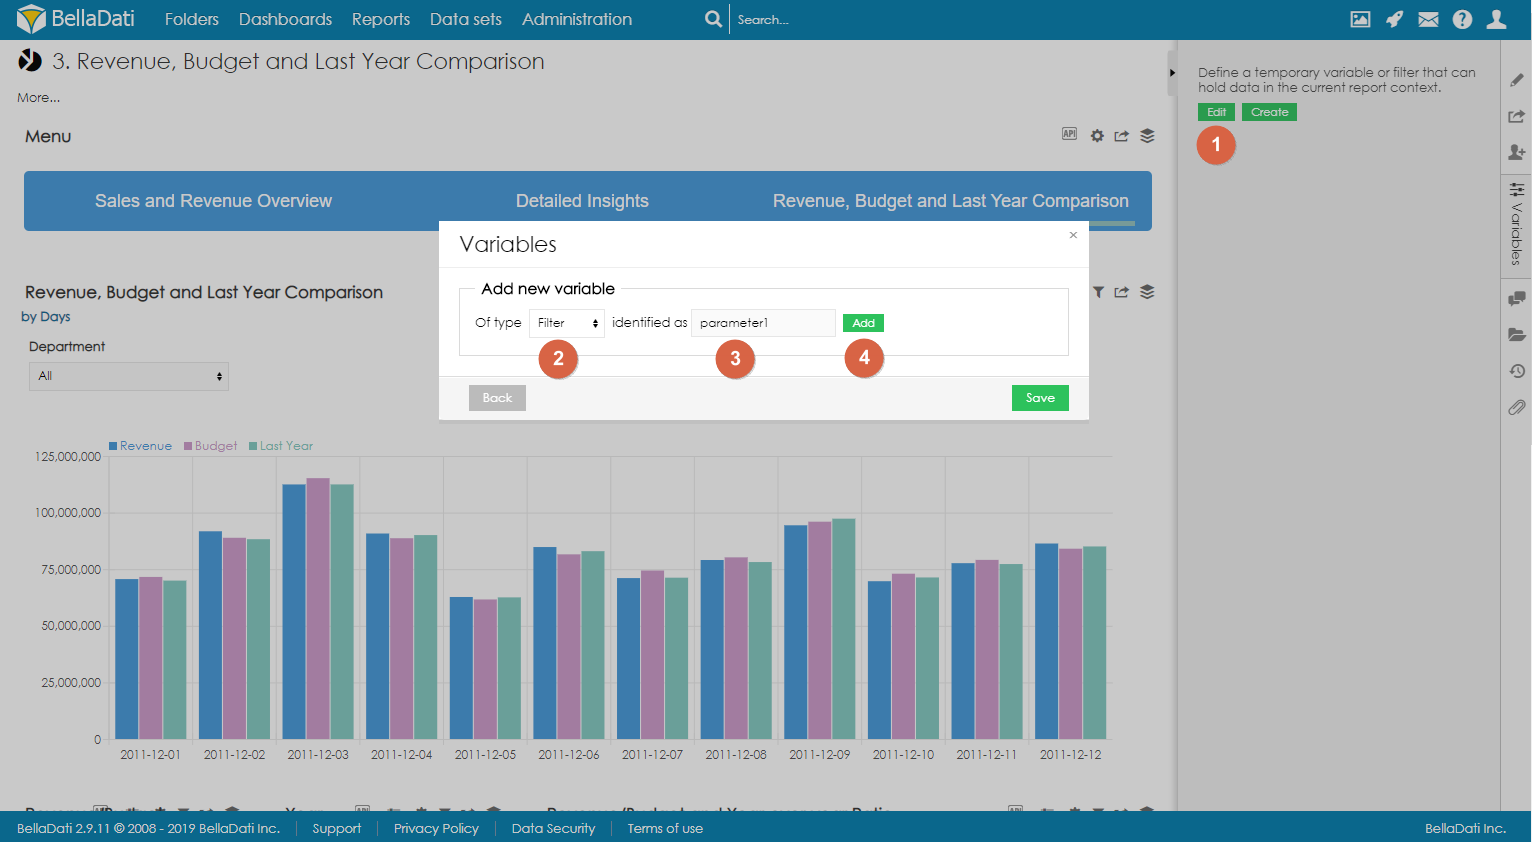
- Click on Edit button to enter Variables dialog.
- Select which type of component you would like to create. To create a filter component, select Filter.
- Optionally, change the identifier.
- Click on Add.
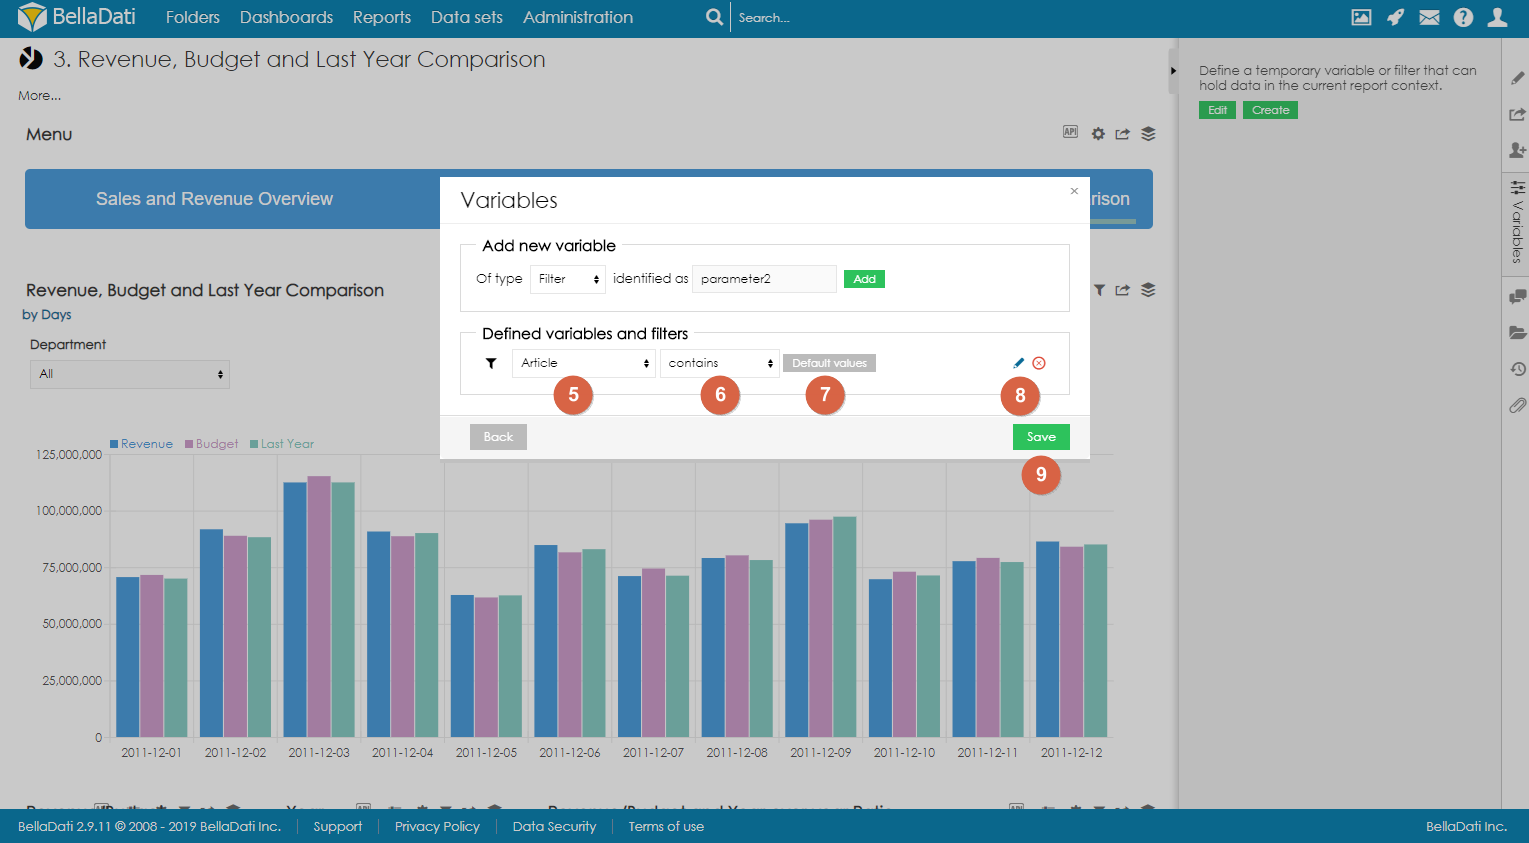
- Select which type attribute to use for filtering
- Select the condition (contains or doesn't contain)
- Optionally, select default value. See below.
- Optionally, edit the Advanced settings to change the appearance and functionality of the filter. See below.
- Save the filter.
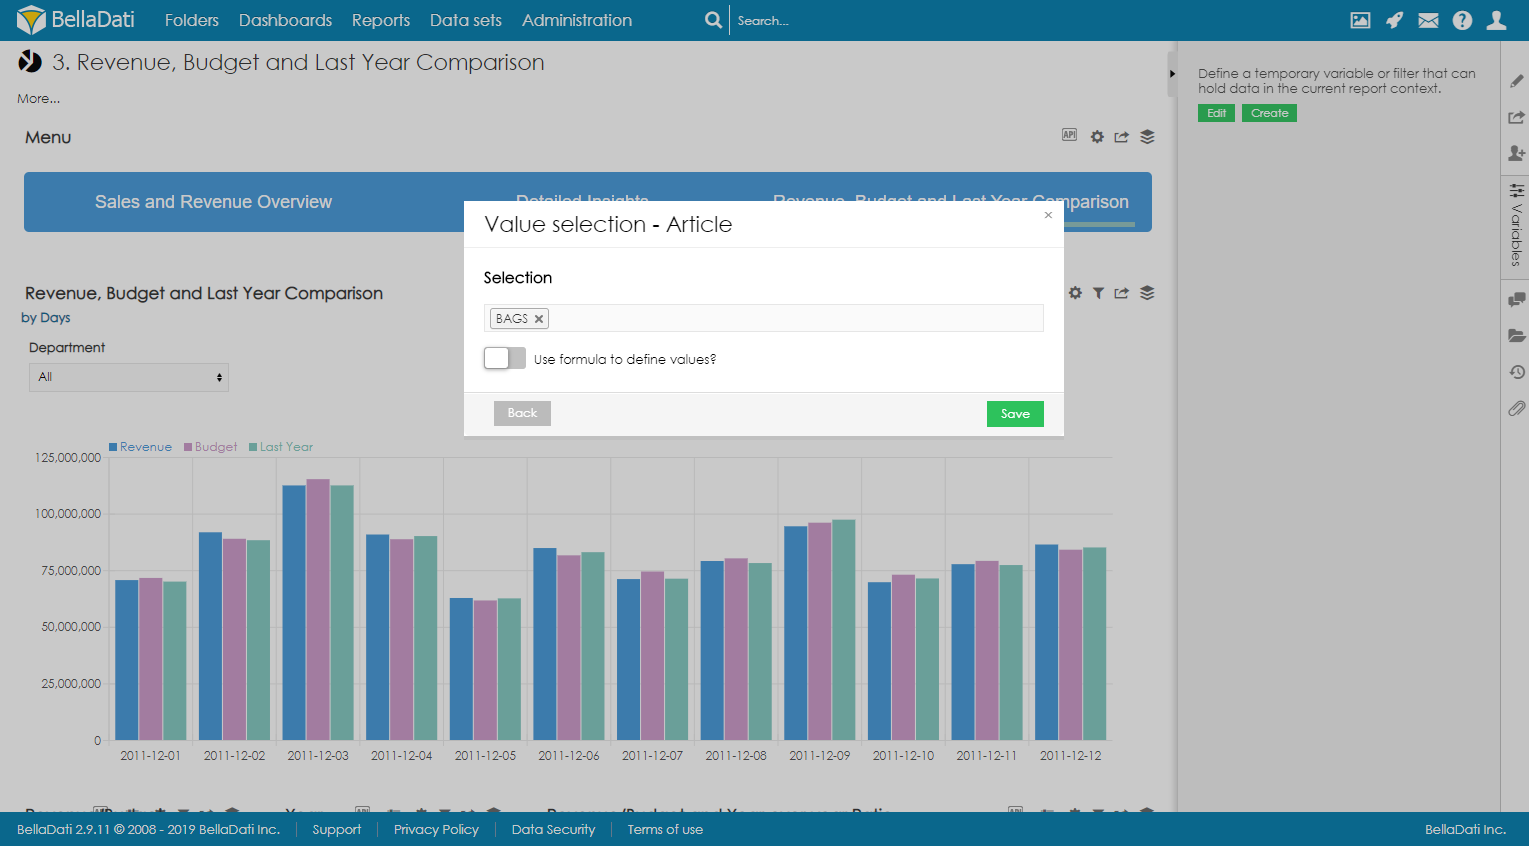
Setting default value
To set one or more default values, click on Default values and select values which should be used as default. These values will be preselected when the user opens the report for the first time or when the user resets the filters.
Defining the default values via formula
Available since BellaDati 2.9.11.
It is possible to dynamically calculate the default value. Expected return type is Array or single value, e.g.: [ 'abc', 'def' ] or 'abc'.
Example
def array = []
array << 'East'
array << 'South'
Setting default value for date attribute
For date attributes, it is possible to configure the date value as day, week, month, quarter or year.
Using relative dates
By enabling the option Use relative dates, the users can set the default value dynamically by using relative dates. Following relative dates are available:
| Relative date | Actual value |
|---|---|
| now | Current day |
| actualDay | Current day |
actualWeek | Current week (first day of week) For example, actualWeek selected on 21.9.2010 represents date 20.9.2010 (Monday of this week in calendar) |
| actualMonth | Current month (first day of month) For example, actualMonth selected in 21.9.2010 represents date 1.9.2010 |
| actualQuarter | Current quarter (first day of quarter) For example, actualQuarter selected on 21.9.2010 represents date 1.7.2010 |
| actualYear | Current year (1st January of current year) For example, actualYear selected on 21.9.2010 represents date 1.1.2010 |
| availableFrom, availableTo | Represents the first and last available date entry |
Relative and absolute date can be adjusted by operators using this syntax: date +|- n[d|w|m|q|y], where n is integer, d represents day, w represents week, m represents month q represents quarter and y represents year. We can for example define time in this way: actualyear + 2m -4d. Today is 21.9.2010, so this value represents 1.1.2010 + 2 months - 4 days, which means date 25.2.2010.
| Modifier | Value |
|---|---|
| d | days |
| w | week |
| m | month |
| q | quarter |
| y | year |
Advanced settings
Basic settings
Basic section allows you to change filter Name. This name will be displayed next to values which can be filtered.
Appearance
- Filter display method allows you to define how will filter look and which values will be displayed. Available options are:
- .Default - default filter layout is used (filtering components cannot be applied)
- Show preset values - only preset values are displayed in the filter
- Show available values - all available values are displayed in the filter
- Display mode defines filter layout (layout is applied only when filter display methods Show preset values or Show available values are applied). Available options are:
- Multiselect
- Select
- Checklist
- Radio
- Limit defines how many attribute members will be displayed
- Order by name - defines how attribute members in filter will be ordered (ascending or descending)
- Size defines height filtering components (how many attributes will be displayed without scrolling)
- Don't show all values - when selected, option All is not displayed
- Autosubmit form after selection - report is automatically refreshed after changing selection in the filter
Additional filters
Section Additional filters allows you to create multi structure filters - if user selects one option in top level filter, additional filter will display only values which are available (associated) with previously selected value. You can continue to section dedicated to Additional filters.
Additional filters can be also displayed in Discovery mode - associations between selected attribute members are marked directly in filters.
Reordering filters
Users can change the order of filters by clicking on the small arrows next to the edit icon.

RESETTING FILTERS
Selected values can be reseted by clicking on the button Reset. This will reset all filters in the report.
Since BellaDati 2.9.11, it is also possible to reset individual filters by clicking on reset icon next to the filter name.

Overview
Content Tools