This example takes advantage of the Report API. It is used in a dashlet which contains list of reports with specific tag.
Prerequisites
To be able to use this examle, you need to have access to any number of reports with specific tag. See Report Tags for more information. You also need to have a dashboard or need to create a new one.
Steps
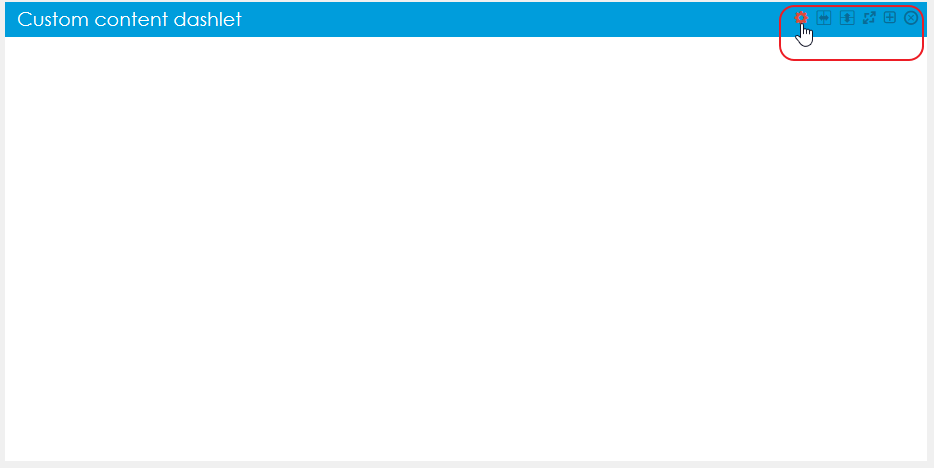
- Add new Custom content dashlet to your dashboard.
- Click on Settings.
- Switch to source mode (not rich text mode)! Otherwise the code will break.
Add this code:
<style type="text/css"> .dashletNote{ display:none !important; } /* Change this - id and colors */ #menuCustom li a:hover, #menuCustom li .current { color: #0099E9; border-left: 3px solid #0099E9; } .dashletMenuContainer { position: relative !important; top: 0px !important; } .dashletMenuList { margin: 0 !important; padding: 0 !important; list-style-type: none !important; font-size: 18px; } .dashletMenuList li { margin-bottom: 0px !important; } .dashletMenuList li a { text-decoration: none; color: grey; display: block; border-left: 3px solid white; padding-left: 10px; padding-bottom: 9px; padding-top: 9px; } .dashletMenuList li a:visited { color: grey; } .dashletMenuList li a:hover, .dashletMenuList li .current { background-color: #F6F6F6; } </style> <script> $('.dashletMenuContent').parent('div').parent('div').addClass('dashletMenuContainer'); // change the id (menuCustom) $('#menuCustom').empty(); $.ajax({ // change the name of the tag url: "/bi/report/api:list/tags:nameoftag", success: function(reply) { var sortedReply = reply; sortedReply.sort(function(a, b) { var nameA = a.name.toLowerCase(), nameB = b.name.toLowerCase() if (nameA < nameB) //sort string ascending return -1 if (nameA > nameB) return 1 return 0 //default return value (no sorting) }); $.each(sortedReply, function(index) { // change the id (menuCustom) $('#menuCustom').append('<li><a href=' + sortedReply[index].link + '>' + sortedReply[index].name + '</a></li>'); }); } }); </script> <div class="dashletMenuContent"> <!--change the id (menuCustom)--> <ul class="dashletMenuList" id="menuCustom"></ul> </div>- Change the name of tag on line 55 (url: "/bi/report/api:list/tags:nameoftag",).
- Optionally you can change colors or the ID menuCustom (all occurrences).
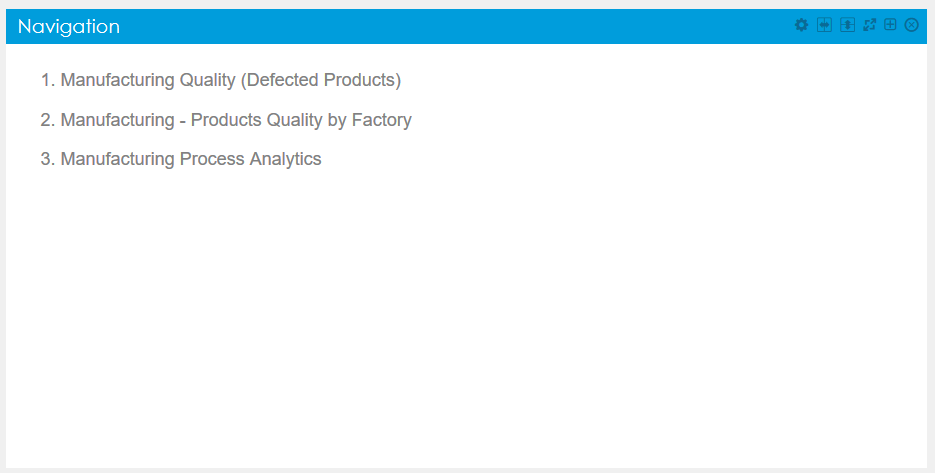
- Save the custom content. The result should look like this:
Overview
Content Tools