This document describes how to migrate the BellaDati application server or database to a different system.
Application Server
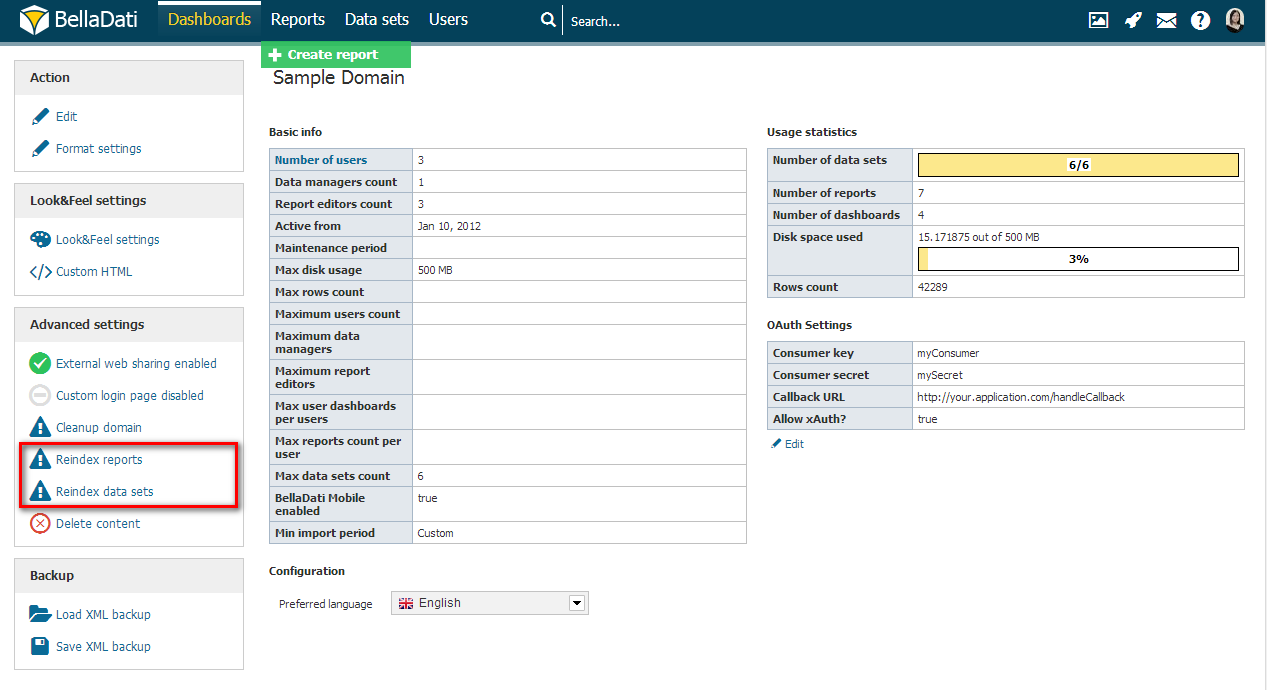
To migrate only the application server without changing the database, follow the appropriate installation instructions to set up your new application server. Configure it to connect to your existing database. After starting the server and logging in, move the mouse over your username and click the link to your domain. On the left side, reindex your reports and data sets.
Database
To migrate BellaDati to a different database installation, backup the database contents using the PostgreSQL dump command:
pg_dump -U user -F c -v -f "path_to_dump/dump.backup" belladati_db
Copy the backup file to your new system and restore it in the target database:
pg_restore -v -c -O -d belladati_db -U user path_to_dump/dump.backup
Different Application Server
To migrate both your database and application server:
- Set up the new database as described above.
- Install a new application server following the appropriate installation instructions, using your new database.
- Delete the current indexes directory from the file system.
- Re-index your reports and data sets in the new installation.
- Restart BellaDati
Existing Application Server
If you continue using your existing application server, configure it to use the new database.
Installer or Standalone
If you used the Windows installer, Mac installer or BellaDati Standalone, update the application.properties file in your BellaDati installation directory and set new database connection parameters.
GlassFish
Use the GlassFish administration console as described in Installing BellaDati on GlassFish.
- Login to the administration console.
- Open
Resources->JDBC->Connection Poolsand click on the connection pool you configured for BellaDati. - On the right side, click
Additional Properties. - Update the ServerName, DatabaseName, User and Password to match your new database and click Save.
Jetty
When running in a custom Jetty instance, you can find the configuration inside the WAR archive at the path WEB-INF/classes/conf/application.properties. Follow the instructions from Installing BellaDati on Jetty for detailed steps to update the configuration file.
Tomcat
Configure the BellaDati context defined in your Tomcat installation.
- Open the file
conf/Catalina/localhost/belladati.xml. - In the Resource tag, update the url, username and password to match your new database.
- Restart Tomcat.
Overview
Content Tools