Page History
| Sv translation | ||||||||||||||||||
|---|---|---|---|---|---|---|---|---|---|---|---|---|---|---|---|---|---|---|
| ||||||||||||||||||
|
| Note |
|---|
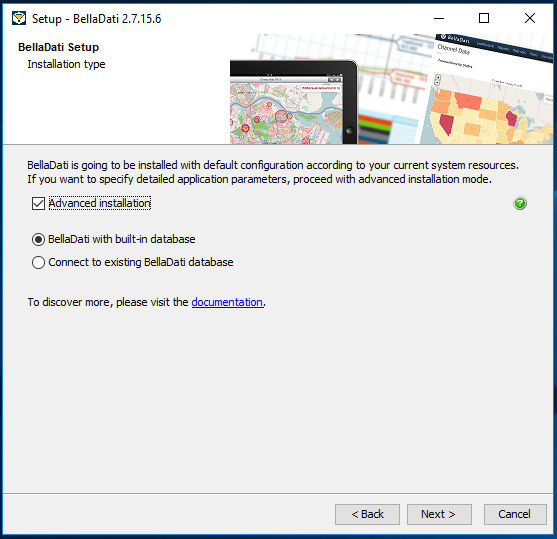
Proceed with the following steps only if you checked Advanced Installation. Otherwise jump to step 7. |
5.1. Installing with a Built-in Database
Approve or edit the following default settings:
- Database port. Make sure this port is not used by other applications or services.
- Database name
- Database username
- Database password
| Tip |
|---|
Leave the default values if you are unsure about the configuration. |
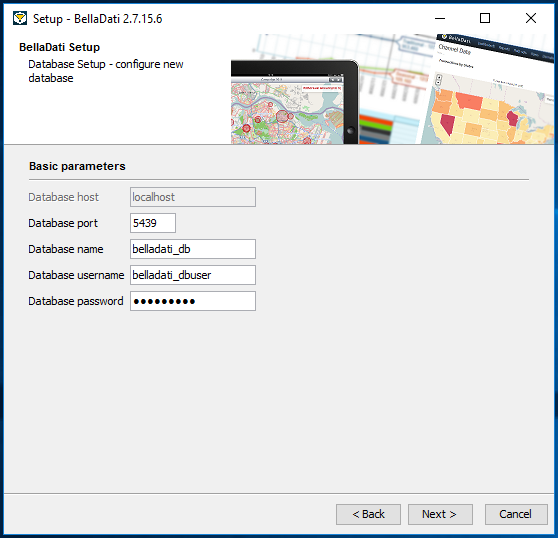
Click Next to proceed with the installation.
Approve or edit the following advanced default settings:
- Maximum number of connections
- Shared buffers
- Temp buffers
- Work memory
- Maintenance work memory
- Maximum stack depth
- WAL buffers
- Effective cache size
- Type of statements logged
| Tip |
|---|
Please see our documentation for more details. Leave the default values if you are unsure about the configuration. |
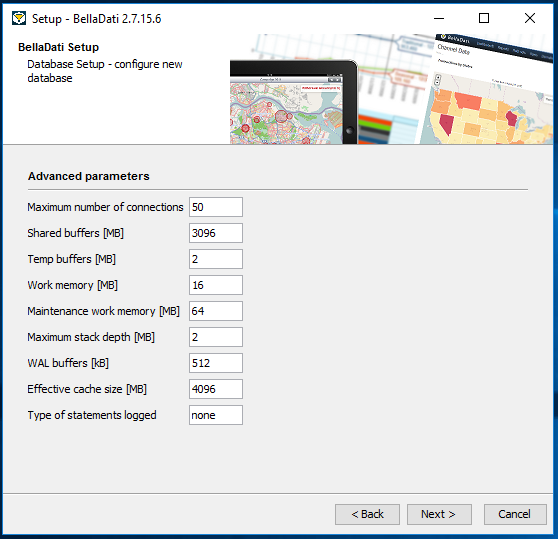
Click Next to proceed with the installation.
Approve or edit the following autovacuum default settings:
- Maximum number of workers
- Naptime
- Vacuum treshold
- Analyze treshold
- Vacuum scale factor
- Analyze scale factor
- Freeze maximum age
- Multixact freeze maximum age
- Vacuum cost delay
- Vacuum cost limit
| Tip |
|---|
Please see our documentation for more details. Leave the default values if you are unsure about the configuration. |
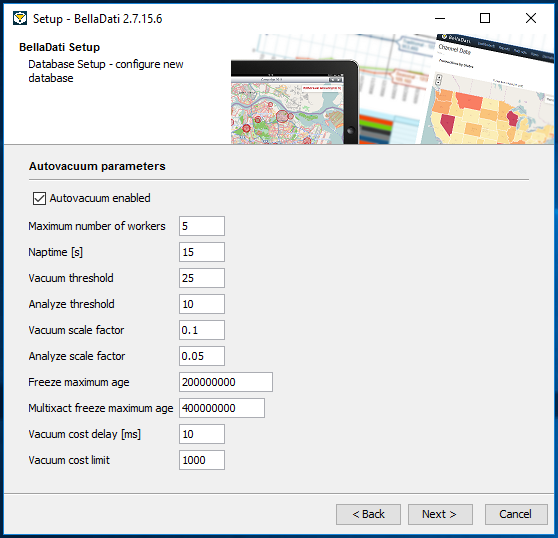
Click Next to proceed with the installation.
5.2. Connecting to an Existing Database
Specify the following connection parameters:
- Database vendor (PostgreSQL or MSSQL)
- Hostname or IP
- Port
- Database name
- Username
- Password
| Tip |
|---|
Ask your database administrator if you are unsure about these settings. |
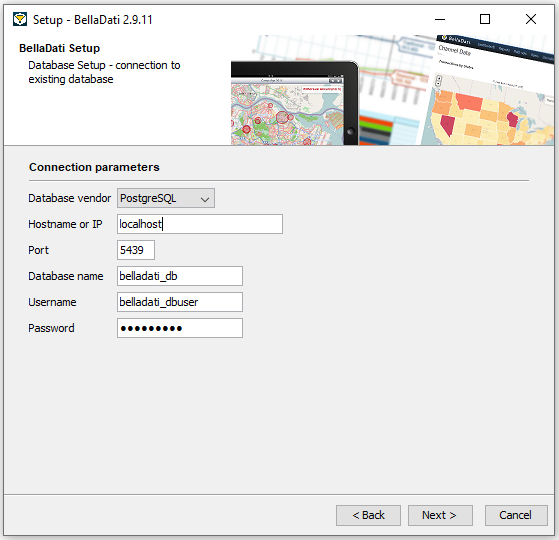
Click Next to proceed with the installation.
6. Application Server Parameters
Approve or edit the following default settings:
- Port. Make sure this port is not being used by other applications or services.
- Xmx
- Maximum Pool Size
- Validate at most once in
- HTTP Thread Pool Max Size
- Thread Pool 1 Max Size
| Tip |
|---|
Please see our documentation for more details. Leave the default values if you are unsure about the configuration. |
| Tip |
|---|
Check Start service automatically to have BellaDati up and running right after the installation. |
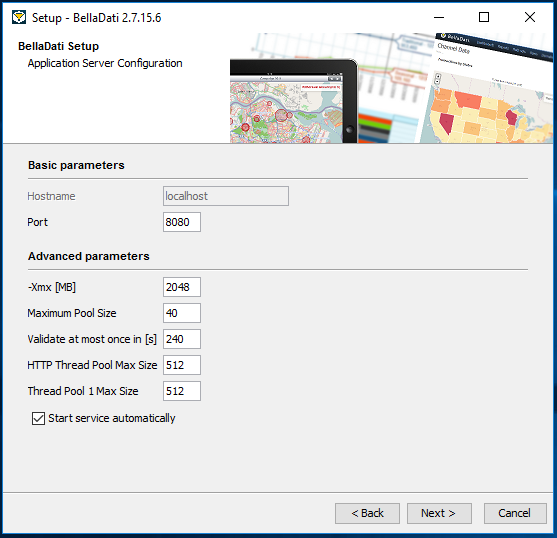
Click Next to proceed with the installation.
7. Start Menu Folder
Approve or edit the name of the start menu folder.

Click Next to proceed with the installation.
8. Additional Tasks
Select additional options:
- Create a desktop icon
- Create a Quick Launch icon

Click Next and wait while BellaDati is installed on your computer.
9. Finishing Installation
The installation is complete. Close the window or click the link to open BellaDati in your web browser.
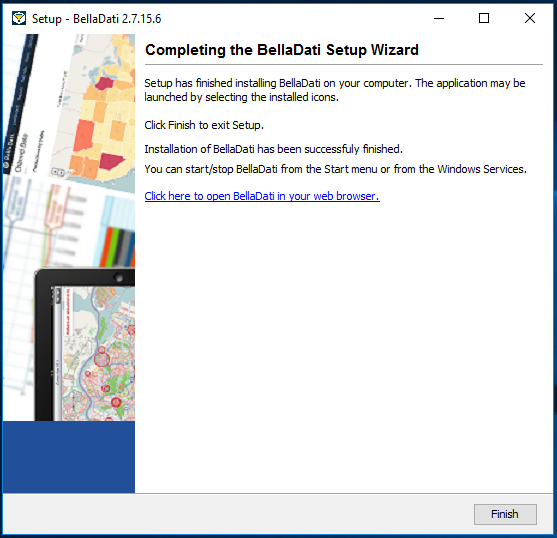
It could take some time to start BellaDati for a first time. Then continue with the BellaDati Setup Wizard.
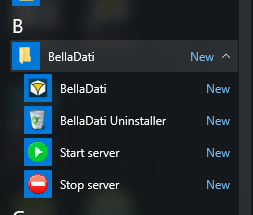
10. Troubleshooting
- If you have disabled automatically starting the server in the web server configuration, or starting the server failed, run it manually from Windows Start Menu or Windows Services.
- To open BellaDati after the installation is complete, point your browser to
http://localhost:8080. This is the default URL, which may differ depending on the data you entered in step 6 of the installation. - If you have any problems during installation, please try to complete installation (retry or ignore errors) and then send us following log file:
<installation-directory>\.install4j\installation.log
Next Steps
...
Overview
Content Tools